(Previous part here)
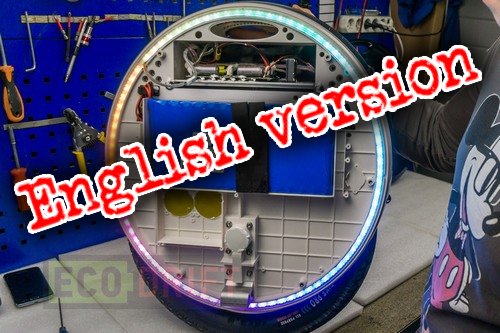
It’s time for a tear down of our Gotway Nikola.
We’ll start from the pedals. Nothing unusual here so we won’t go into details:
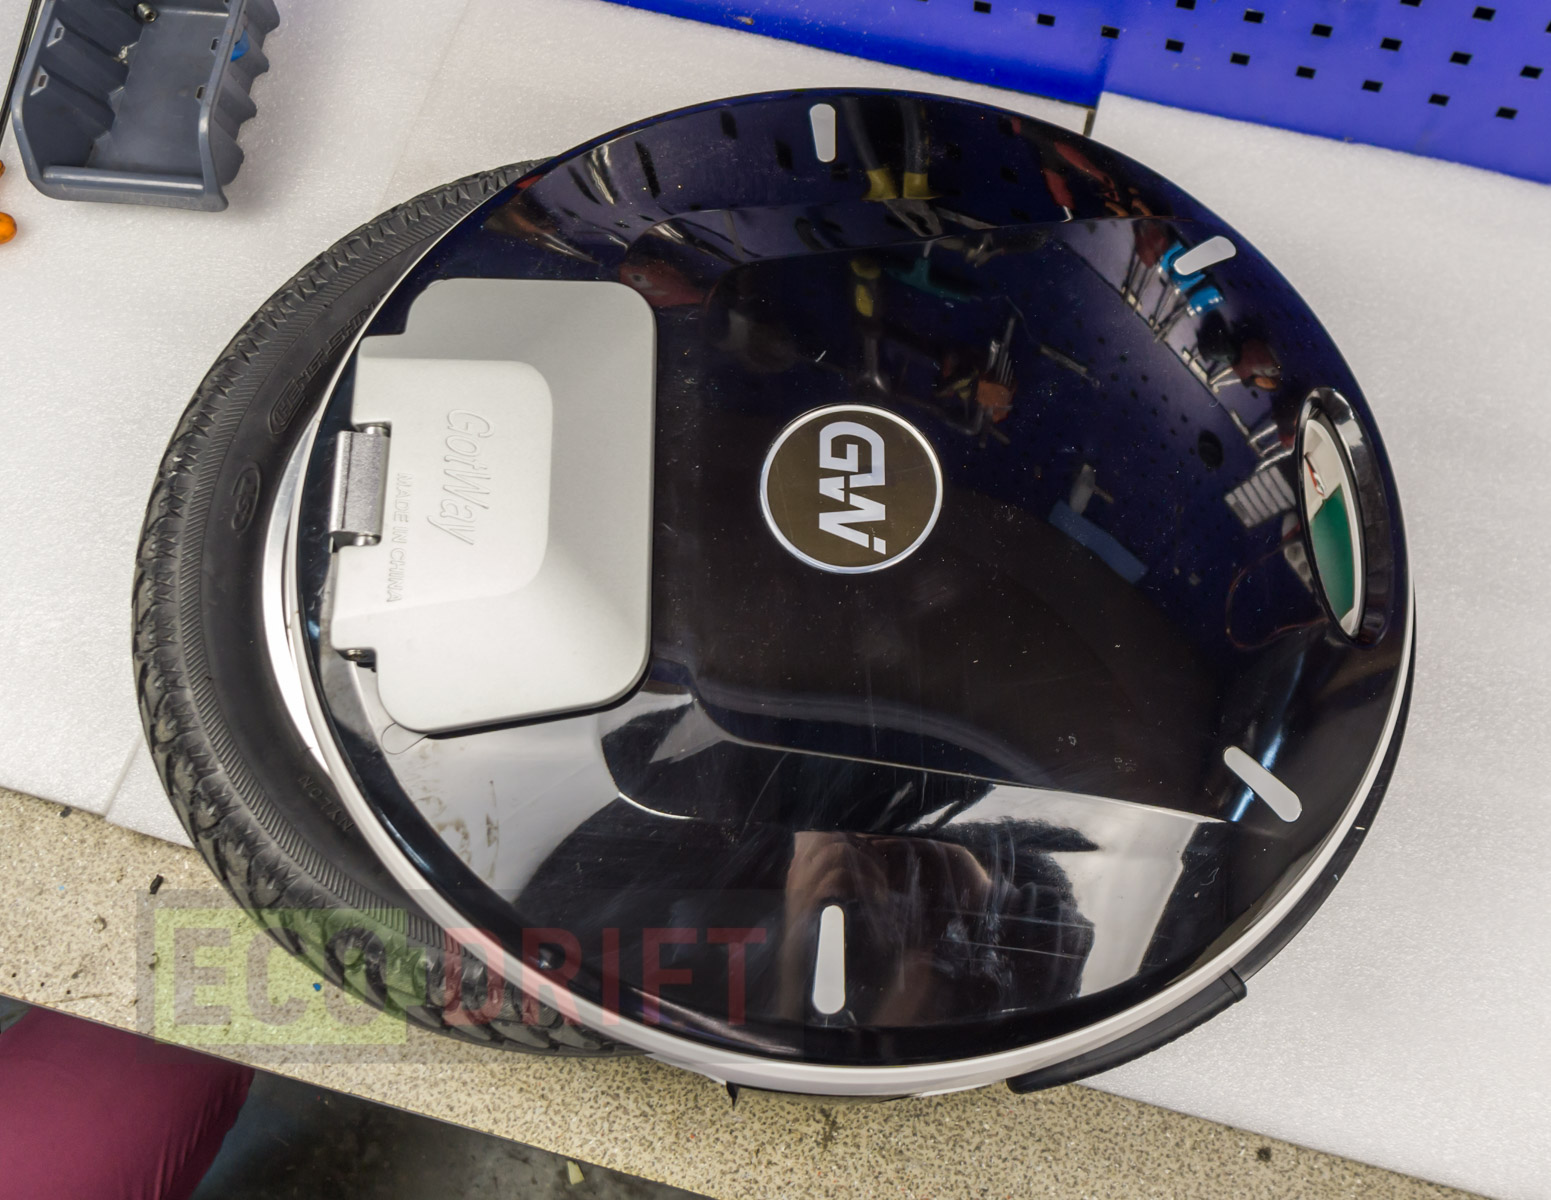
First we remove the rubber caps from the side covers:
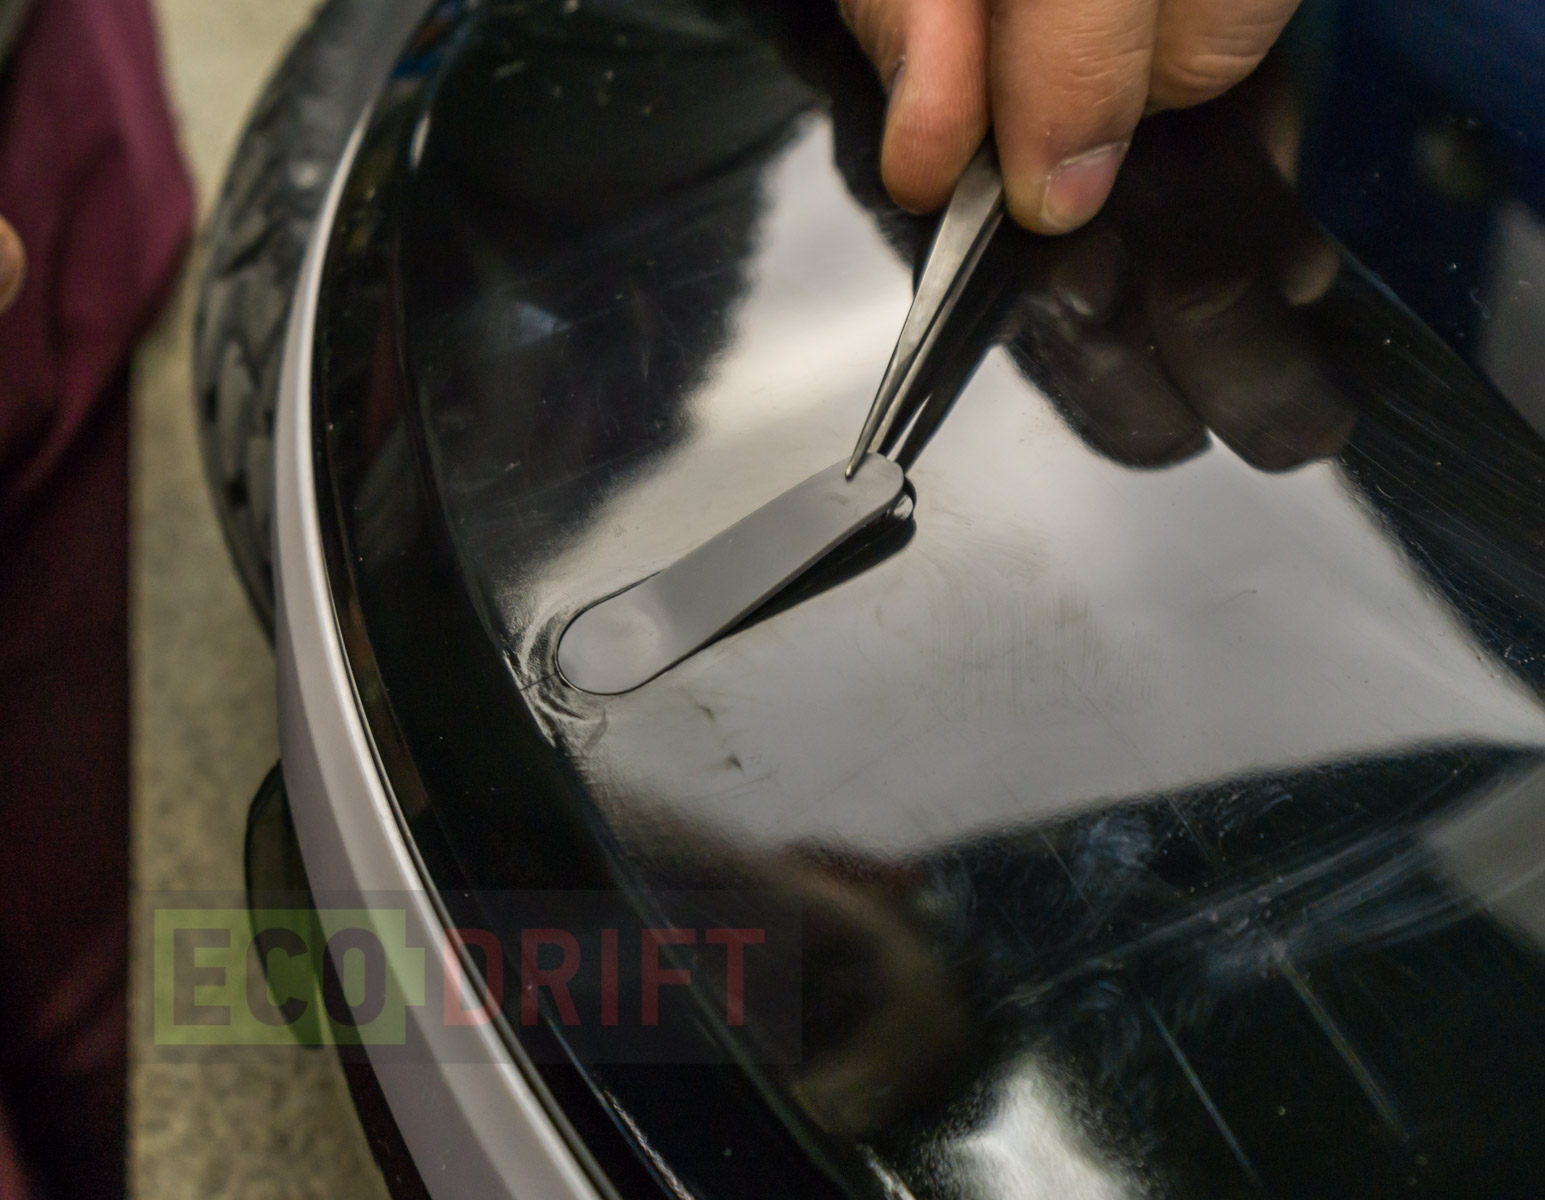
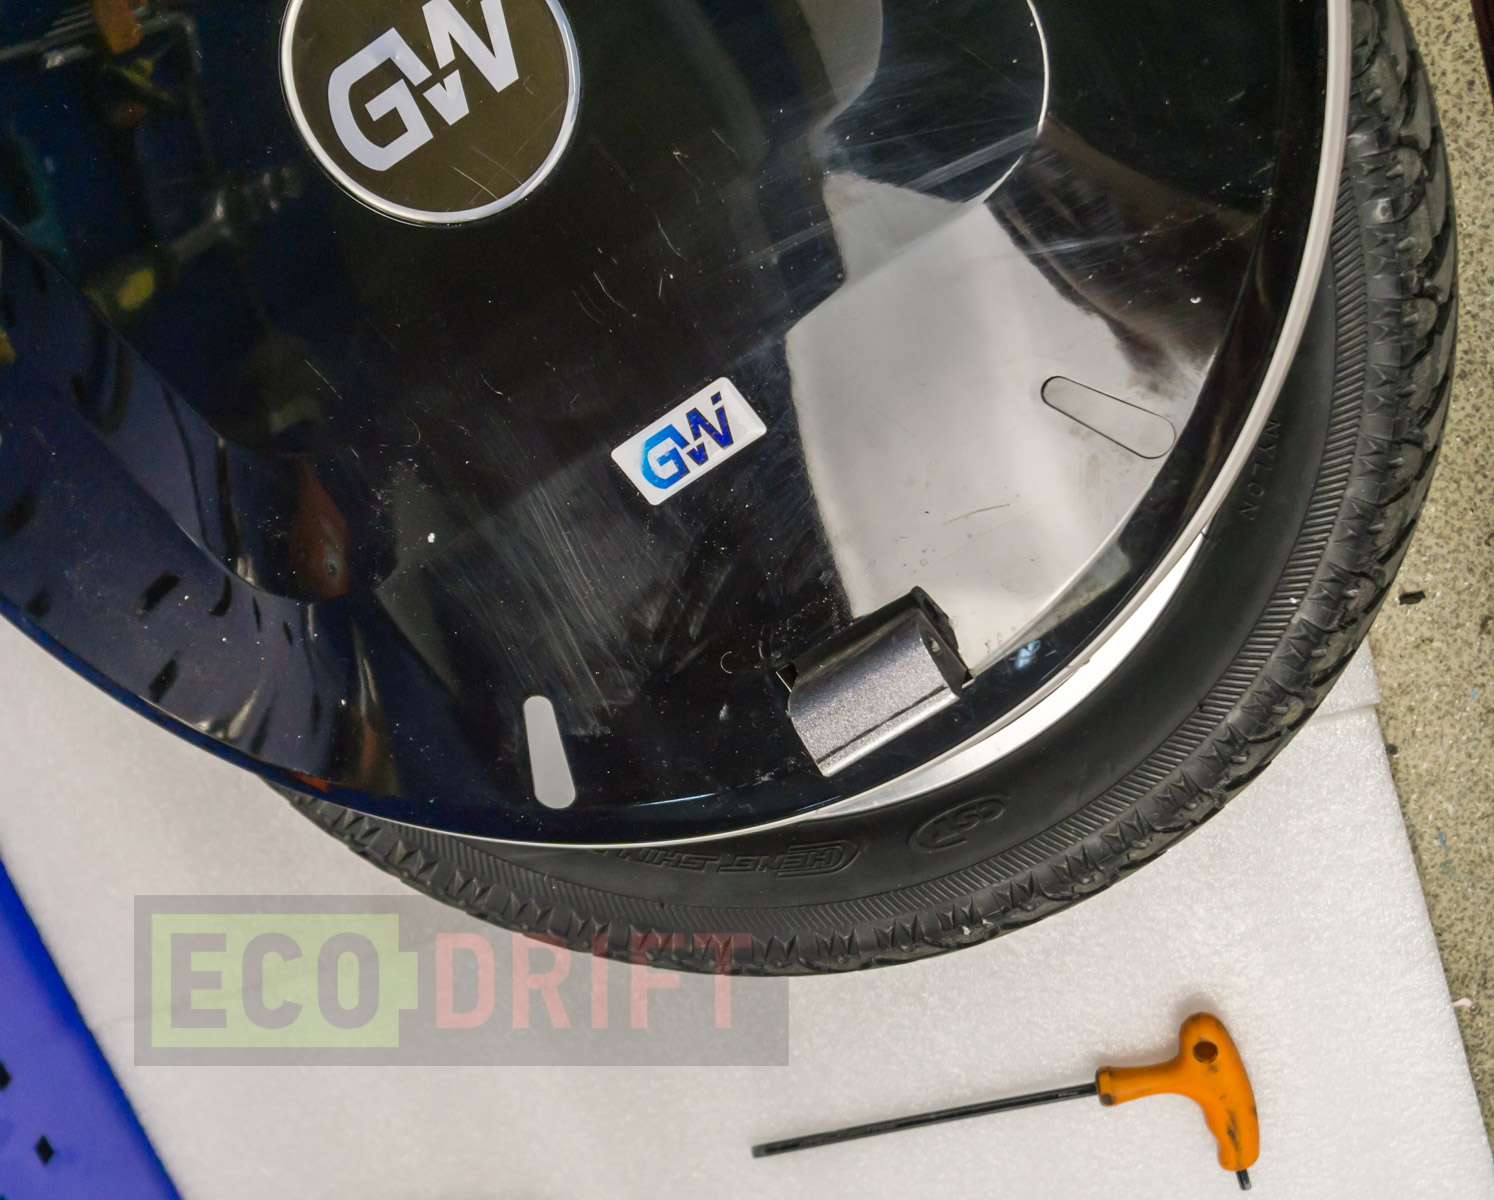
Then extract the screws located underneath. Please note that you’ll need a hex key. It helps to avoid the screw head slot damage and makes further disassembling much easier:
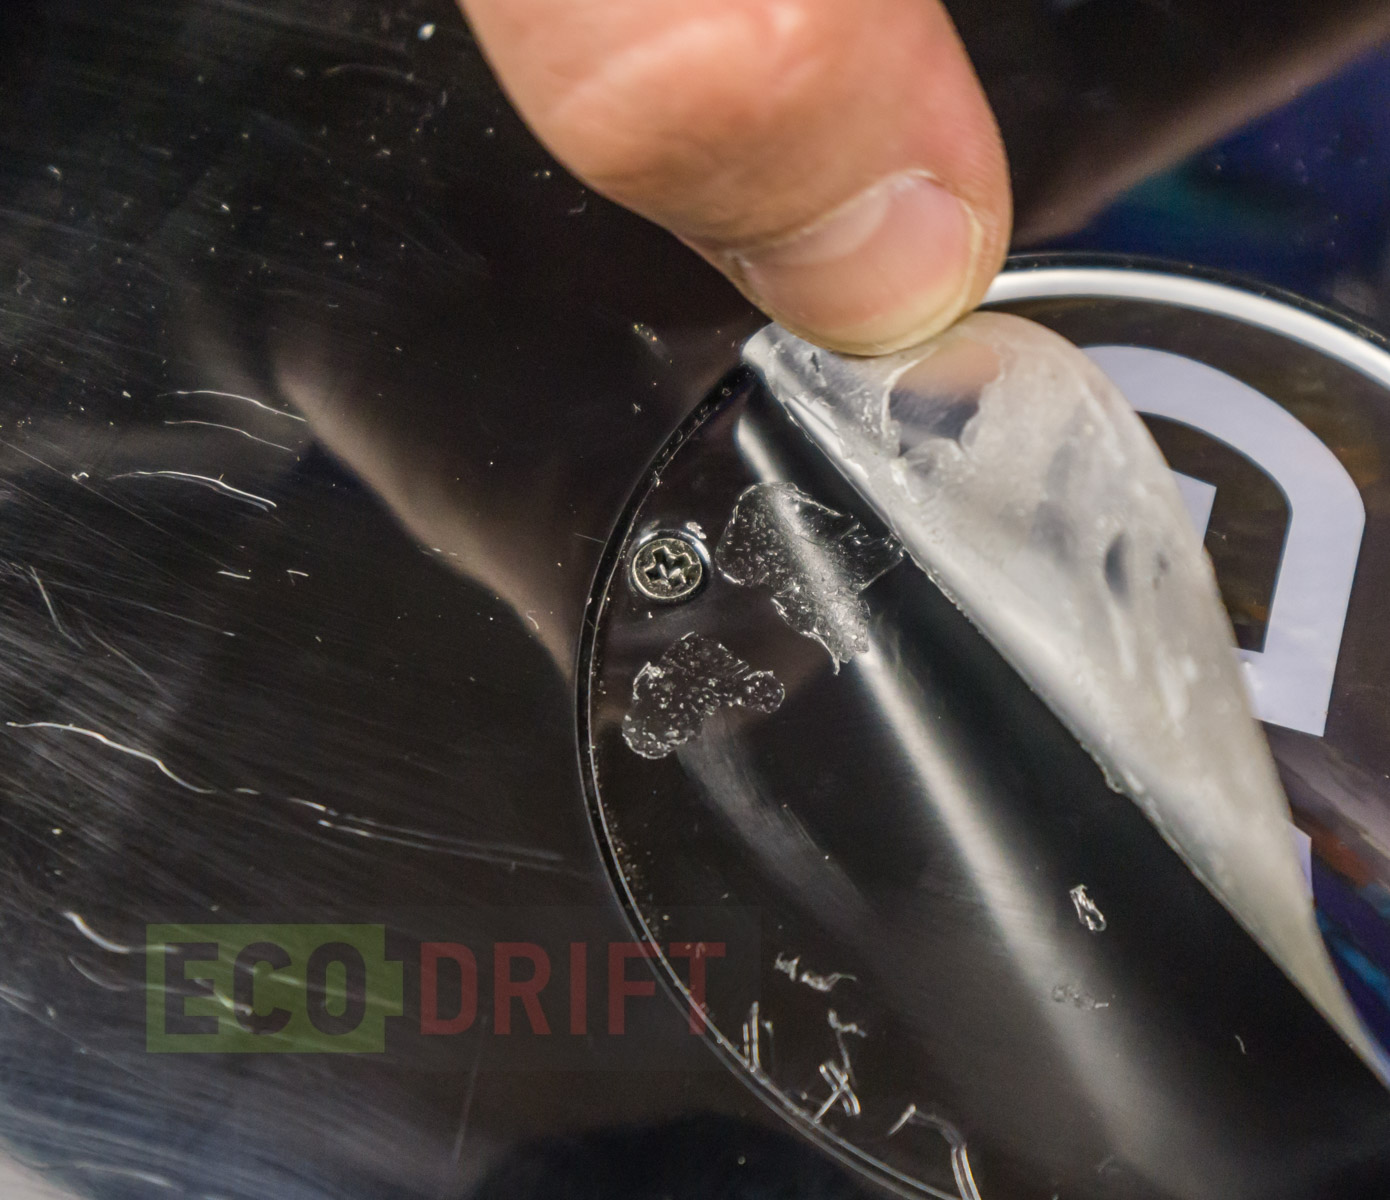
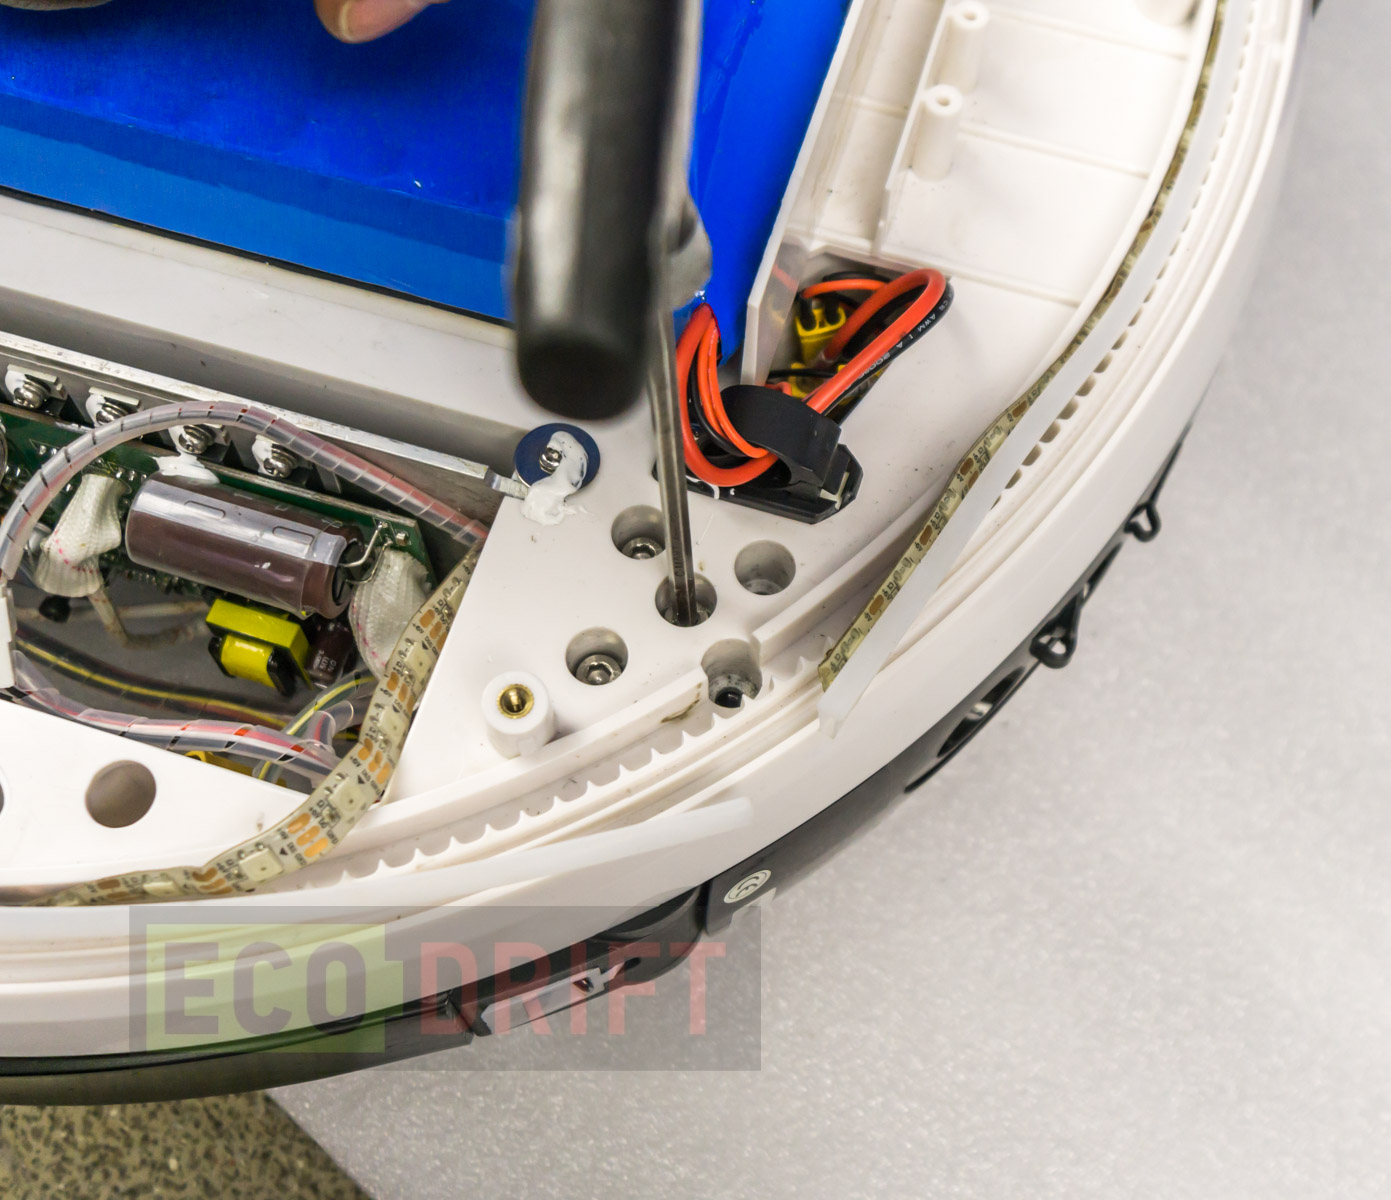
An important issue. There is another little screw located underneath a decorative sticker. Unfortunately this one has a Philips head slot:
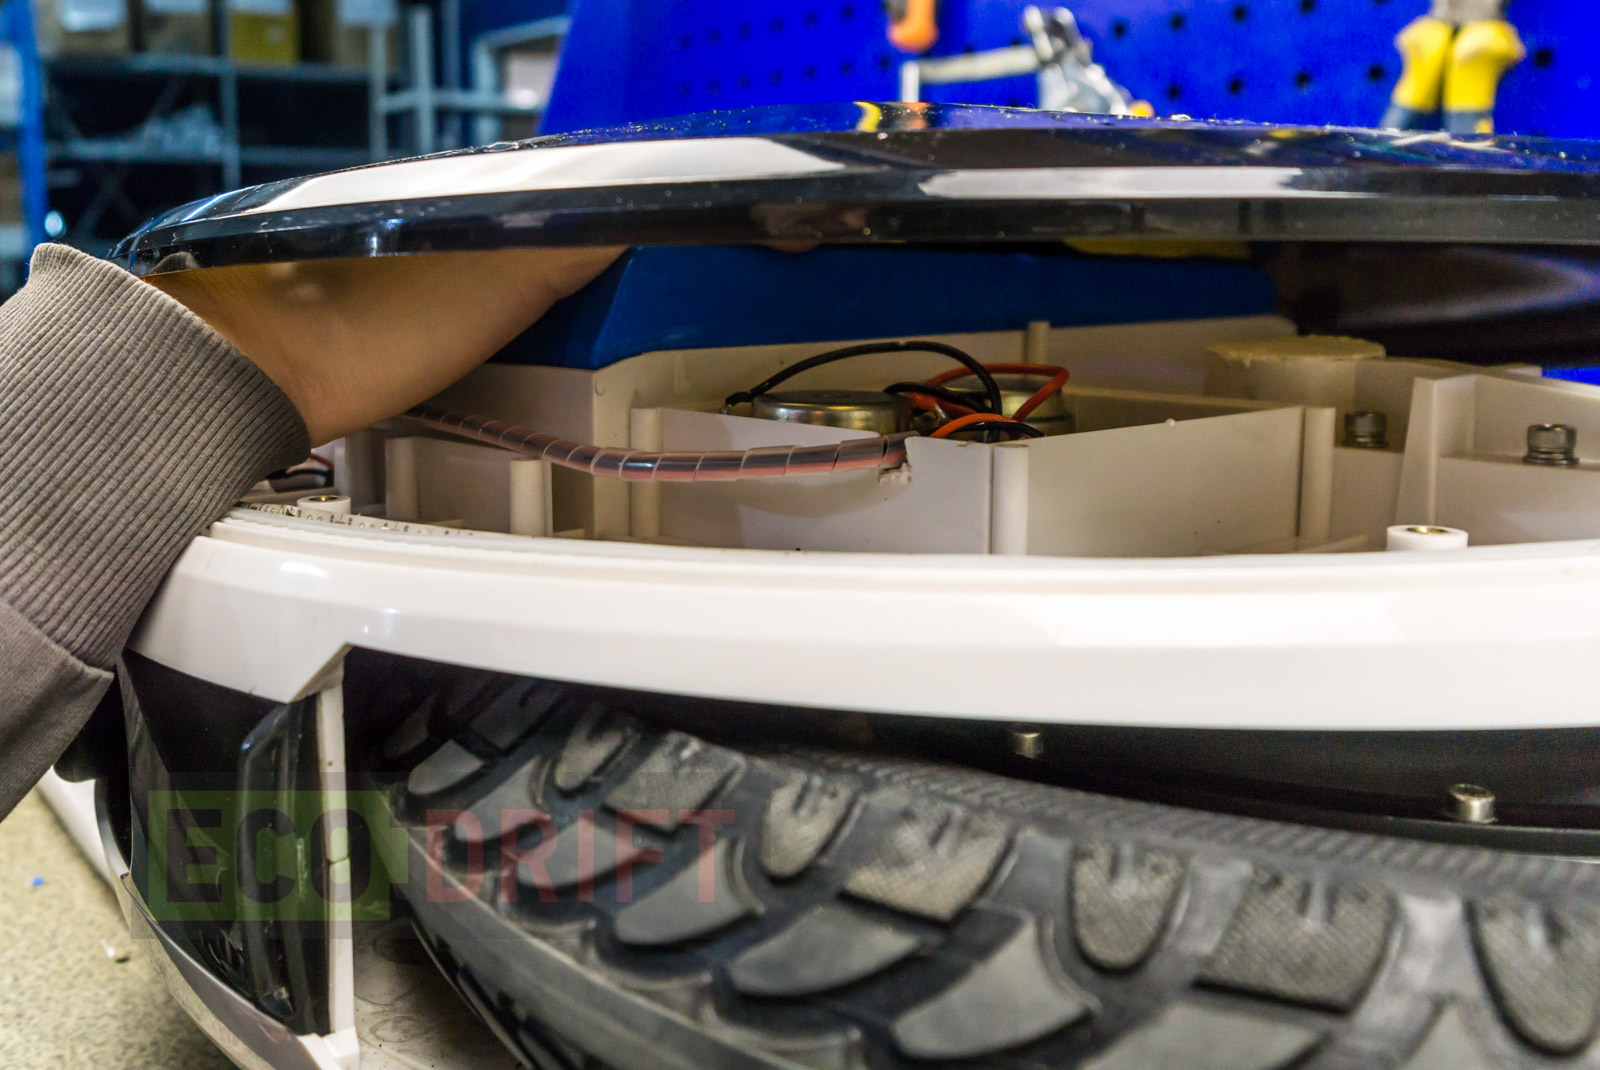
It’s quite difficult to remove the cover since it’s glued to the battery:
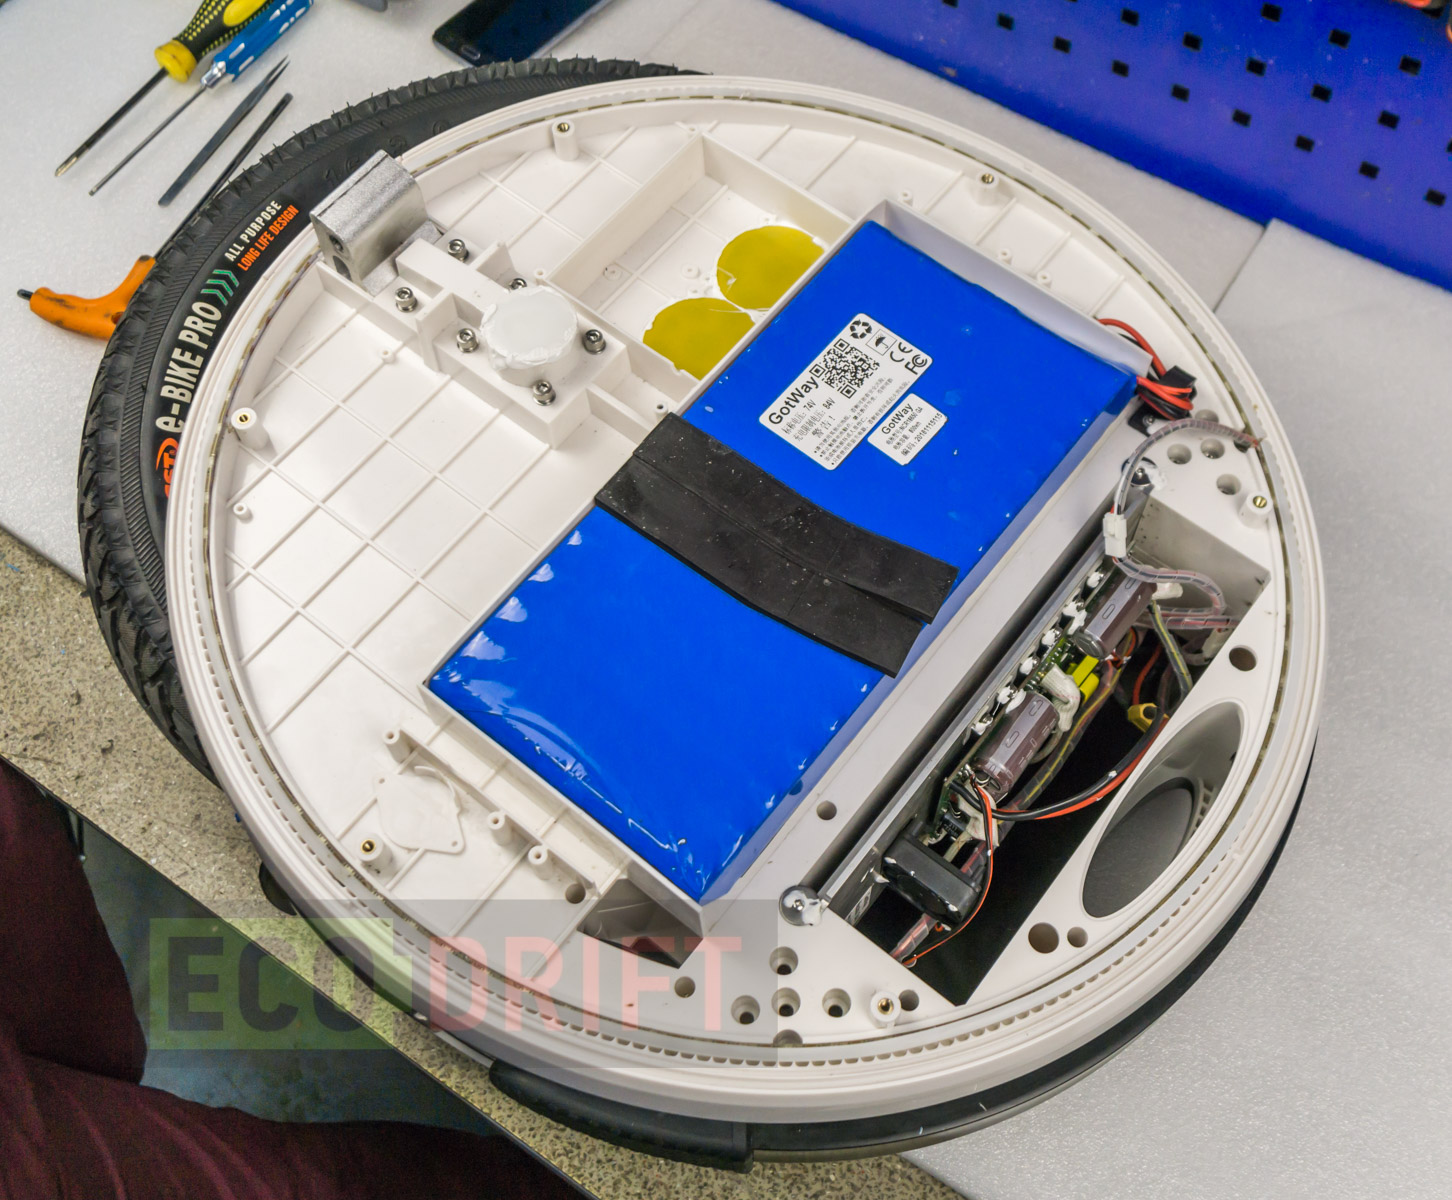
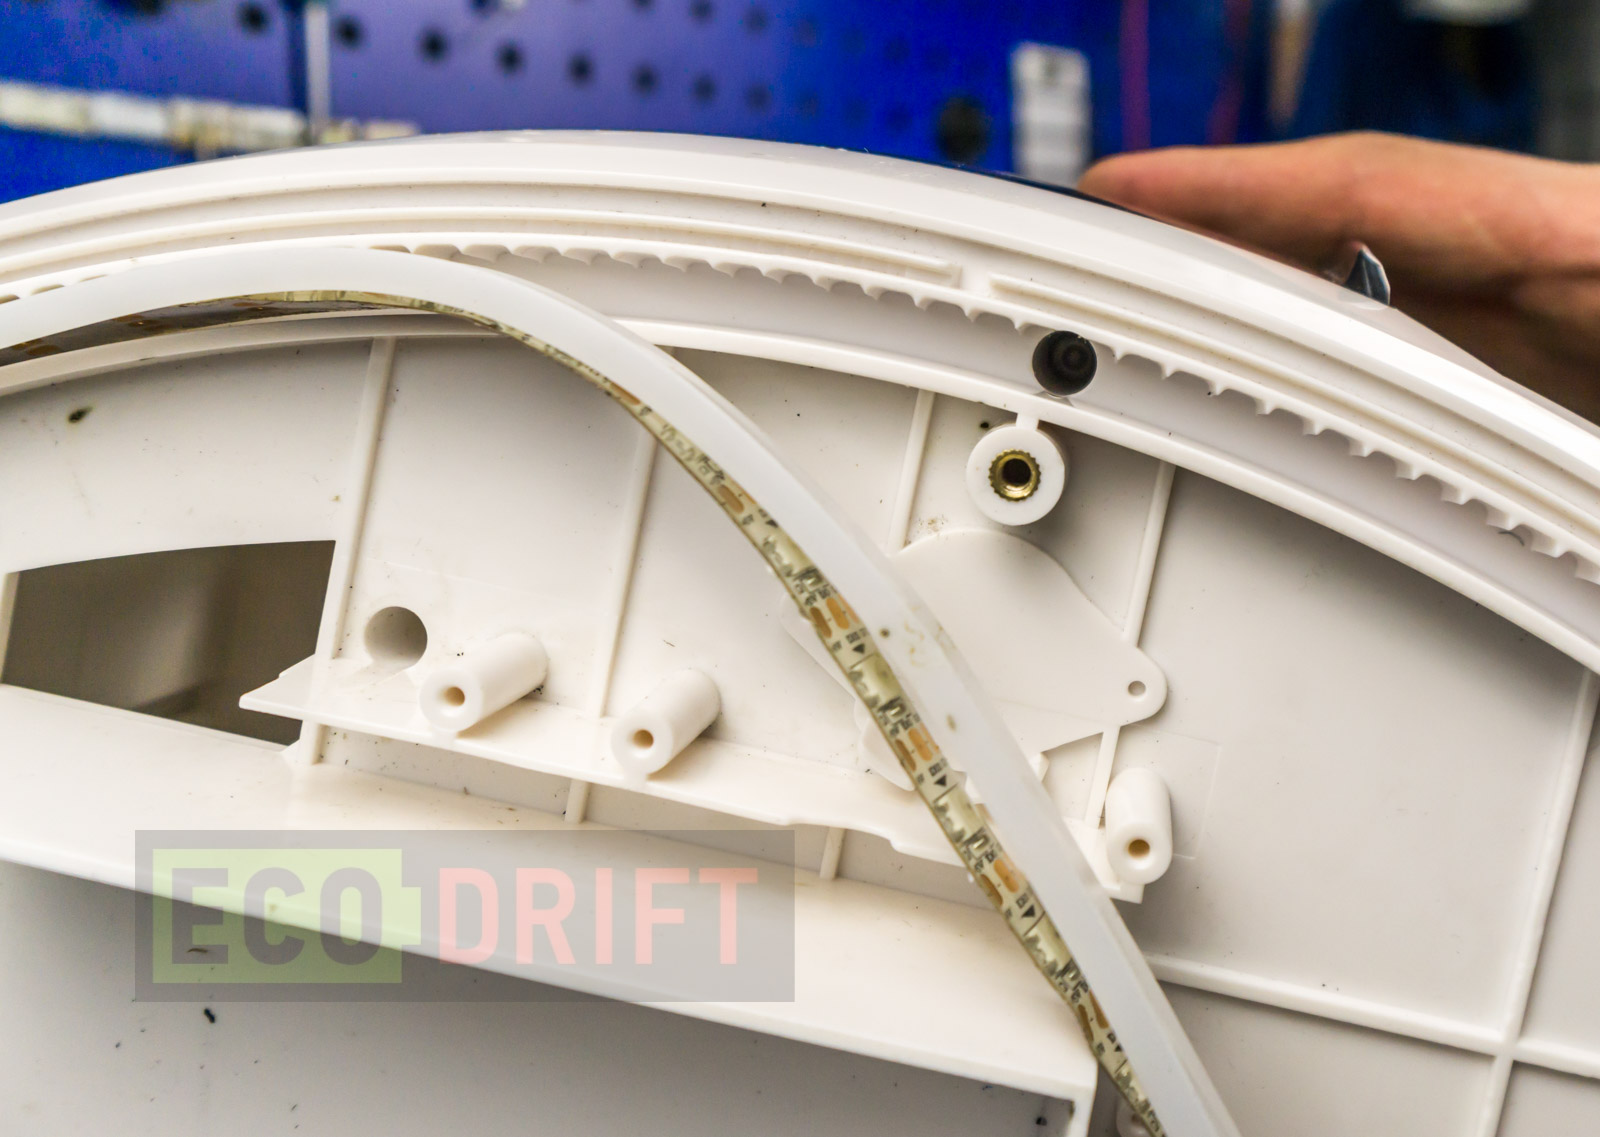
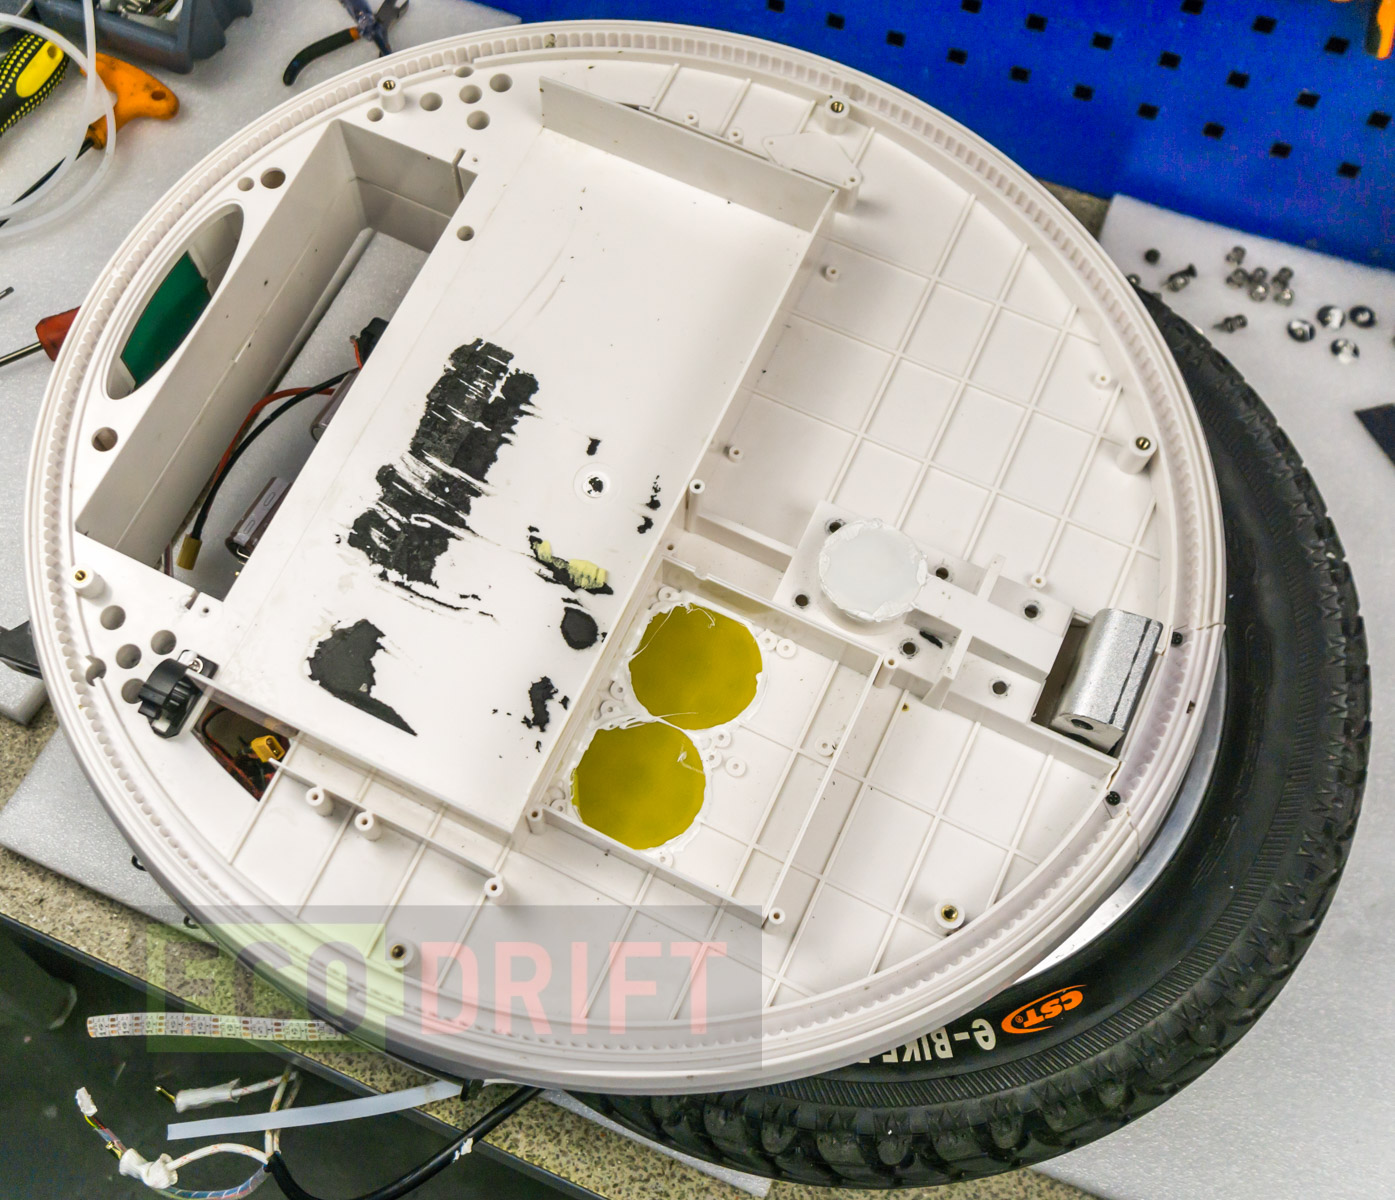
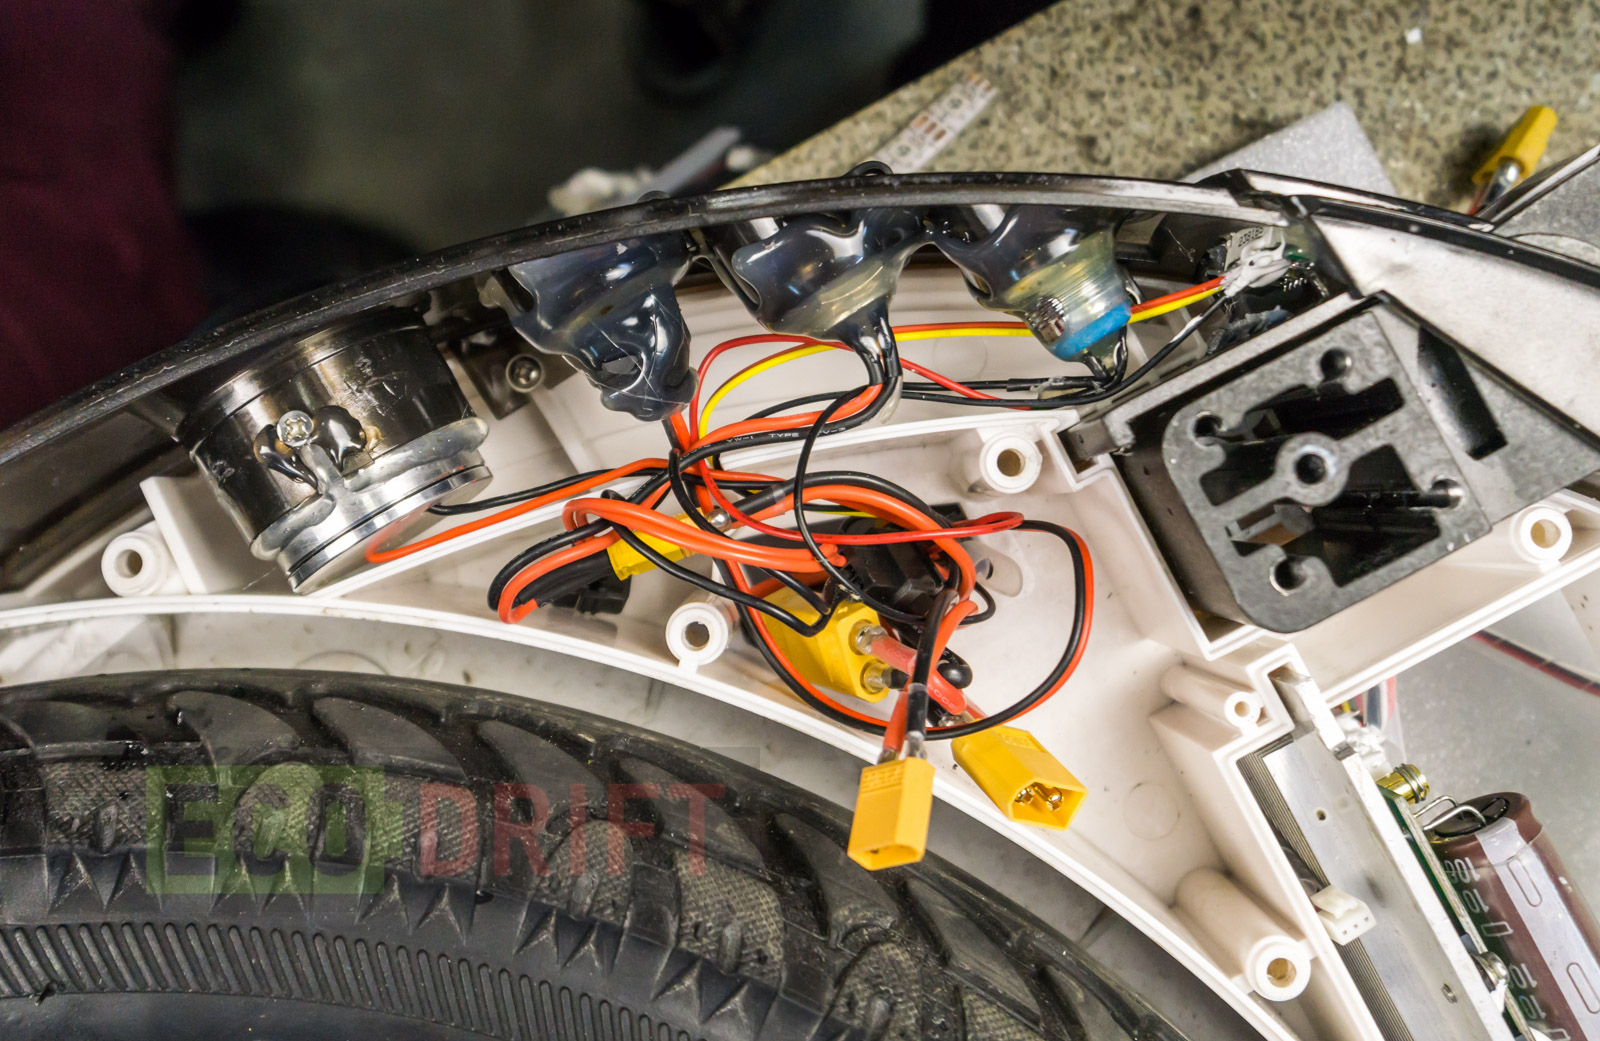
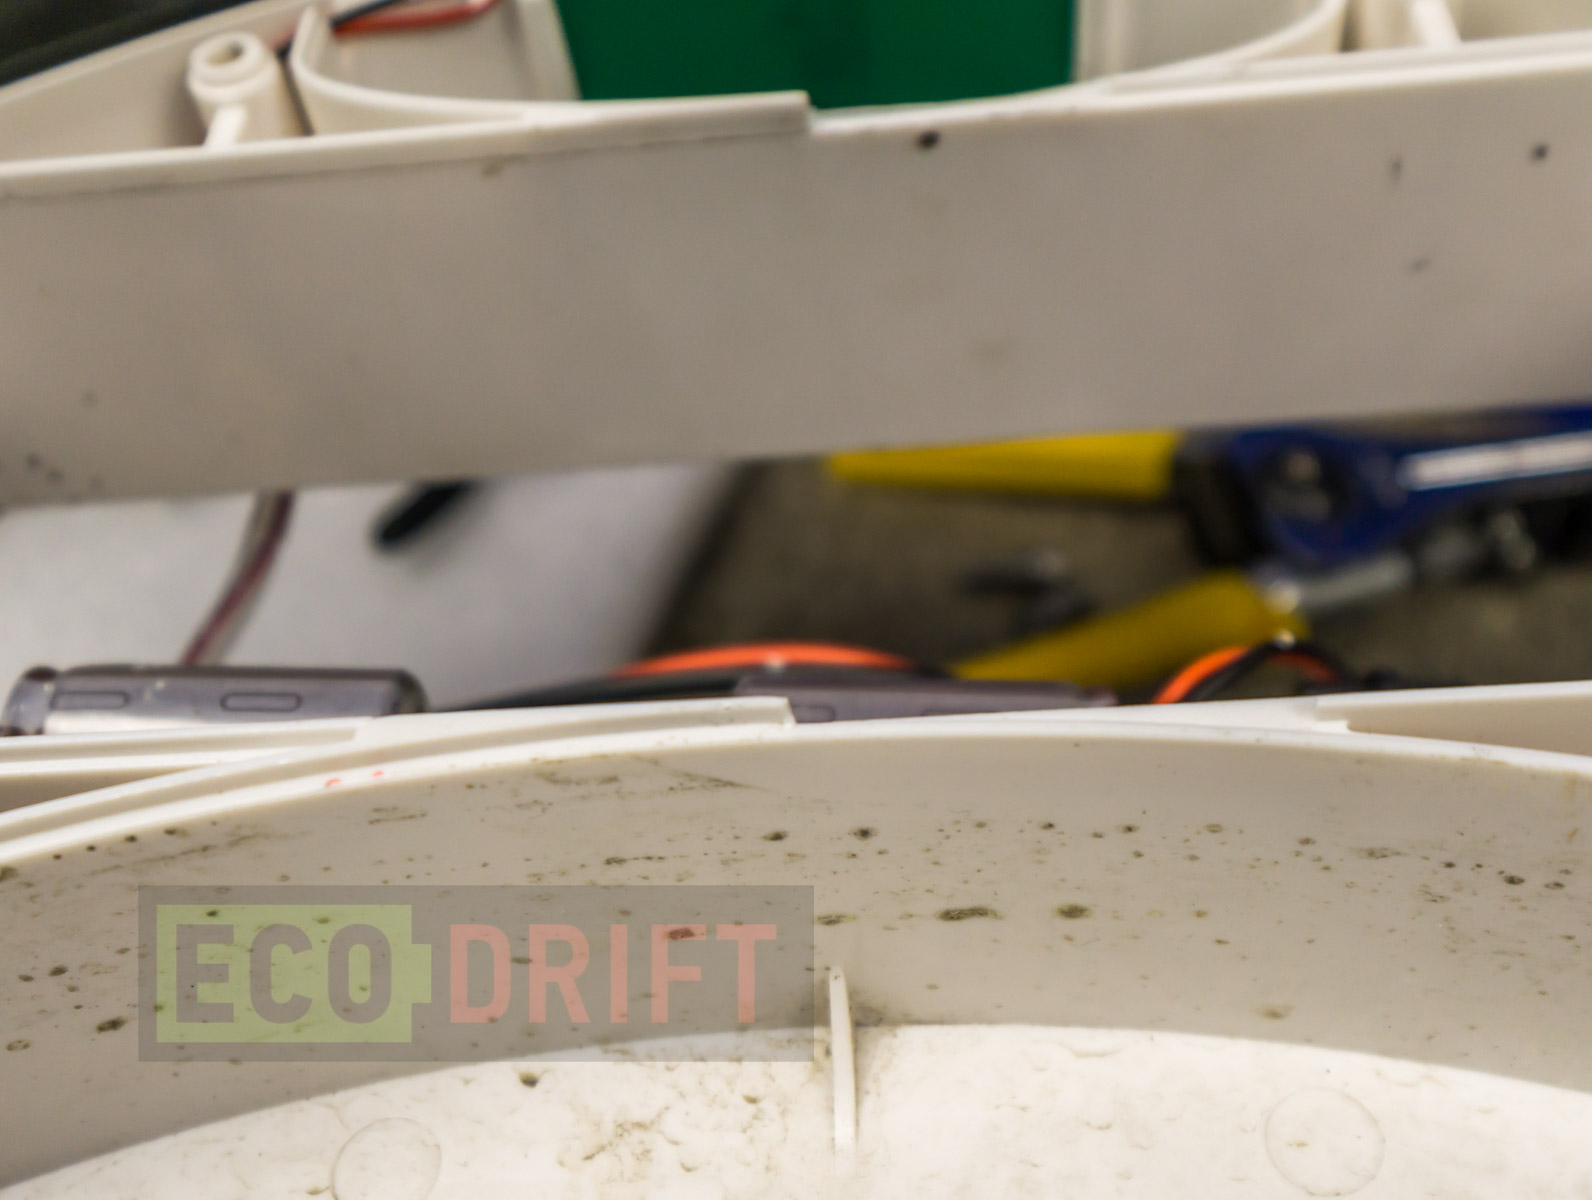
A quick glance at the interior:
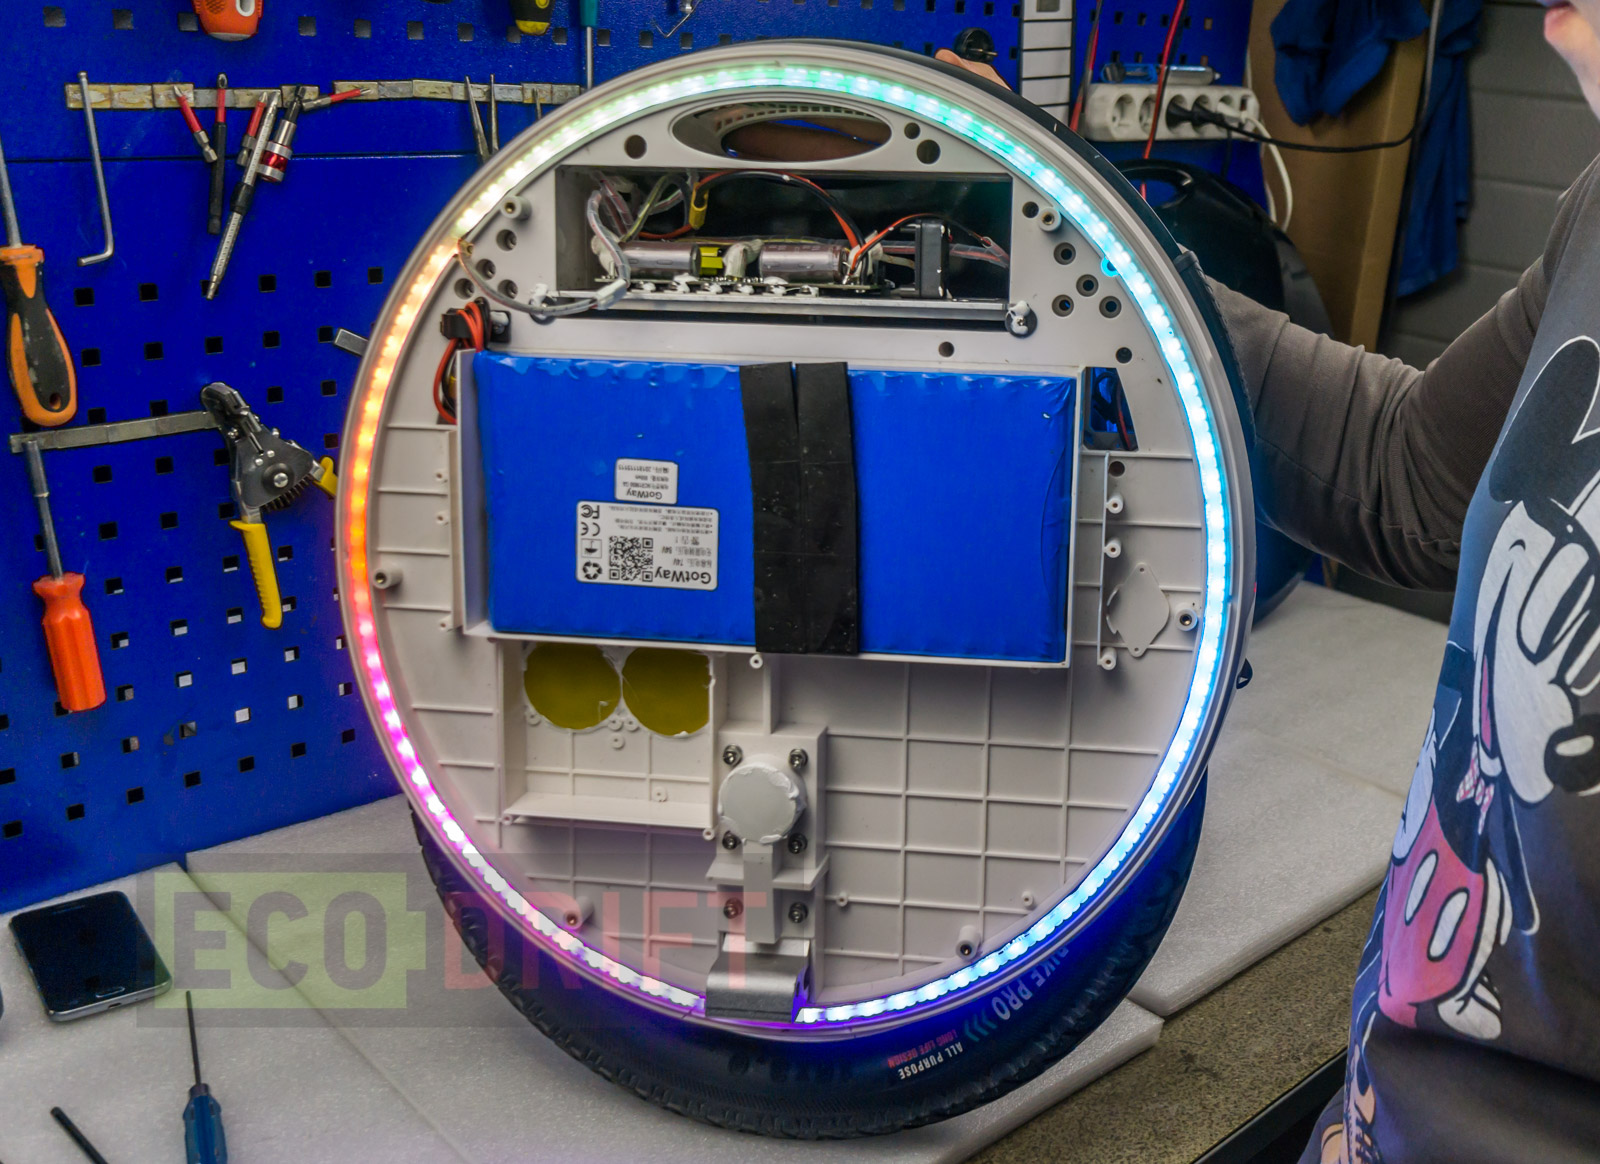
The first thing we would like to draw your attention to is that the controller board is located on the top. And this is the wire that you could clearly see through the semi-transparent cover:
It’s the LED stripe controls.
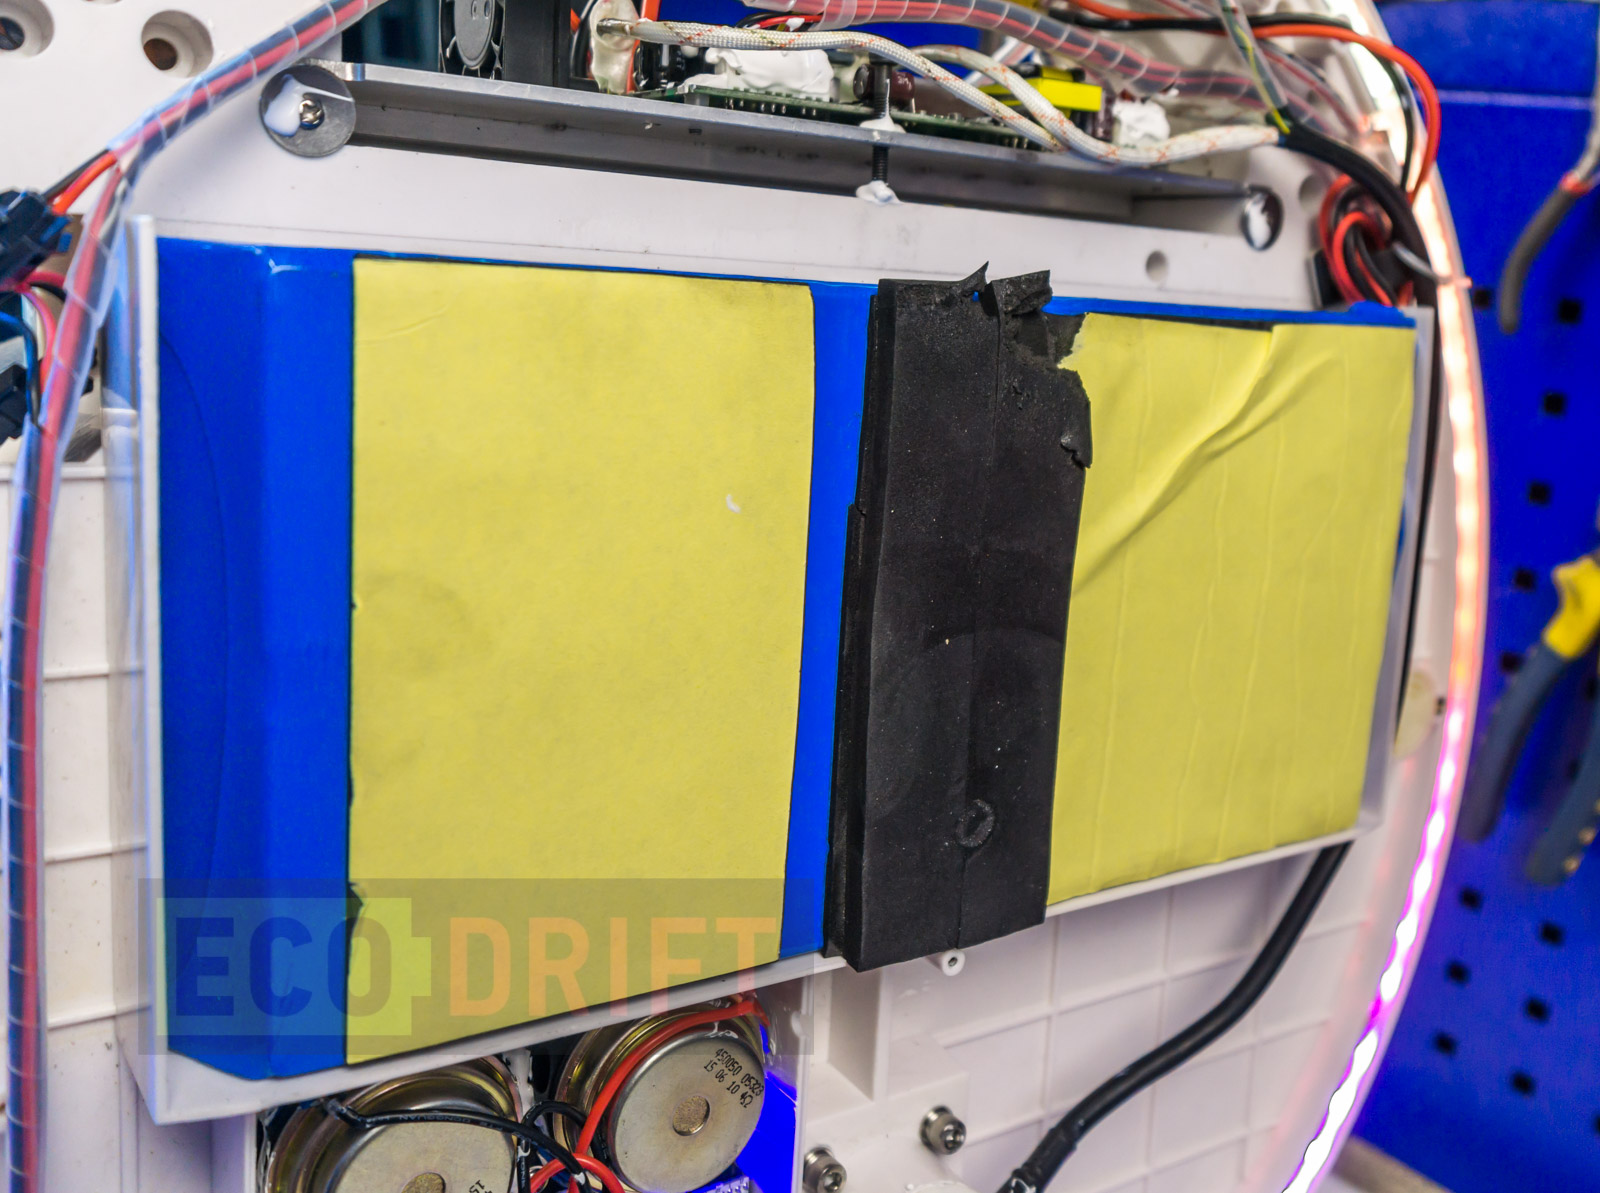
Battery label:
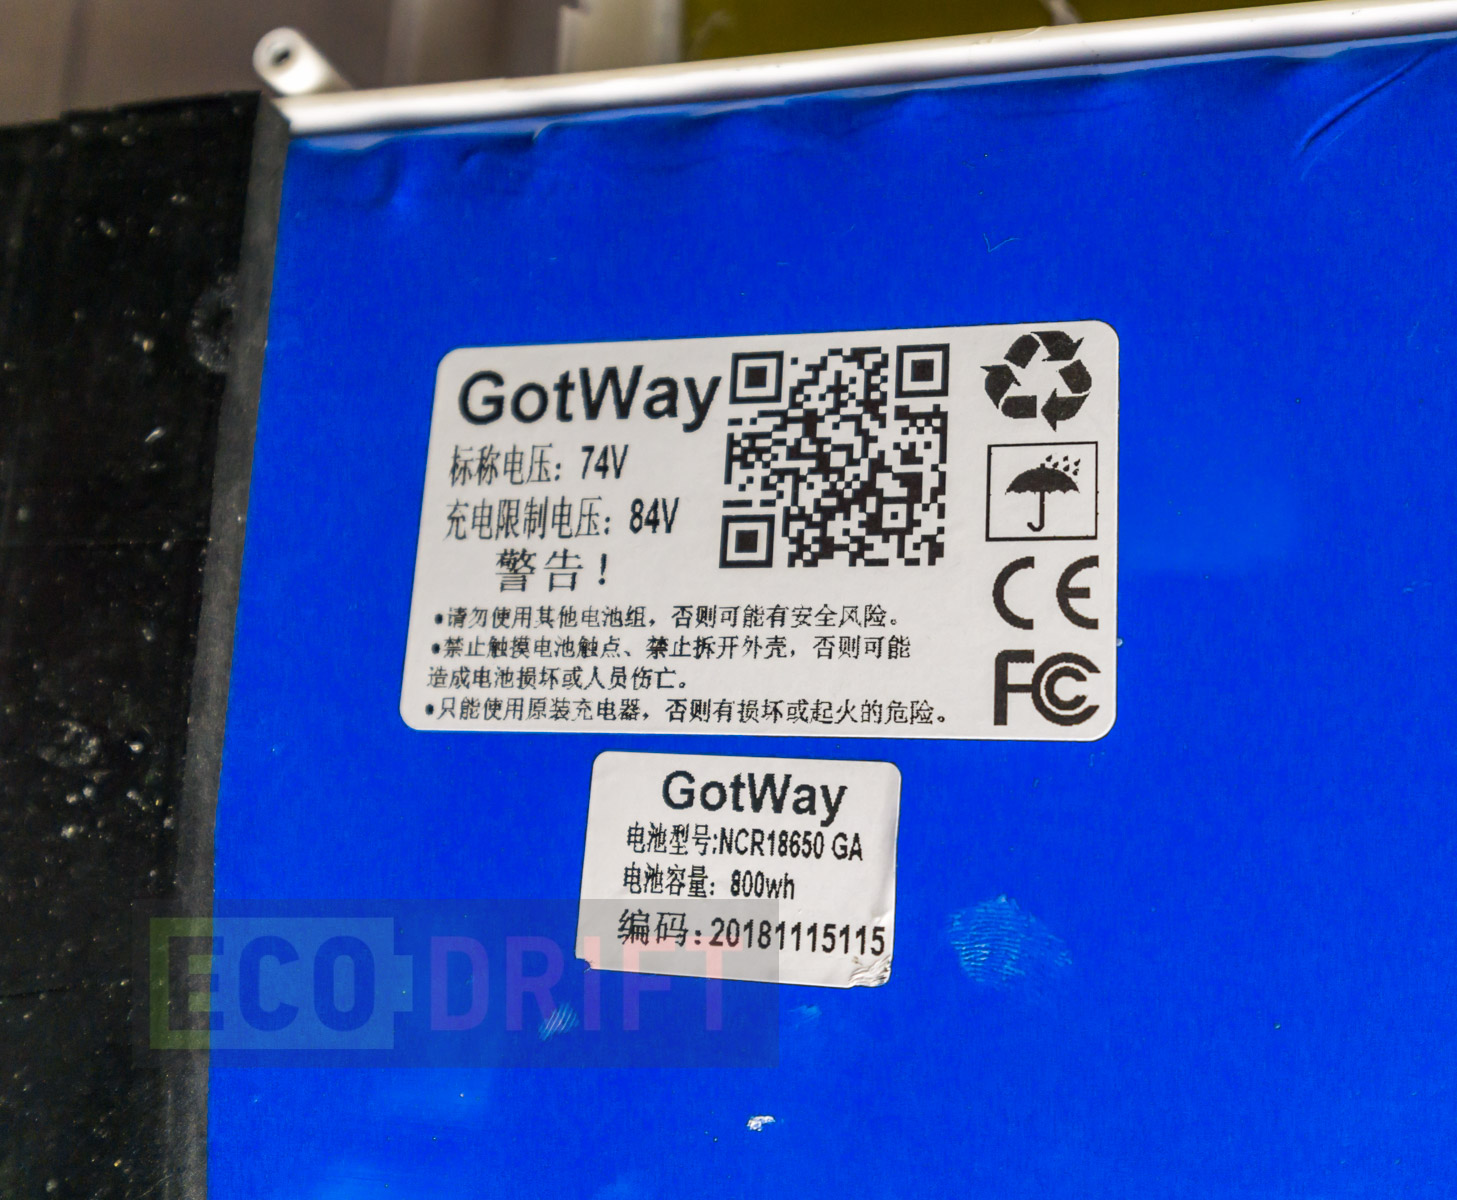
A standard battery contains thirty Sanyo NCR18650GA cels. If we take 3.7V as a rated battery voltage (that’s what other manufacturers do) we’ll get 777Wh. Two batteries together will give us 1554Wh. Same batteries are installed in MSuper V3. The body is attached to the pedal legs with proper screws with hex heads:
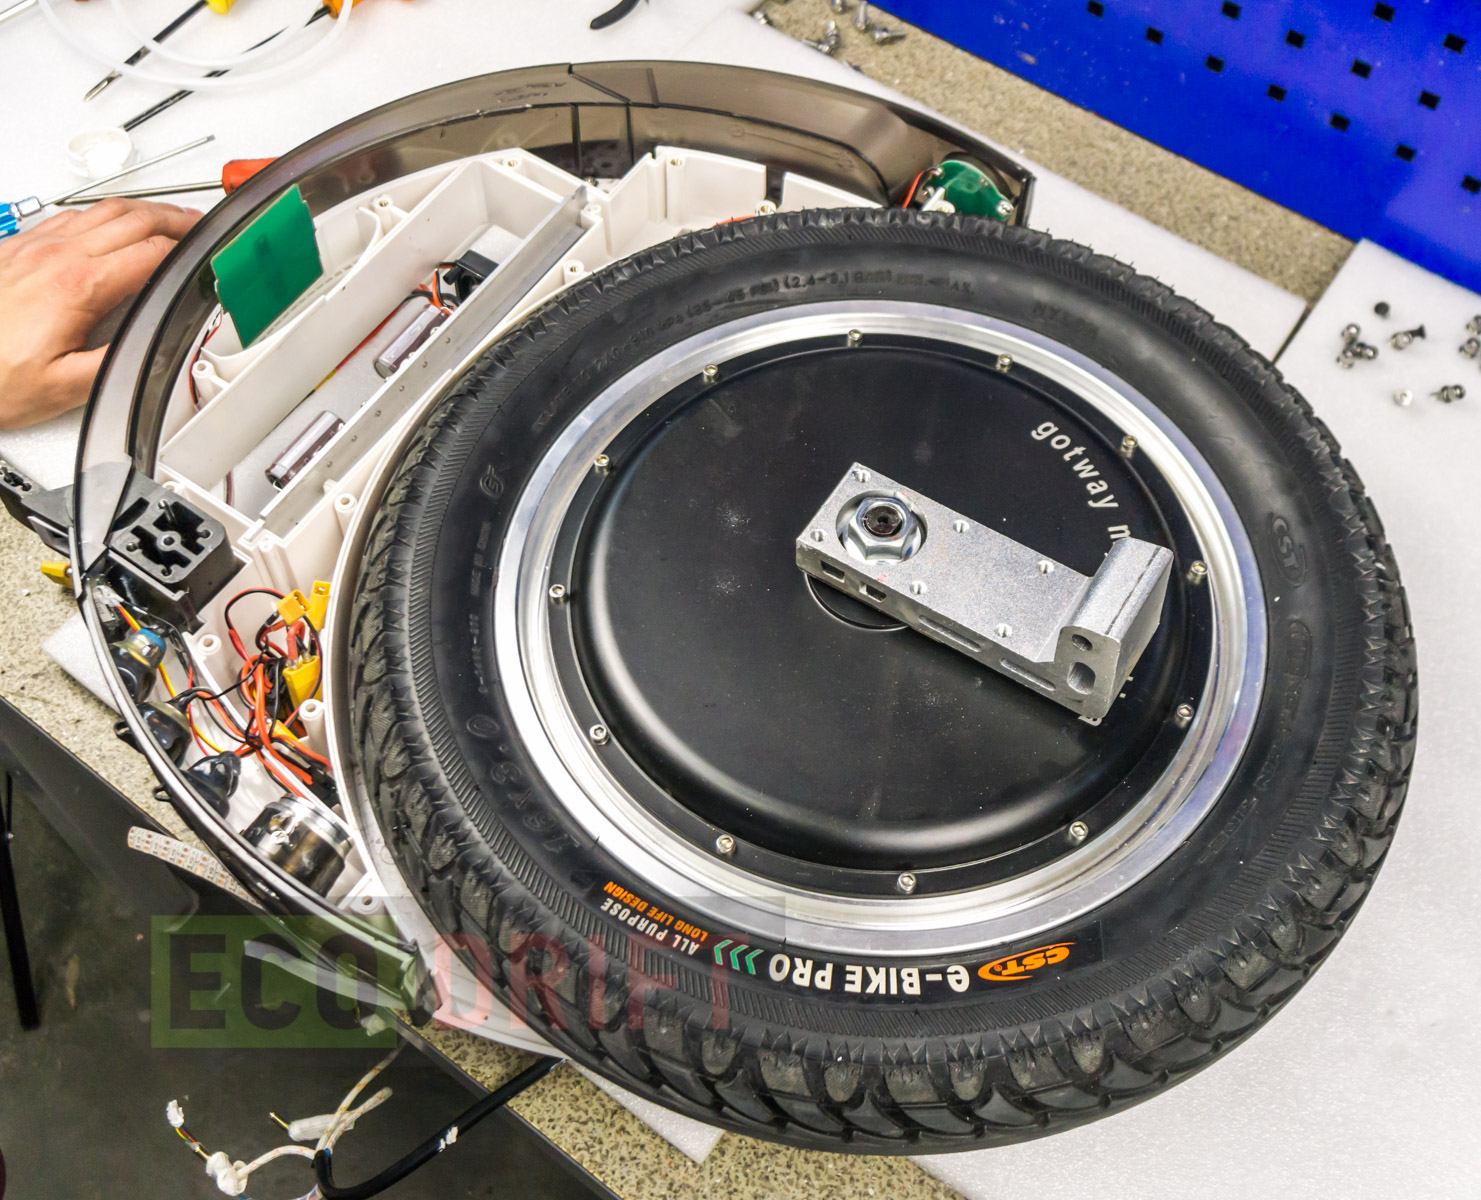
This is also great. And the motor nut is covered with a cap. We leave aside all our comments about the production quality. You can also see two caps that cover the slots. The thing is that two sides of the body are identical. Speakers are installed on one side while on the other side you’ll find caps. It’s OK. Unfortunately you can’t take the motor out without separating the sides of the body. This is a similar thing between Nikola and Tesla.
We take off the second cover the same way. We had a problem detaching the cover from the battery.
The second battery is facing down so we can’t see the labels:
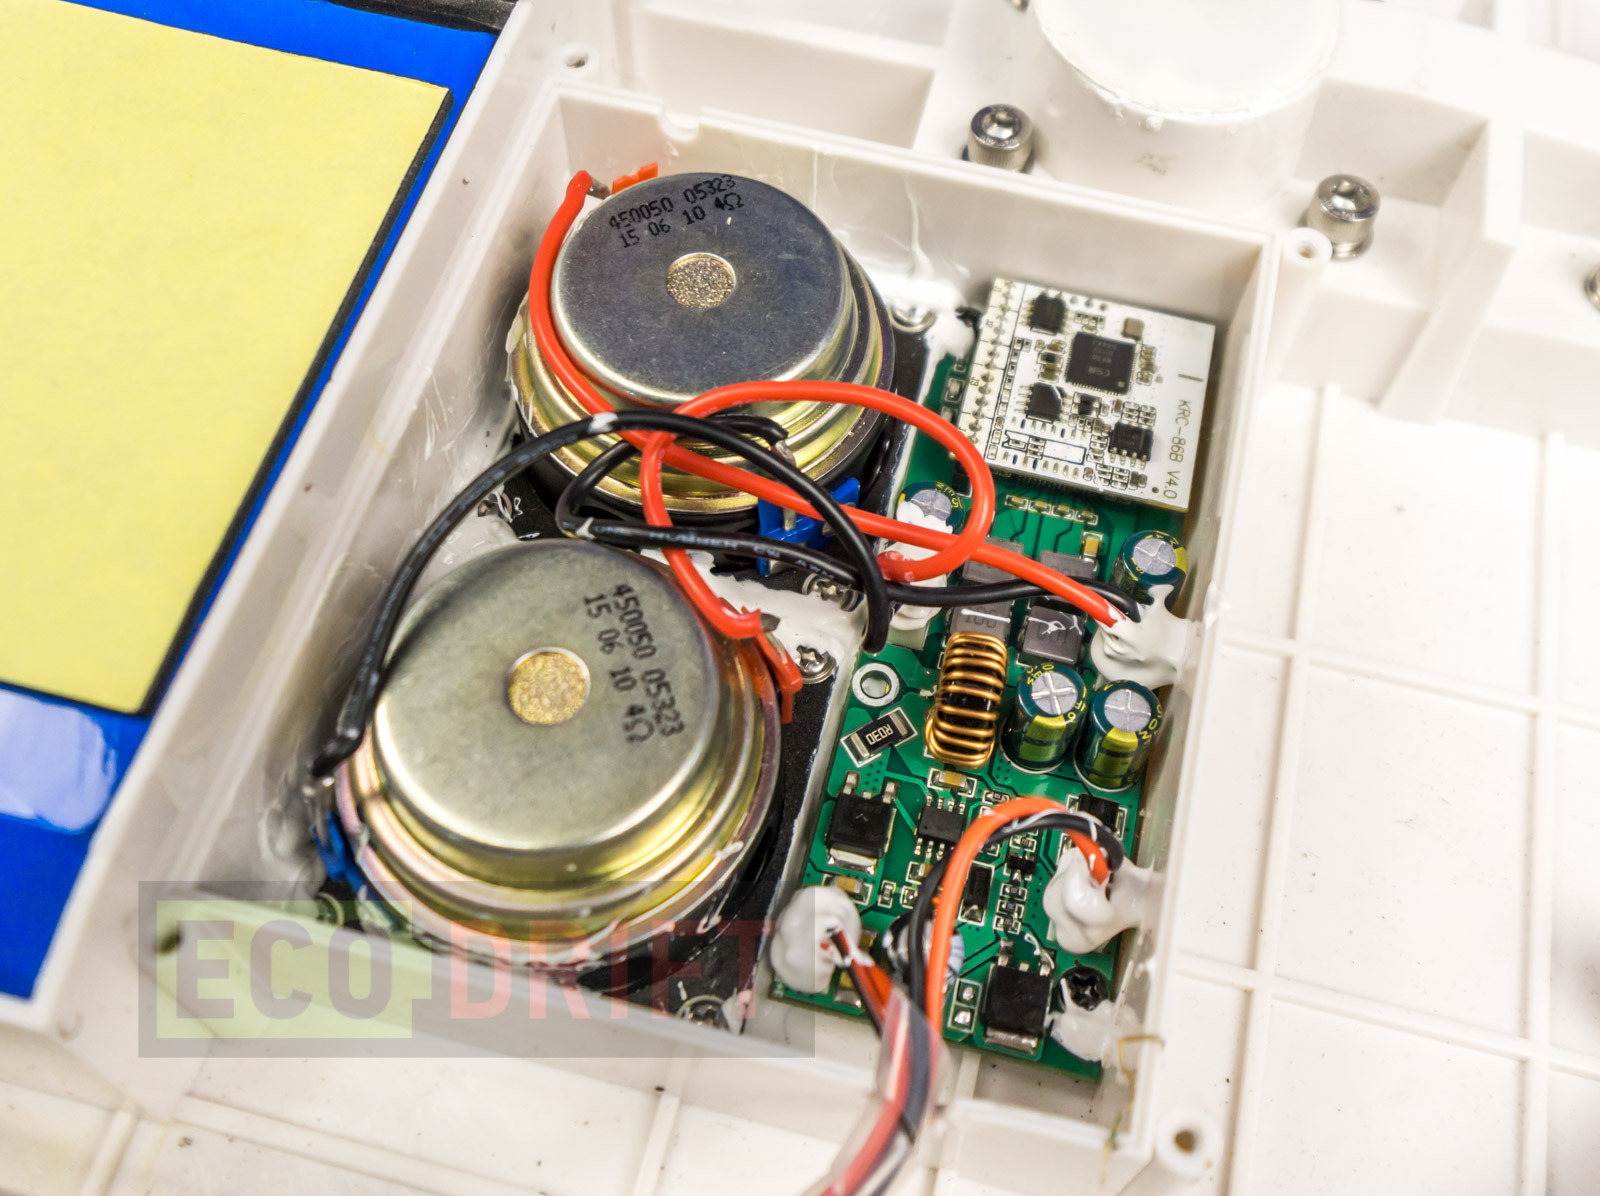
The second half contains the speakers and the music board that lights blue when powered:
The motor is attached to the body the same way except for the protective cap:

A wire goes out here:
If you want to extract the motor you’ll have to brake this cap out to push the wire through. Only time will show if this cap provides any mud protection. Anyway it looks better then MSuperX.
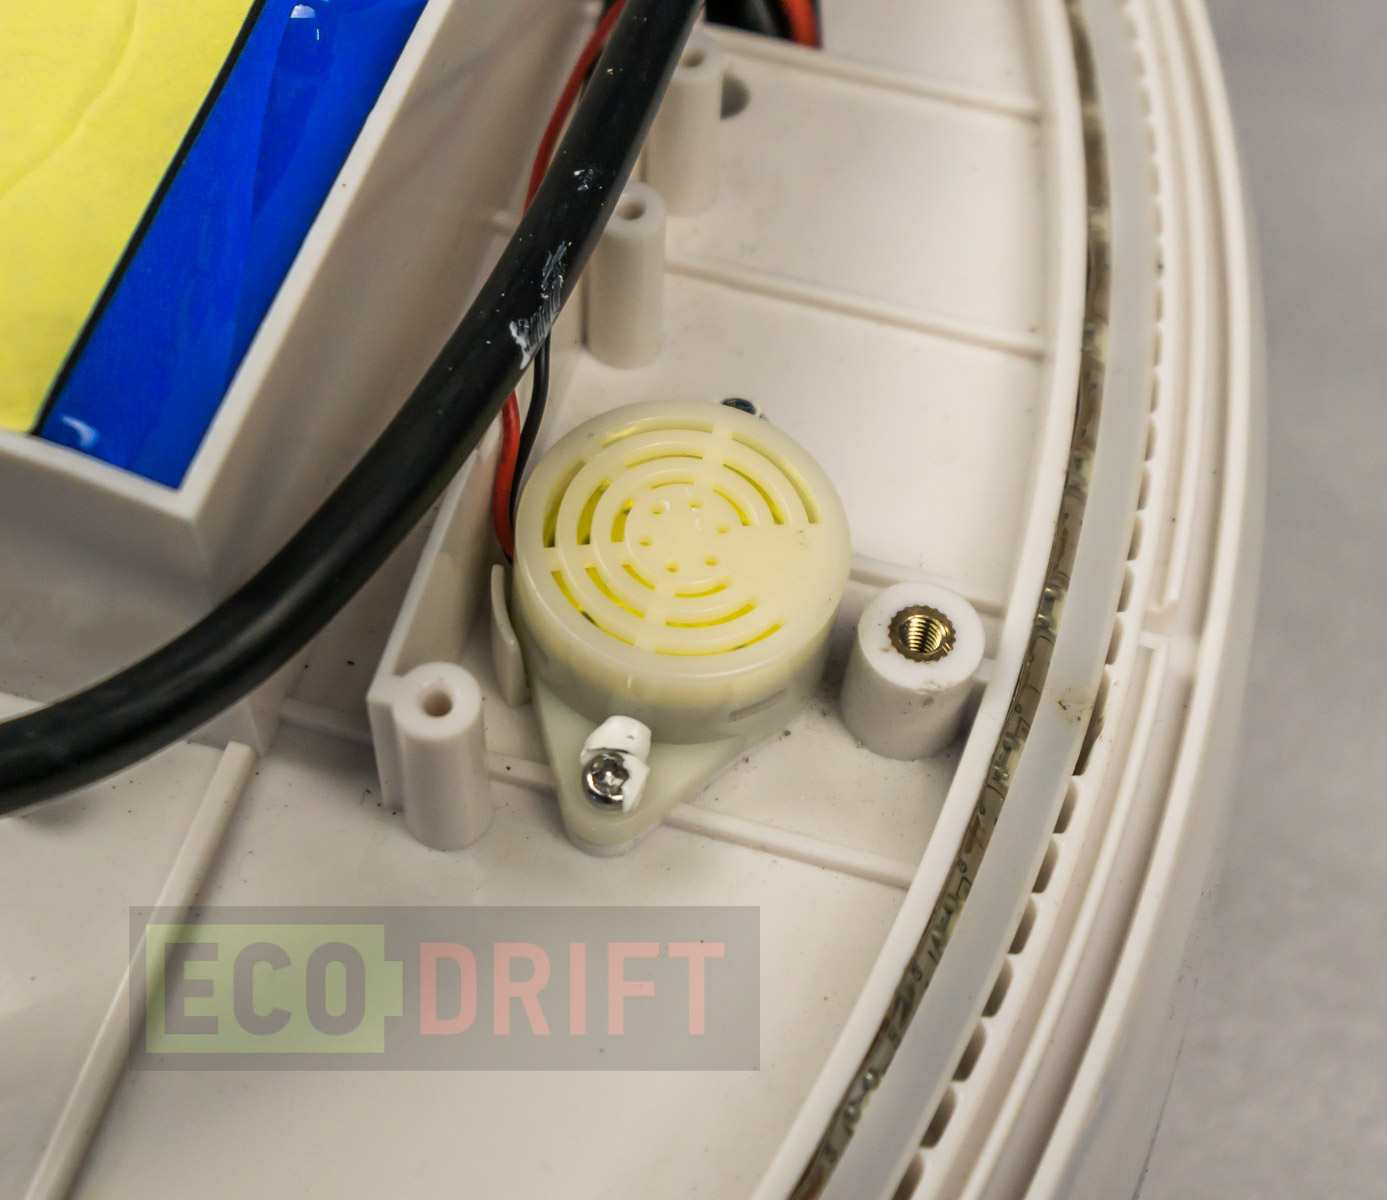
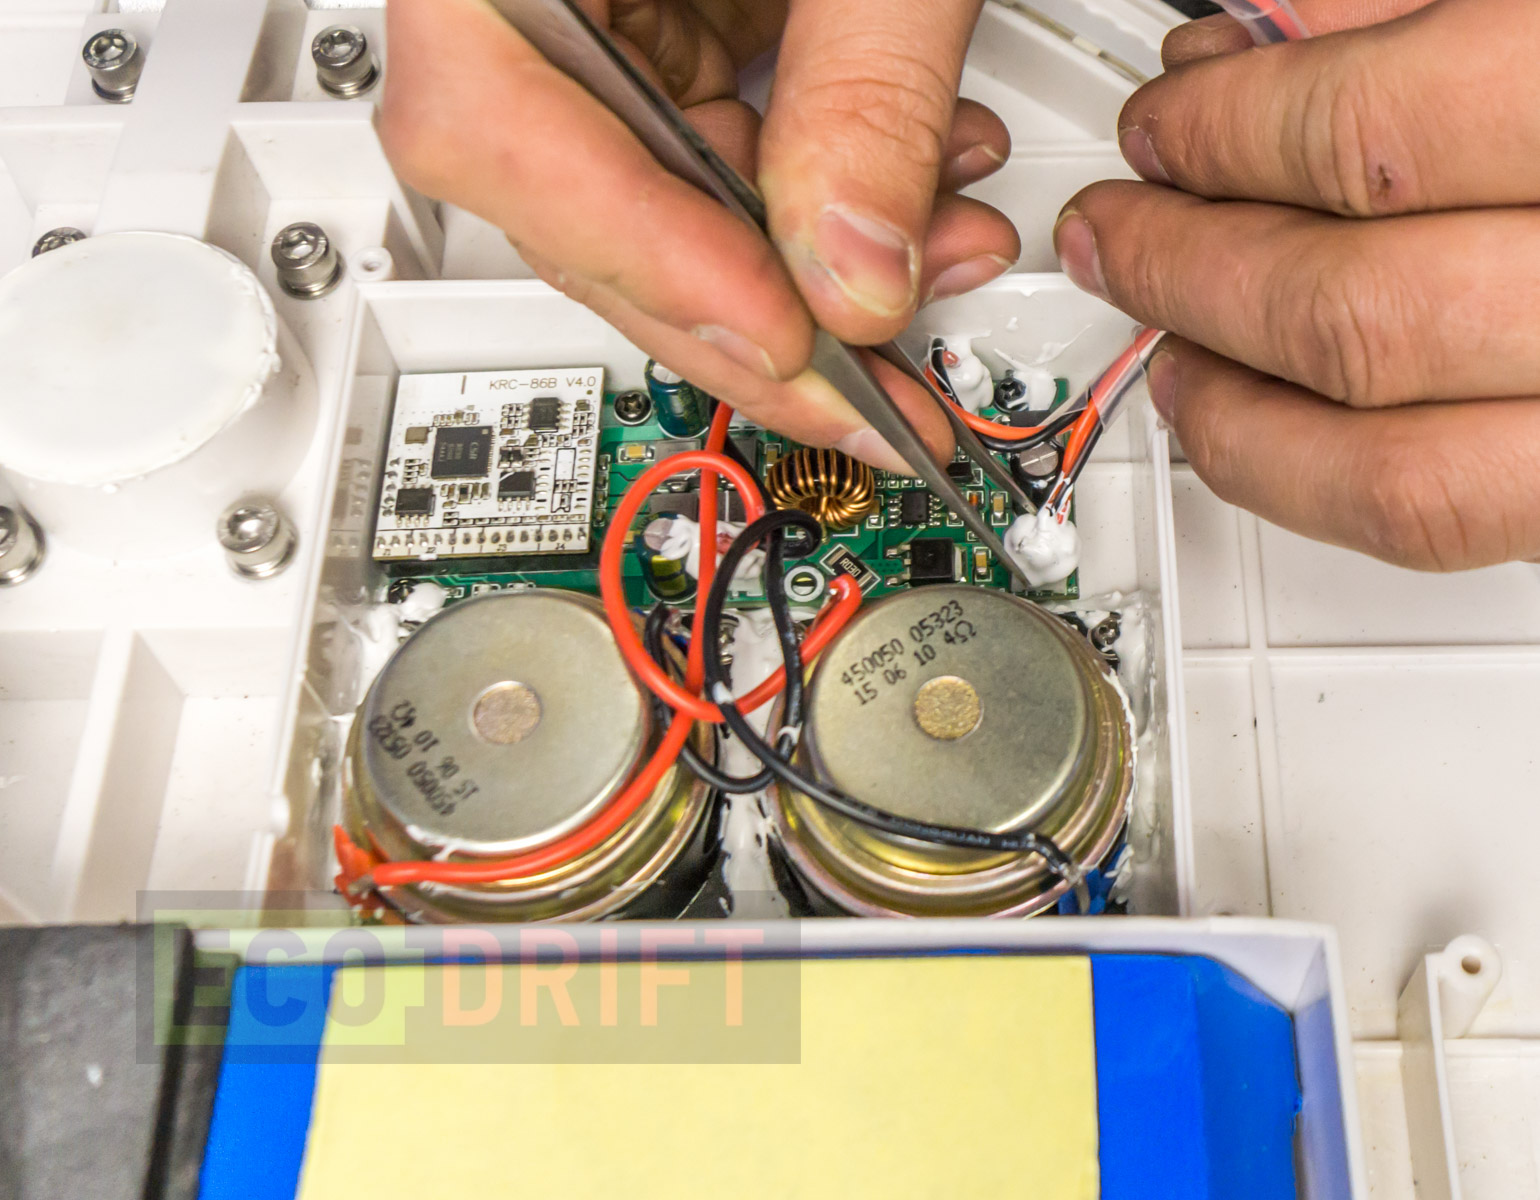
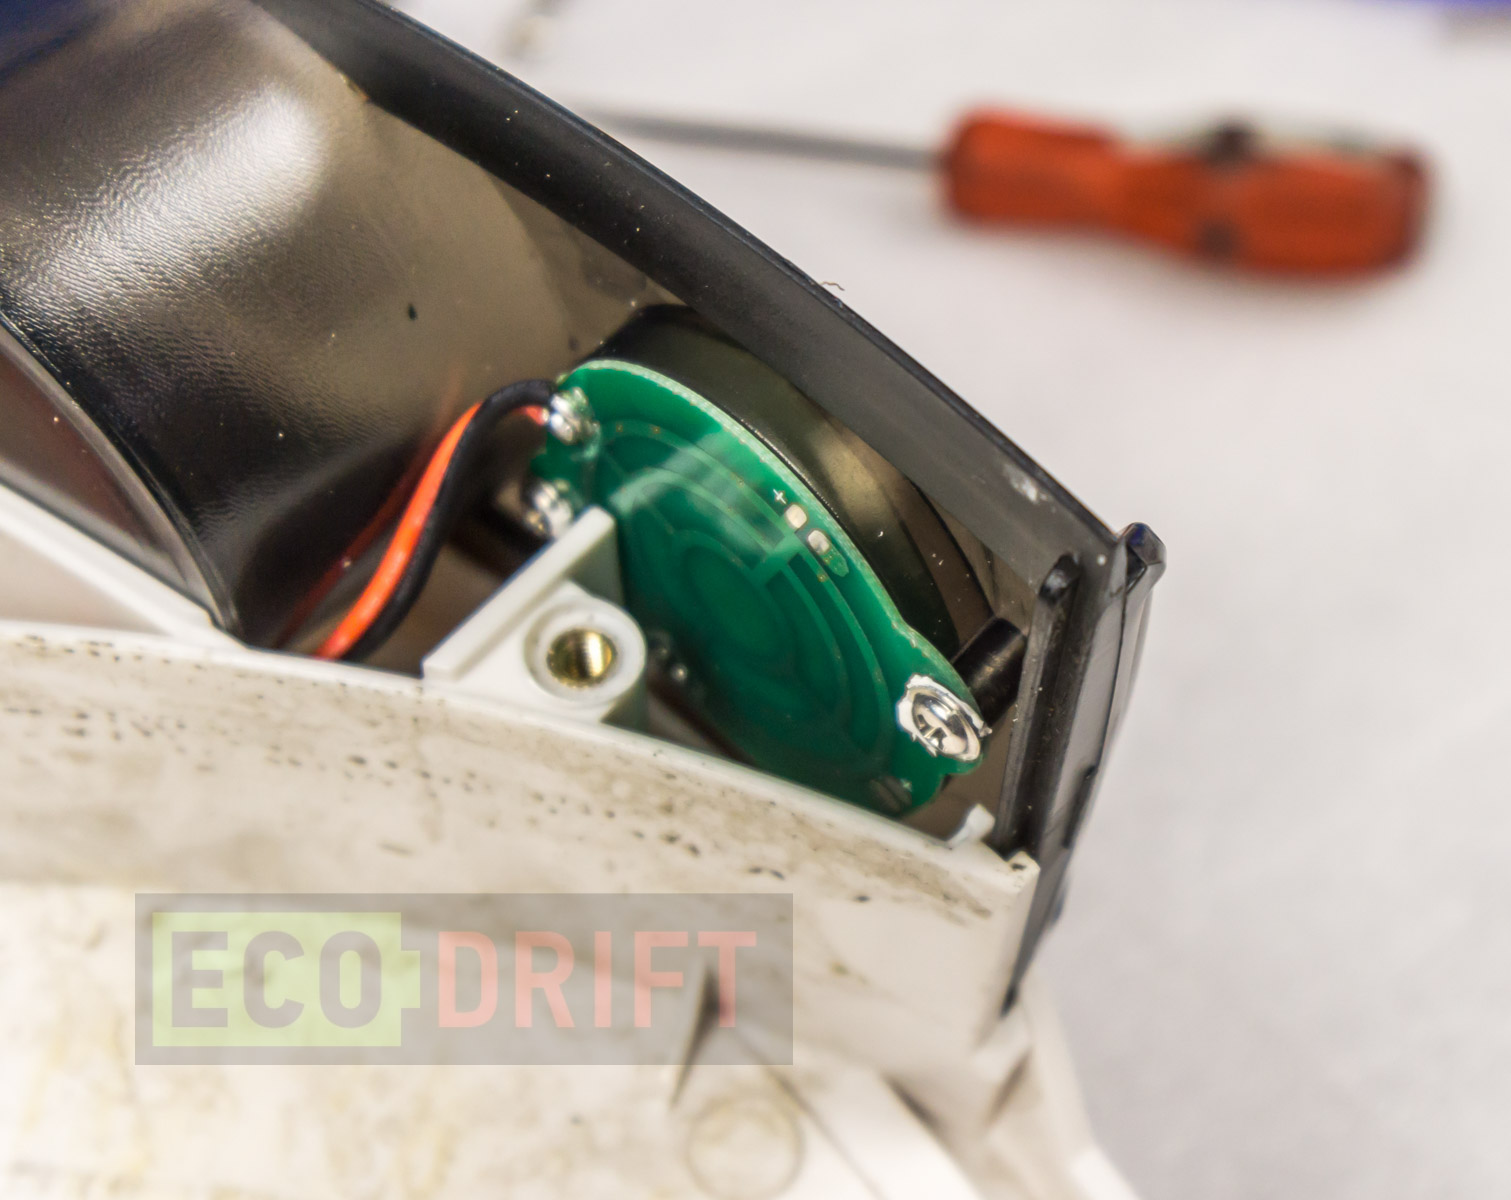
Control board speaker:
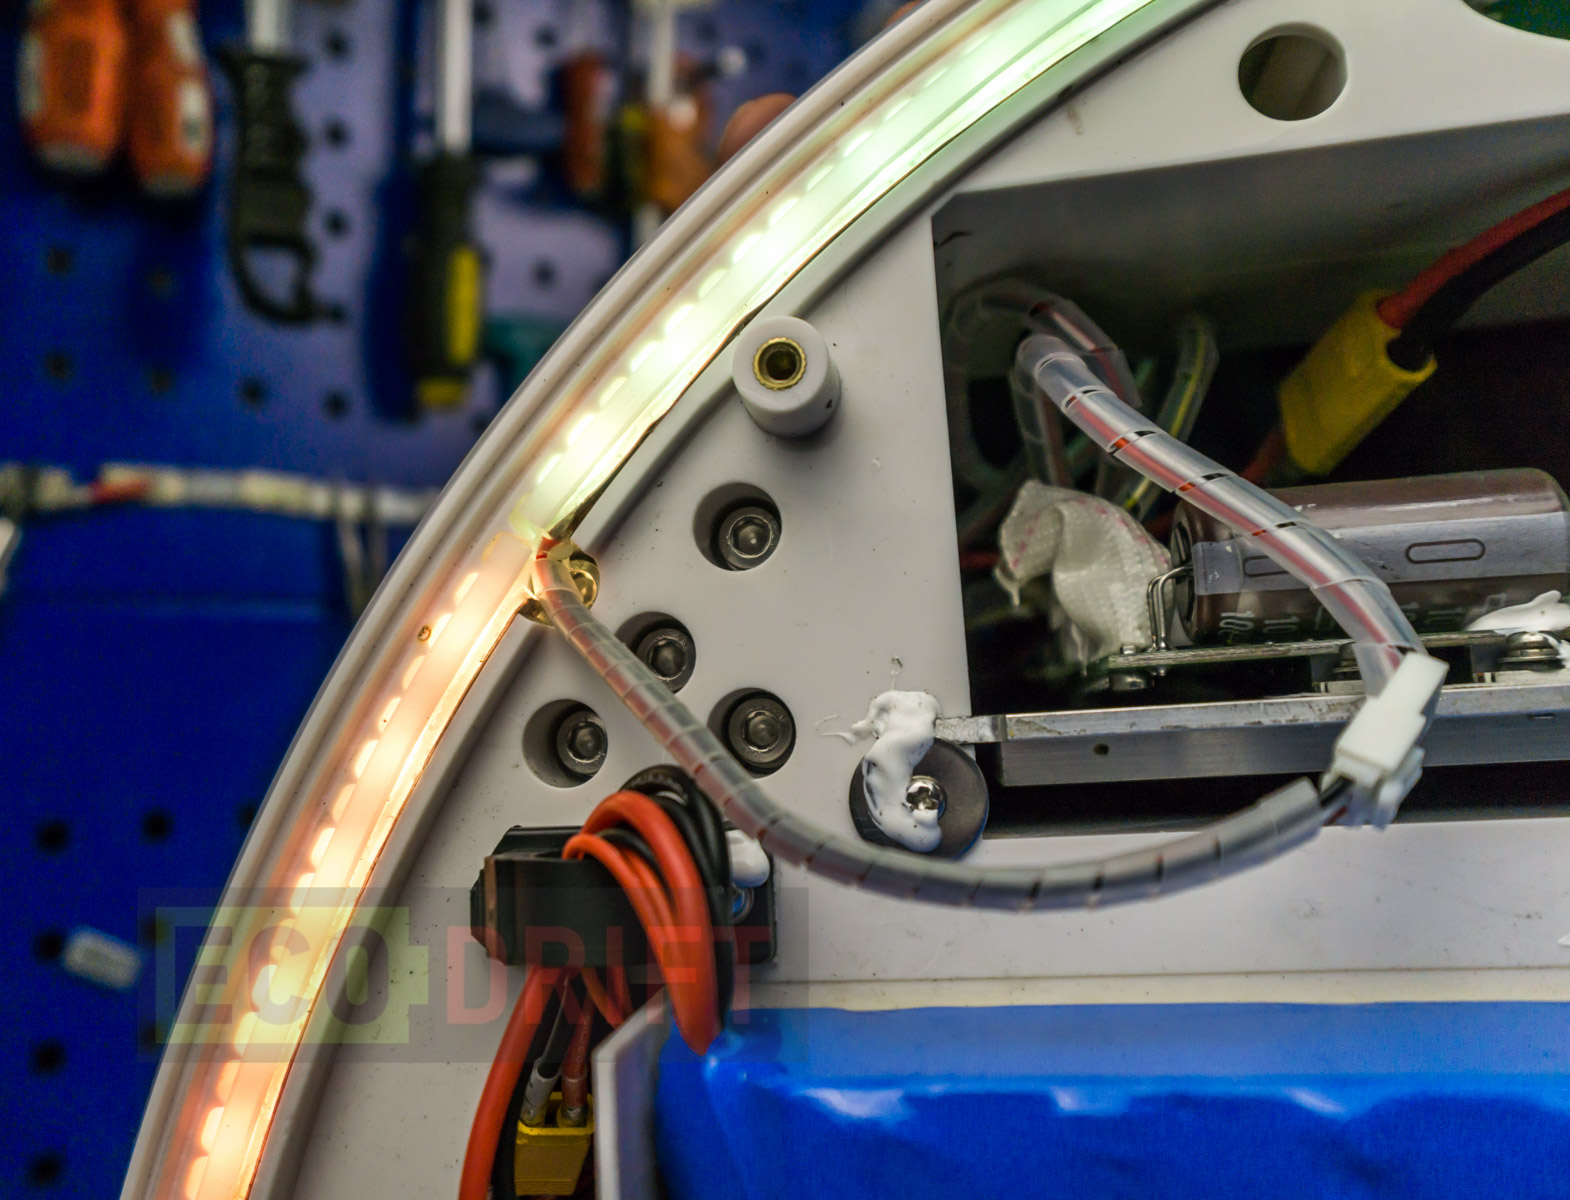
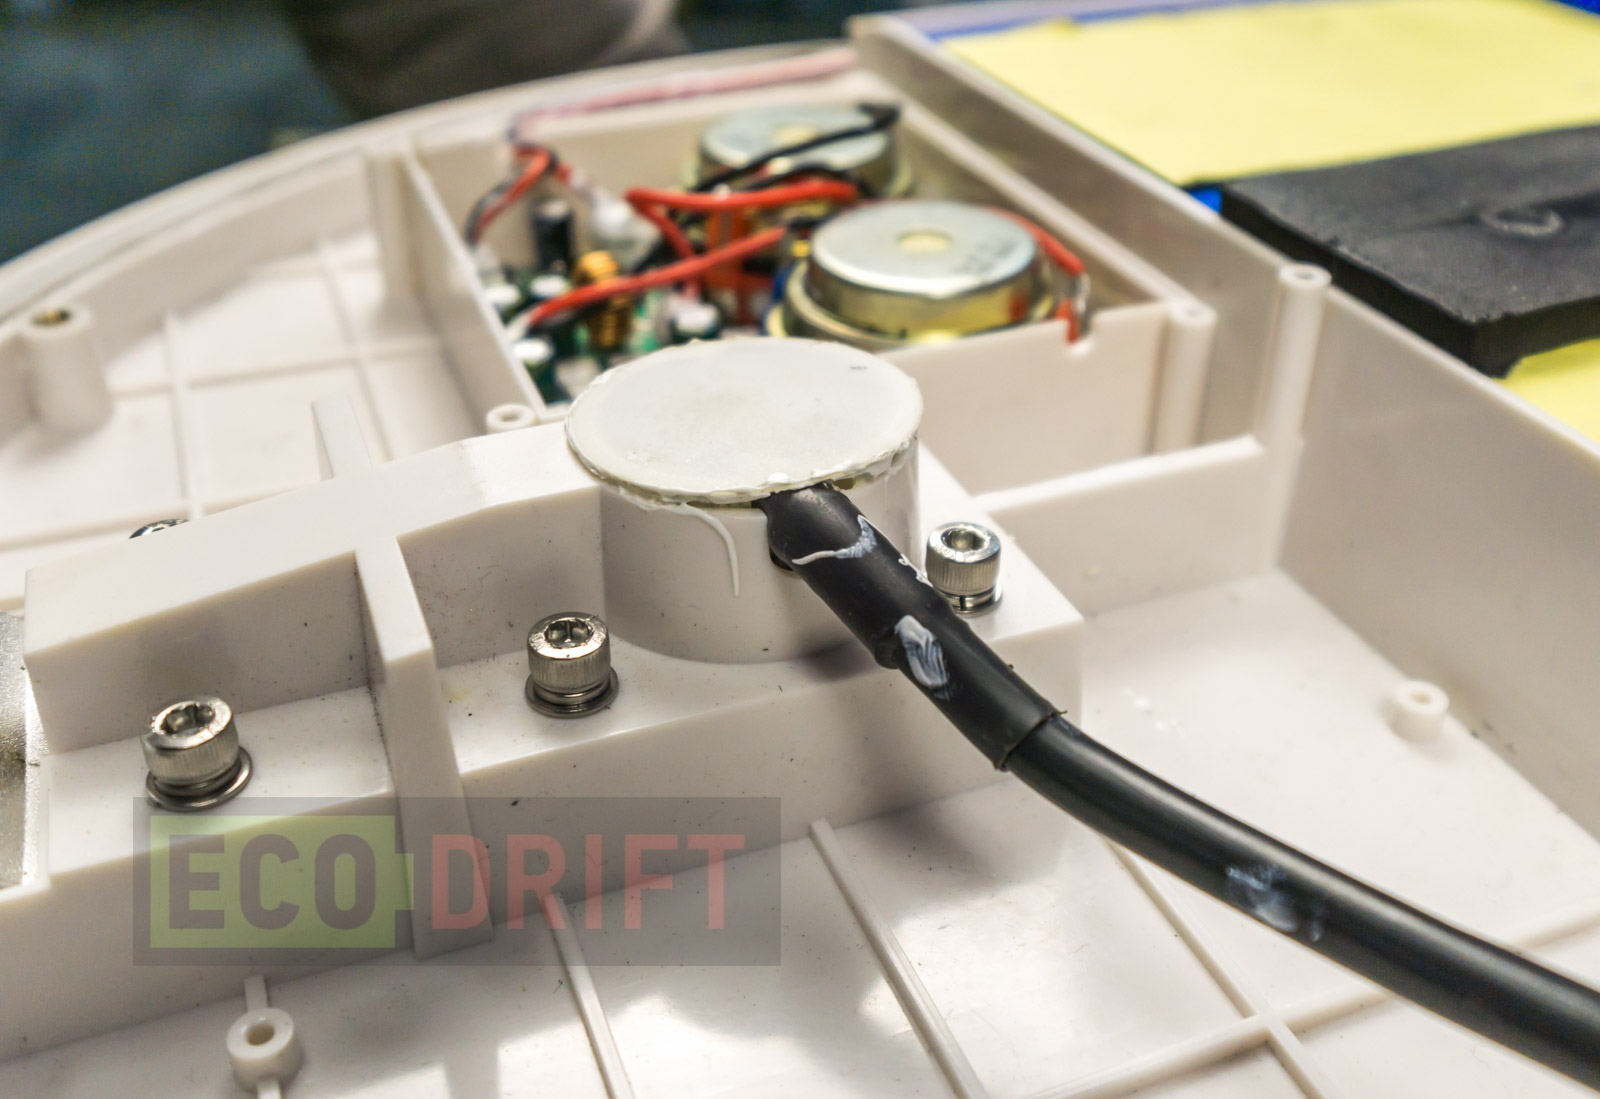
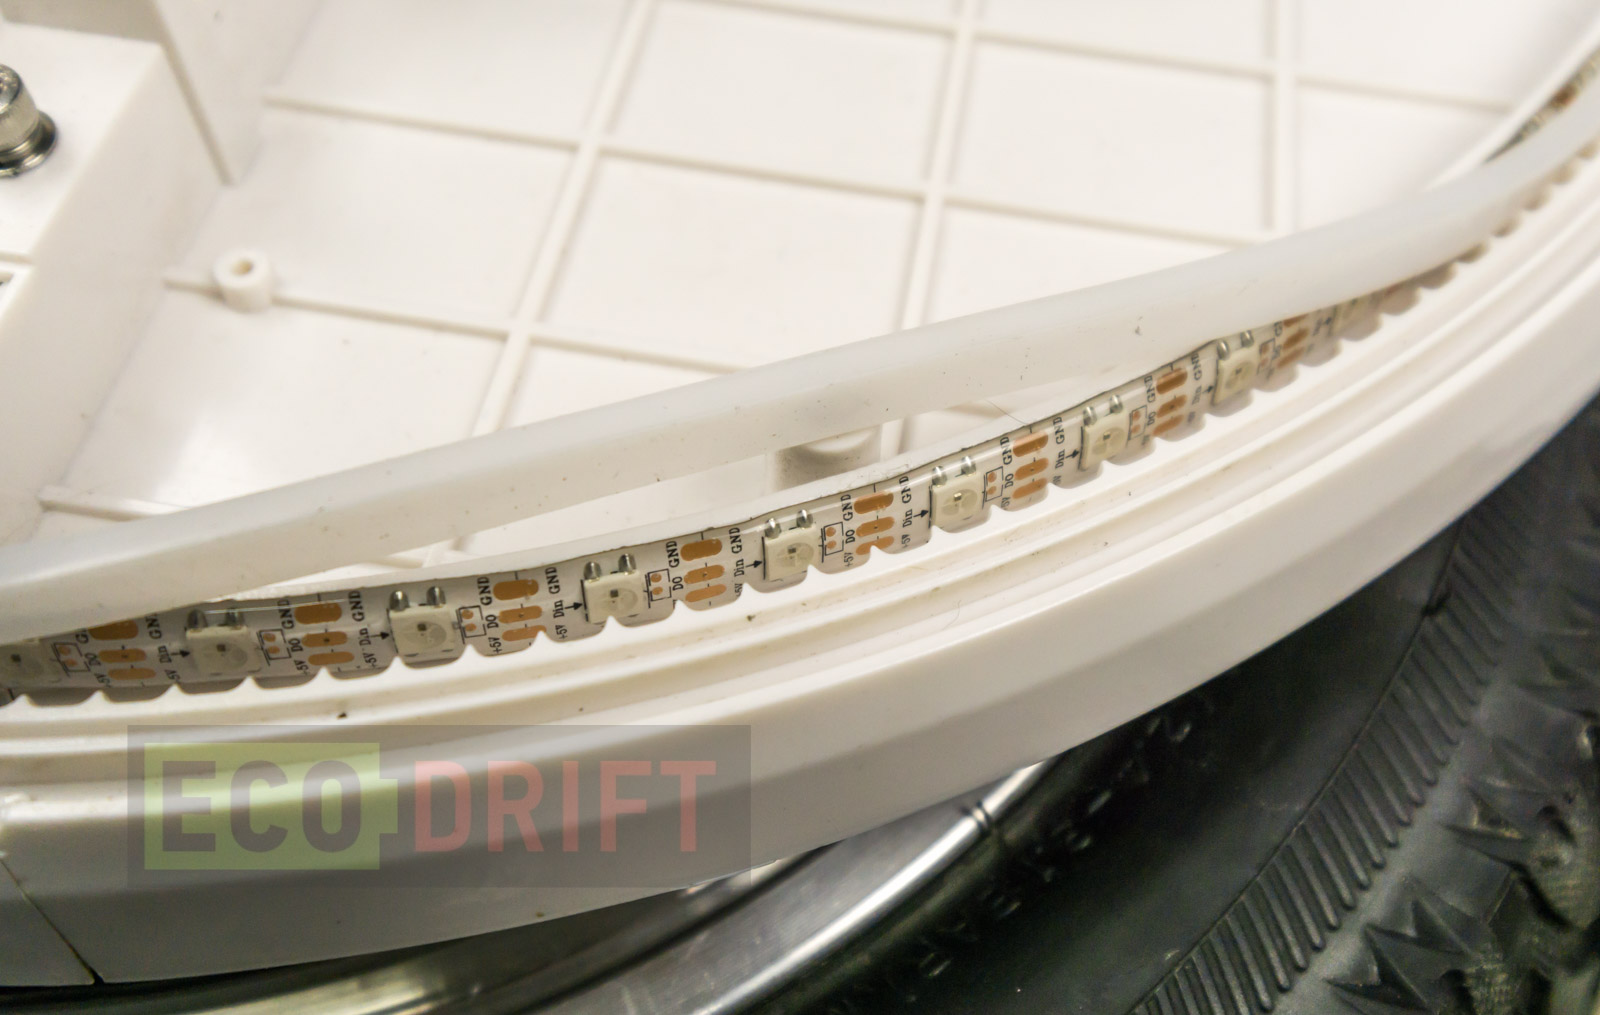
LED stripe is covered and waterproof. A flexible plastic stripe is required to provide a smooth and beautiful dispersion of light from the LEDs:
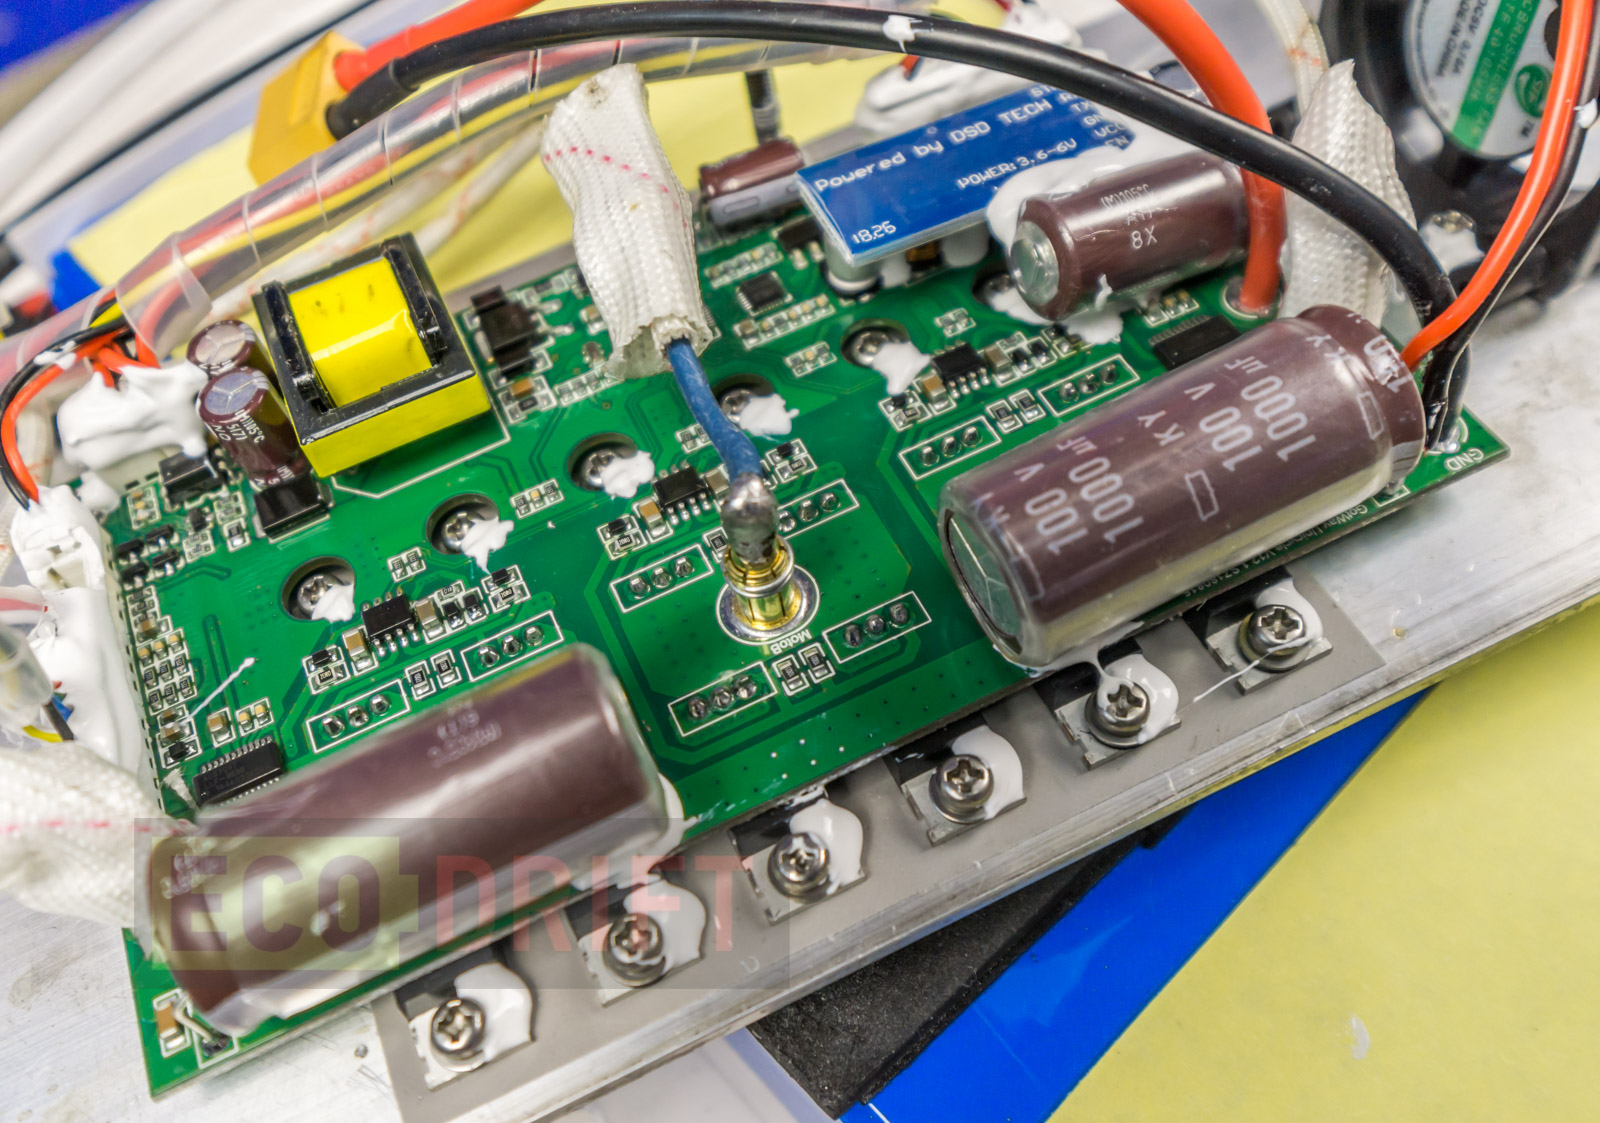
Mainboard:
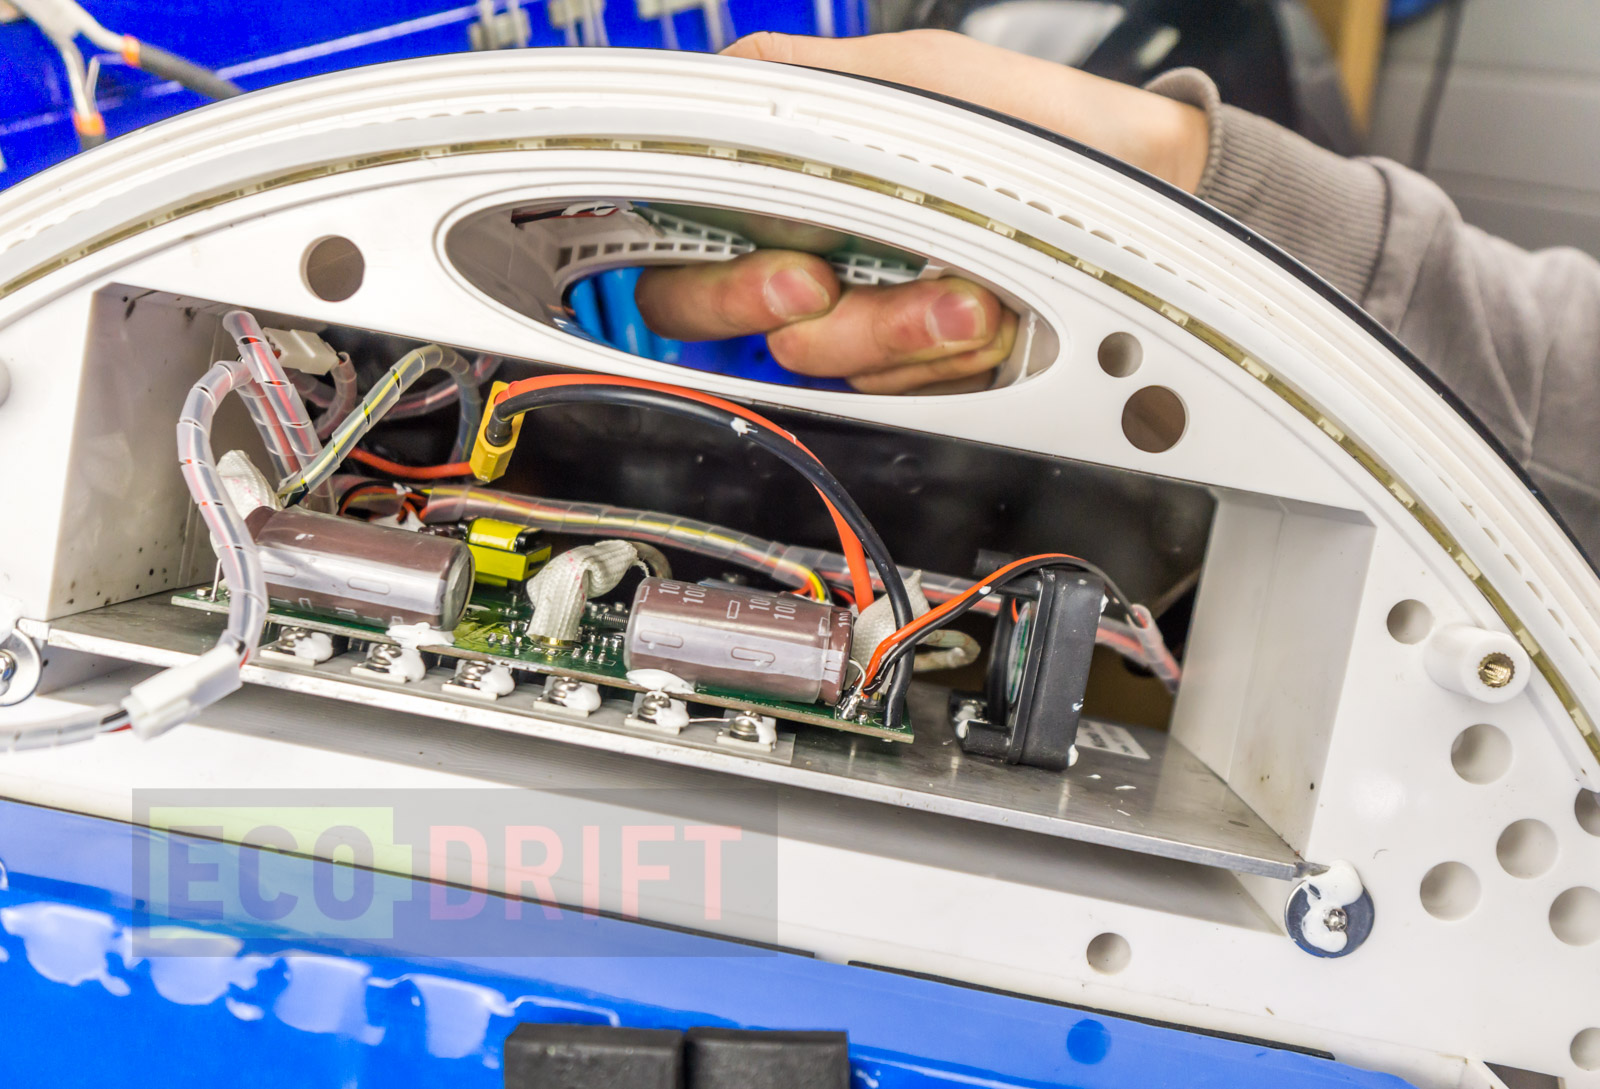
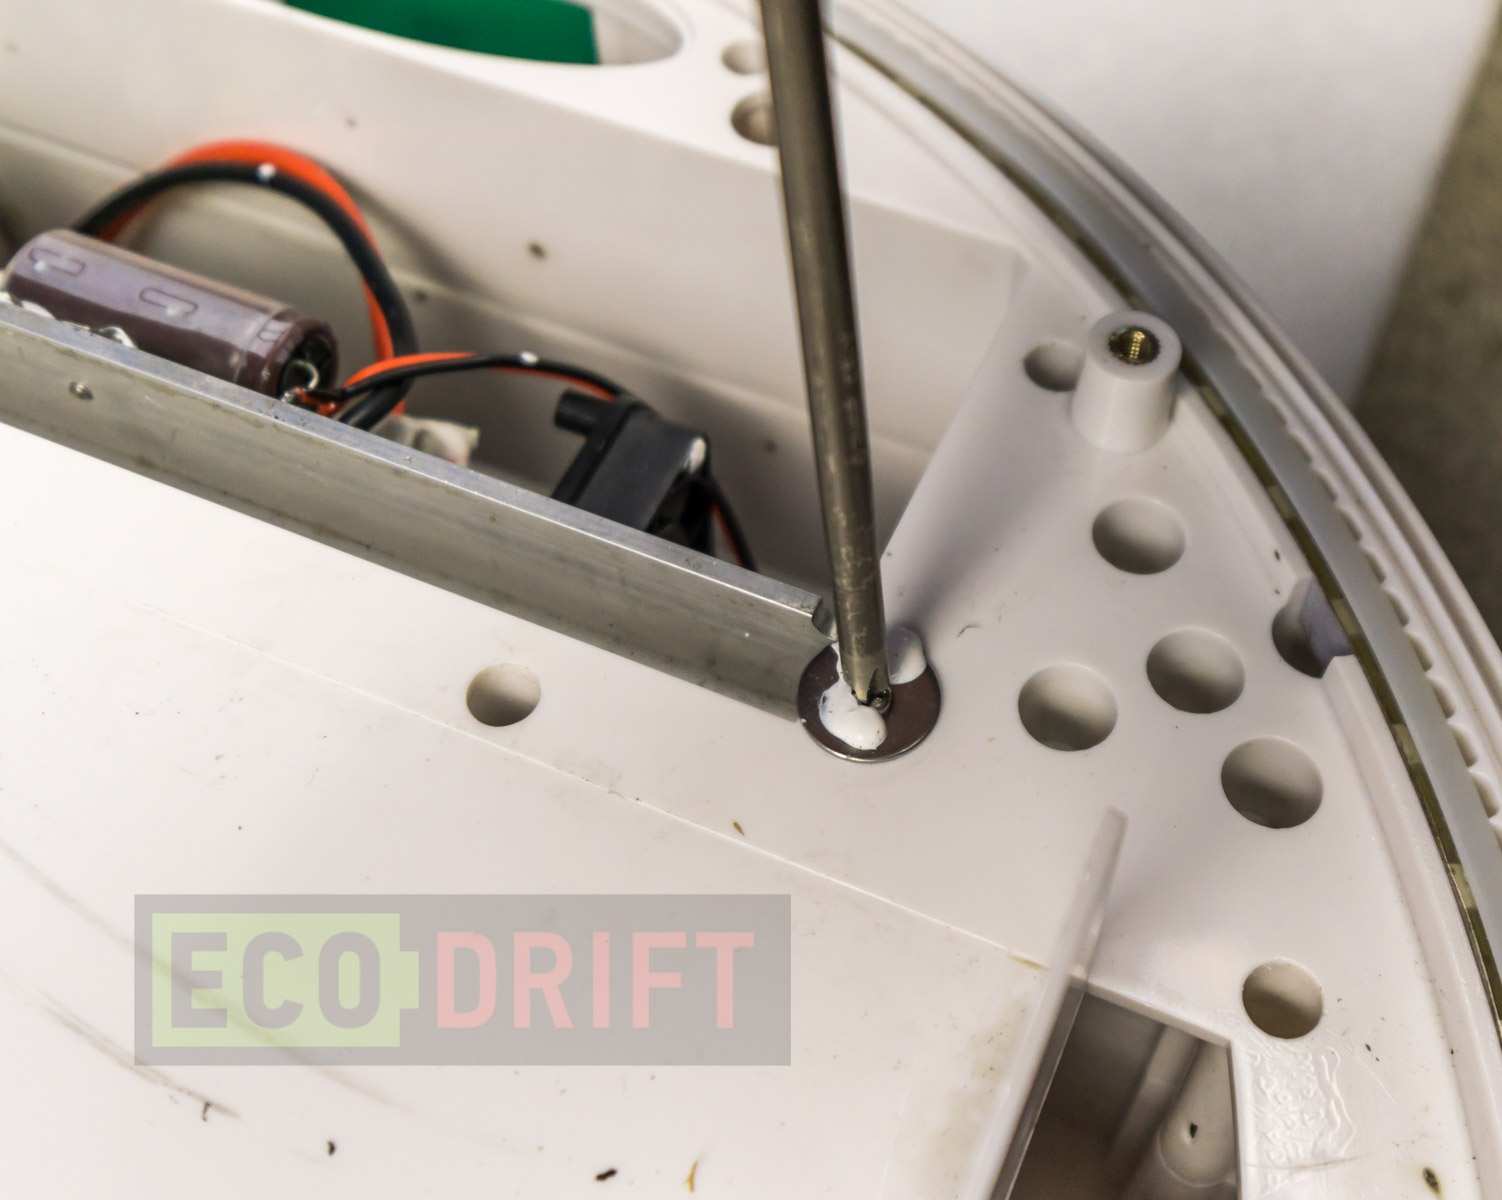
It is mounted in a classic way through the plain washers:
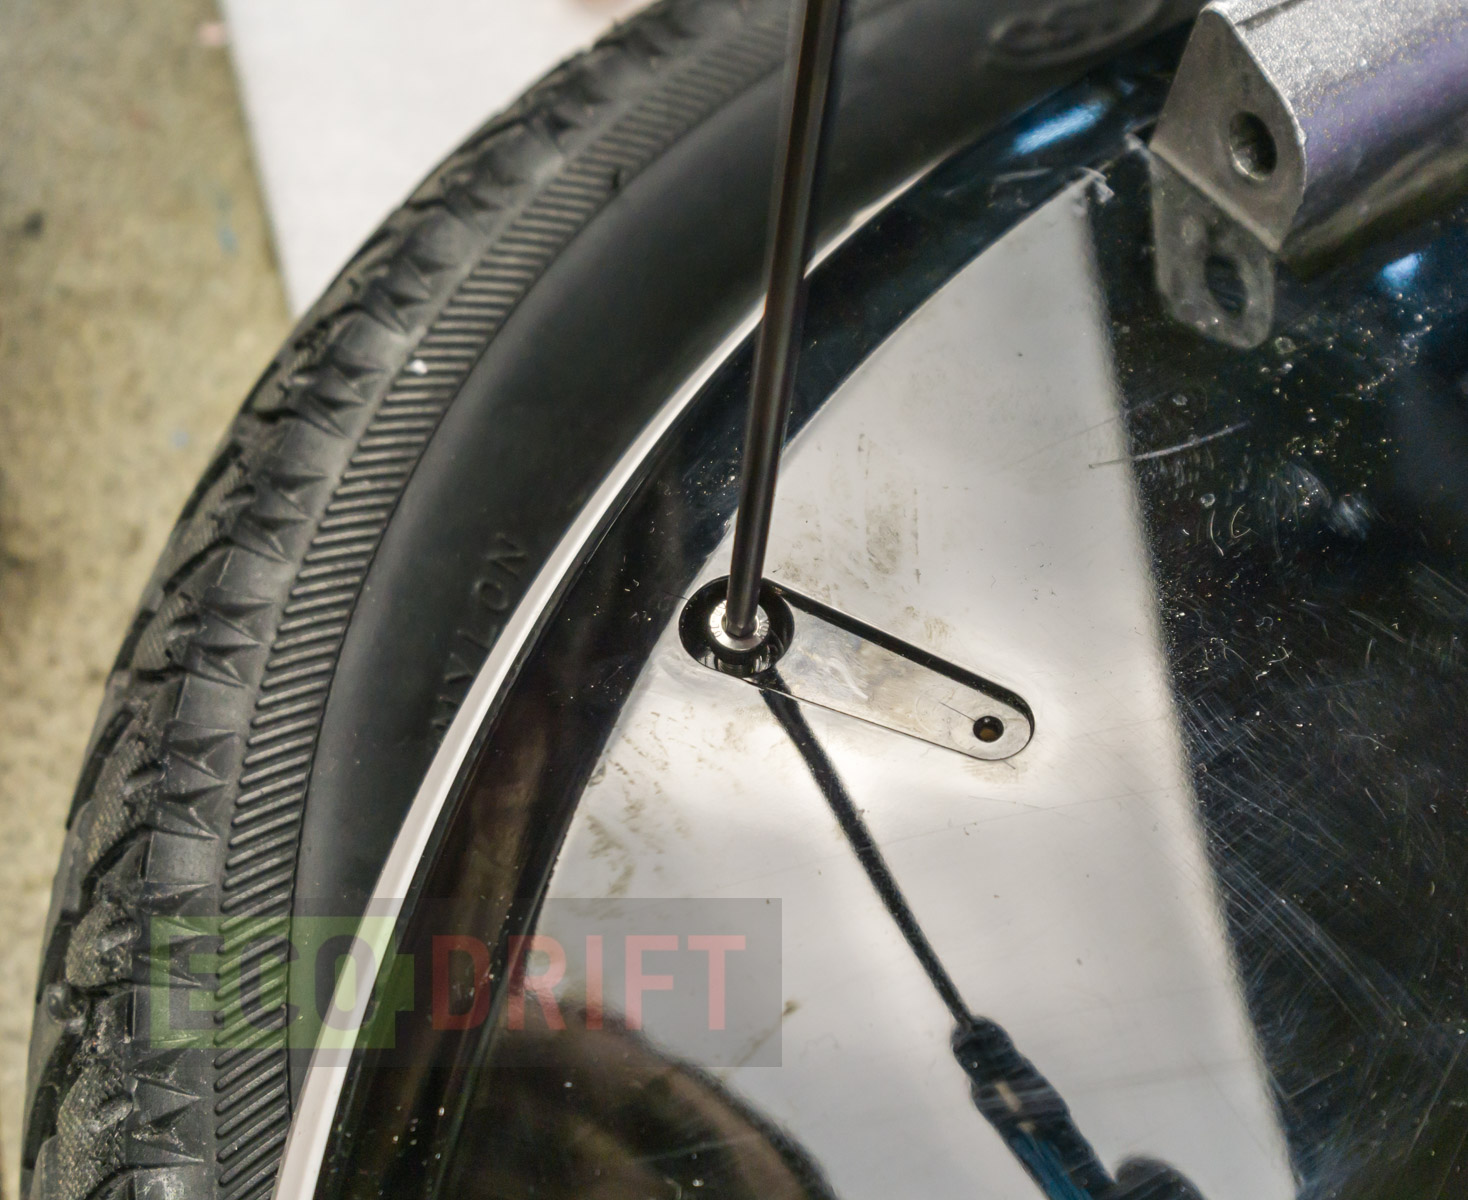
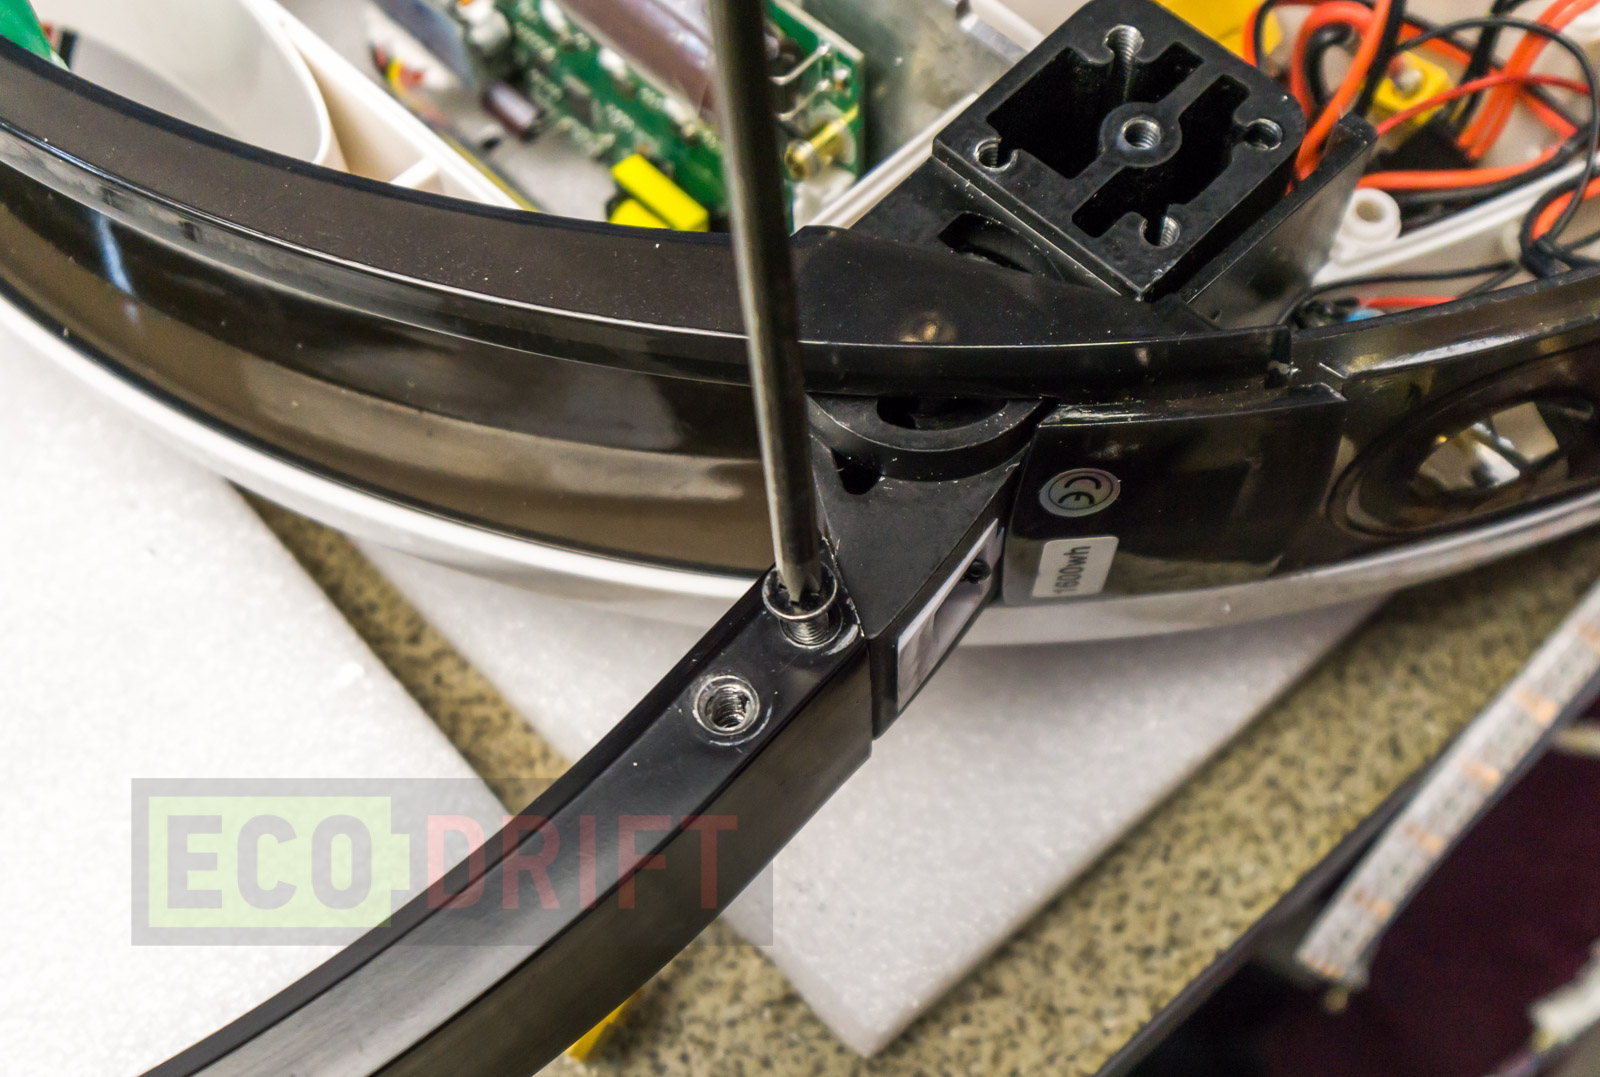
You’ll need to unscrew the folding handle to disassemble the body:
To prevent the motherboard movement inside the slot Gotway came up with this kind of a solution:

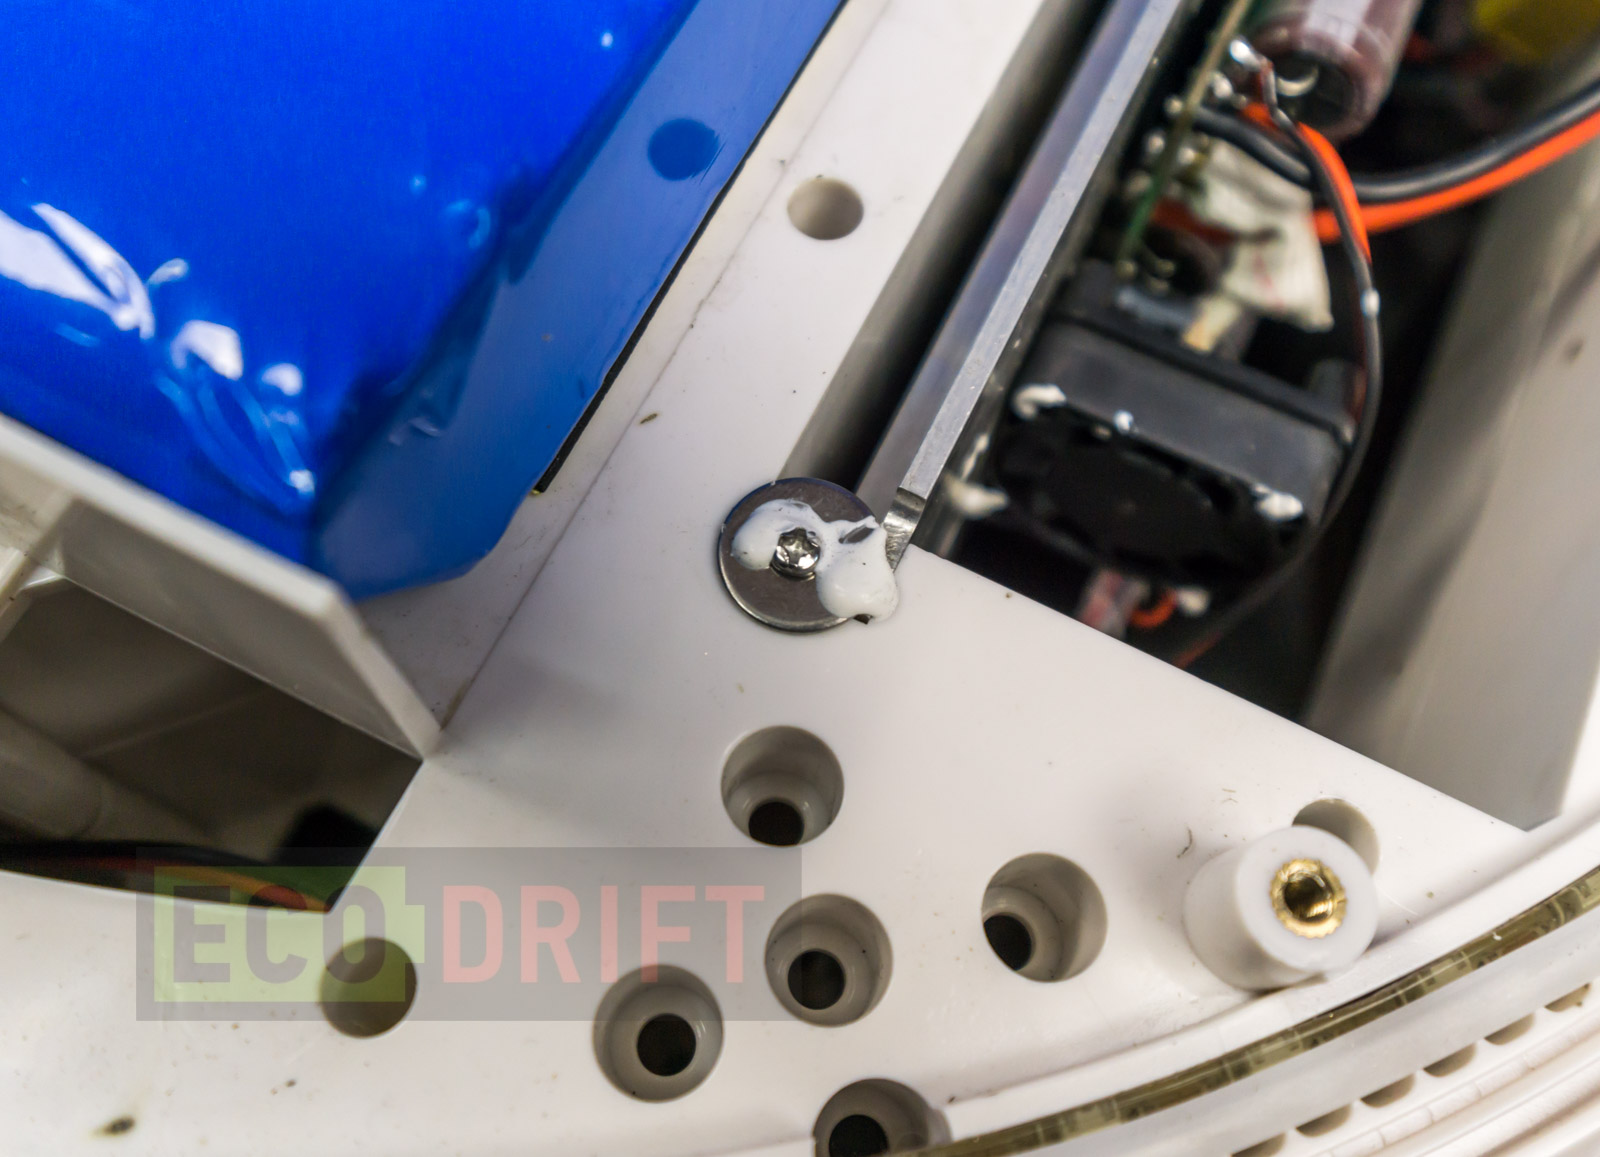
This is a long screw that prevents the controller board plate from moving. Again no comments on the quality. The screw should also be removed:
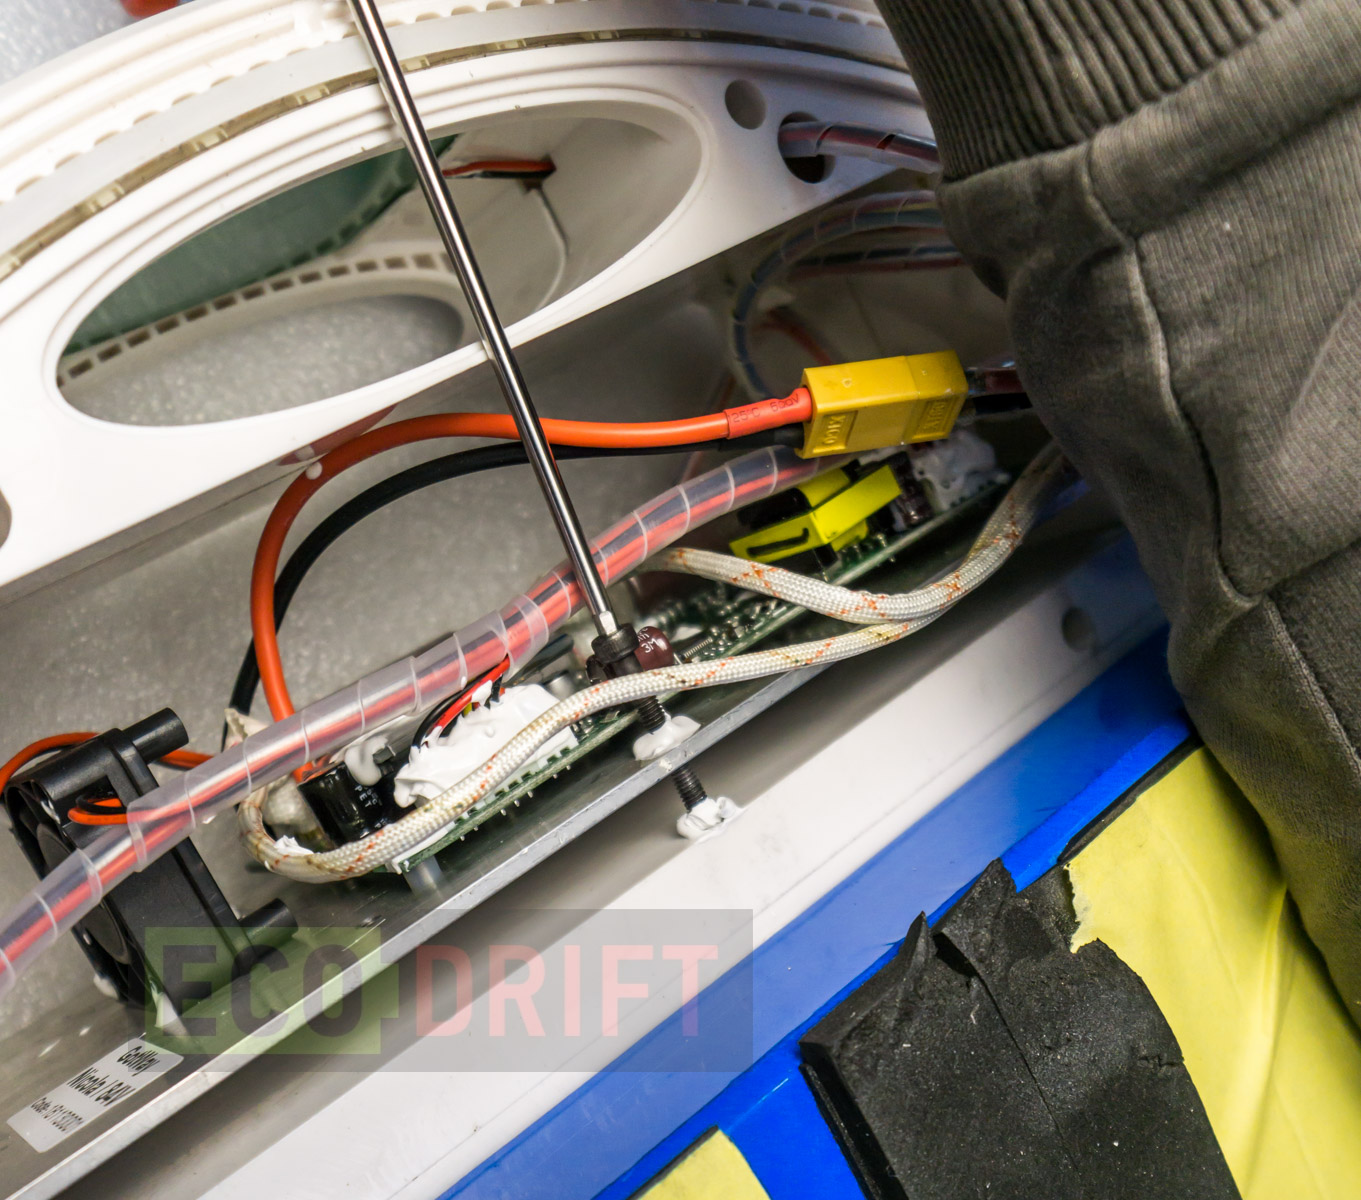
Detaching the controller board mount:
Extracting the mainboard:
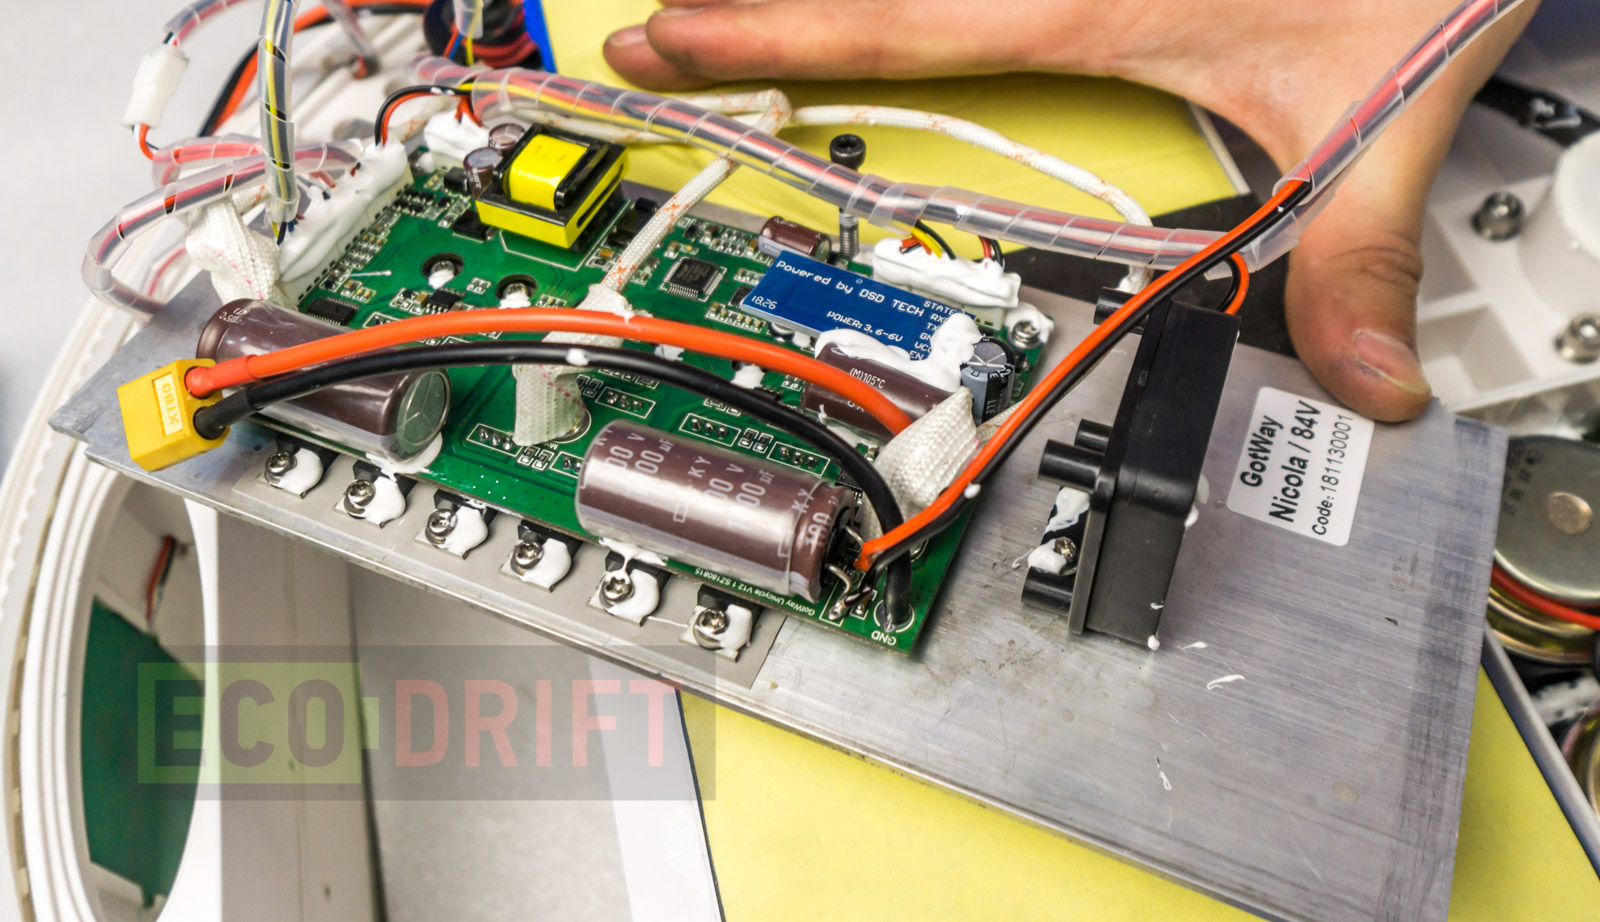
The motherboard is exactly the same to the one in MSuperX. The only difference is that the MOSFETs now have a small body. I’ve asked the Gotway team why was this unit changed. They told me that they had significantly improved the motor control program. The mainboard performance has become more efficient and that made enhanced MOSFET heatsink unnecessary. They will no longer heat up that much even on the MSuperX. So it’s quite possible that the new mainboards for the MSX will also get that type of MOSFETs.
Removing the phase conductor cover:
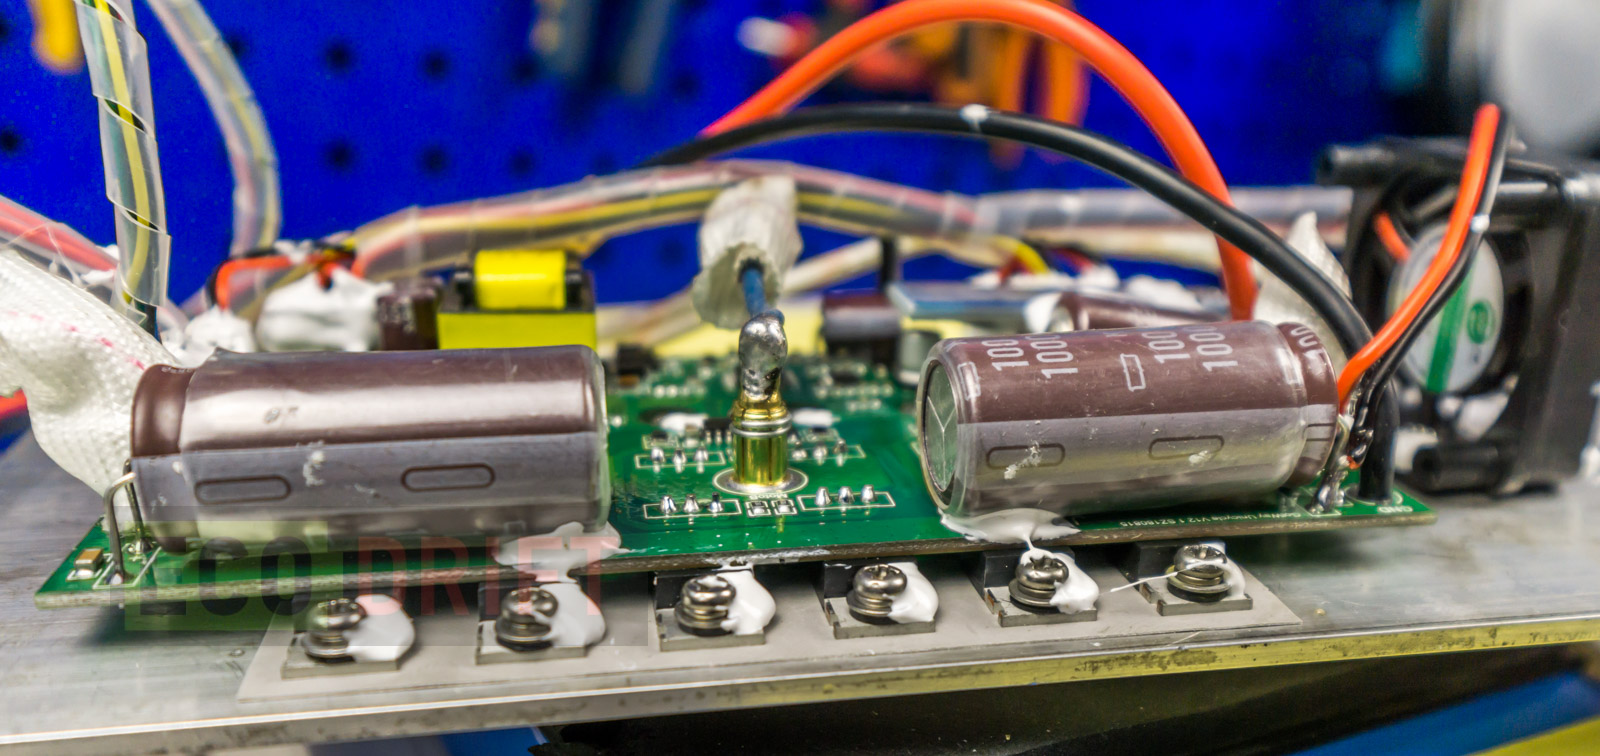
Another look at the mainboard:
We unplug connectors to the battery and the music board to remove the controller board:
Unscrewing the pedal legs from the body:
Removing the screws that keep two halves of the body together. We found one more screw under the LED stripe:
Removing the handle for an easier access:
Now all we need to do is to pull it up:
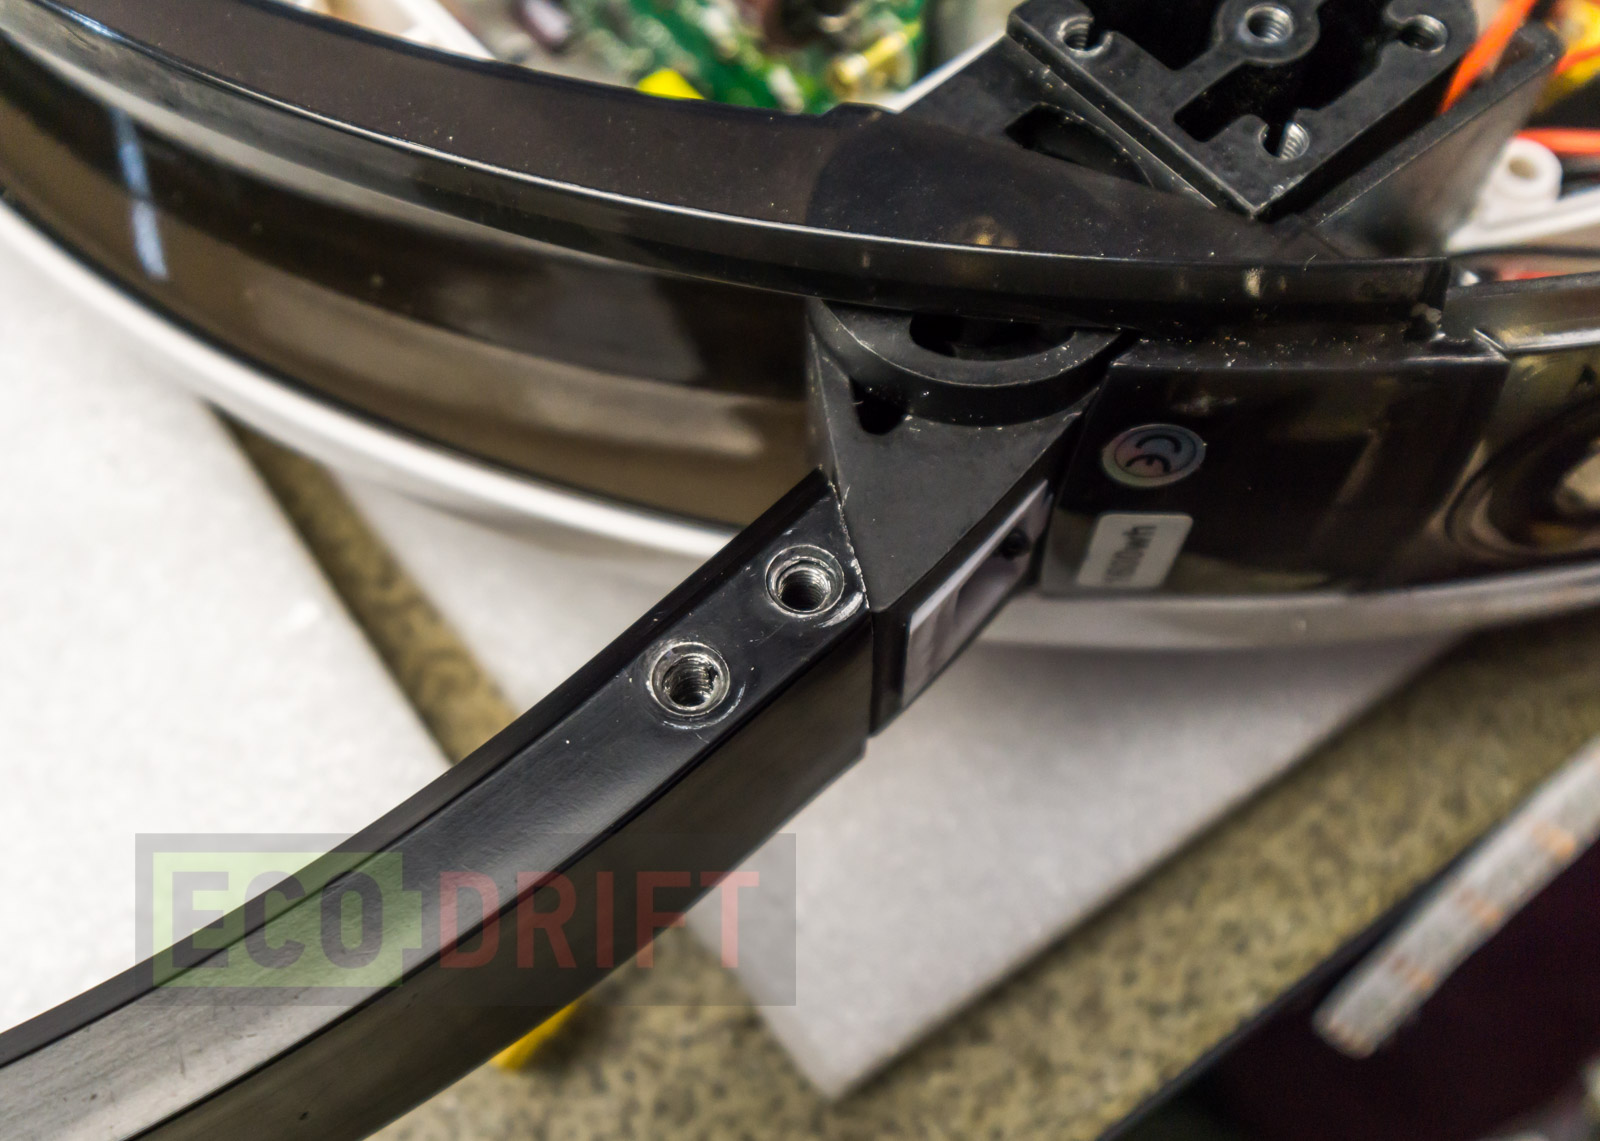
This is what this part of the handle looks like:
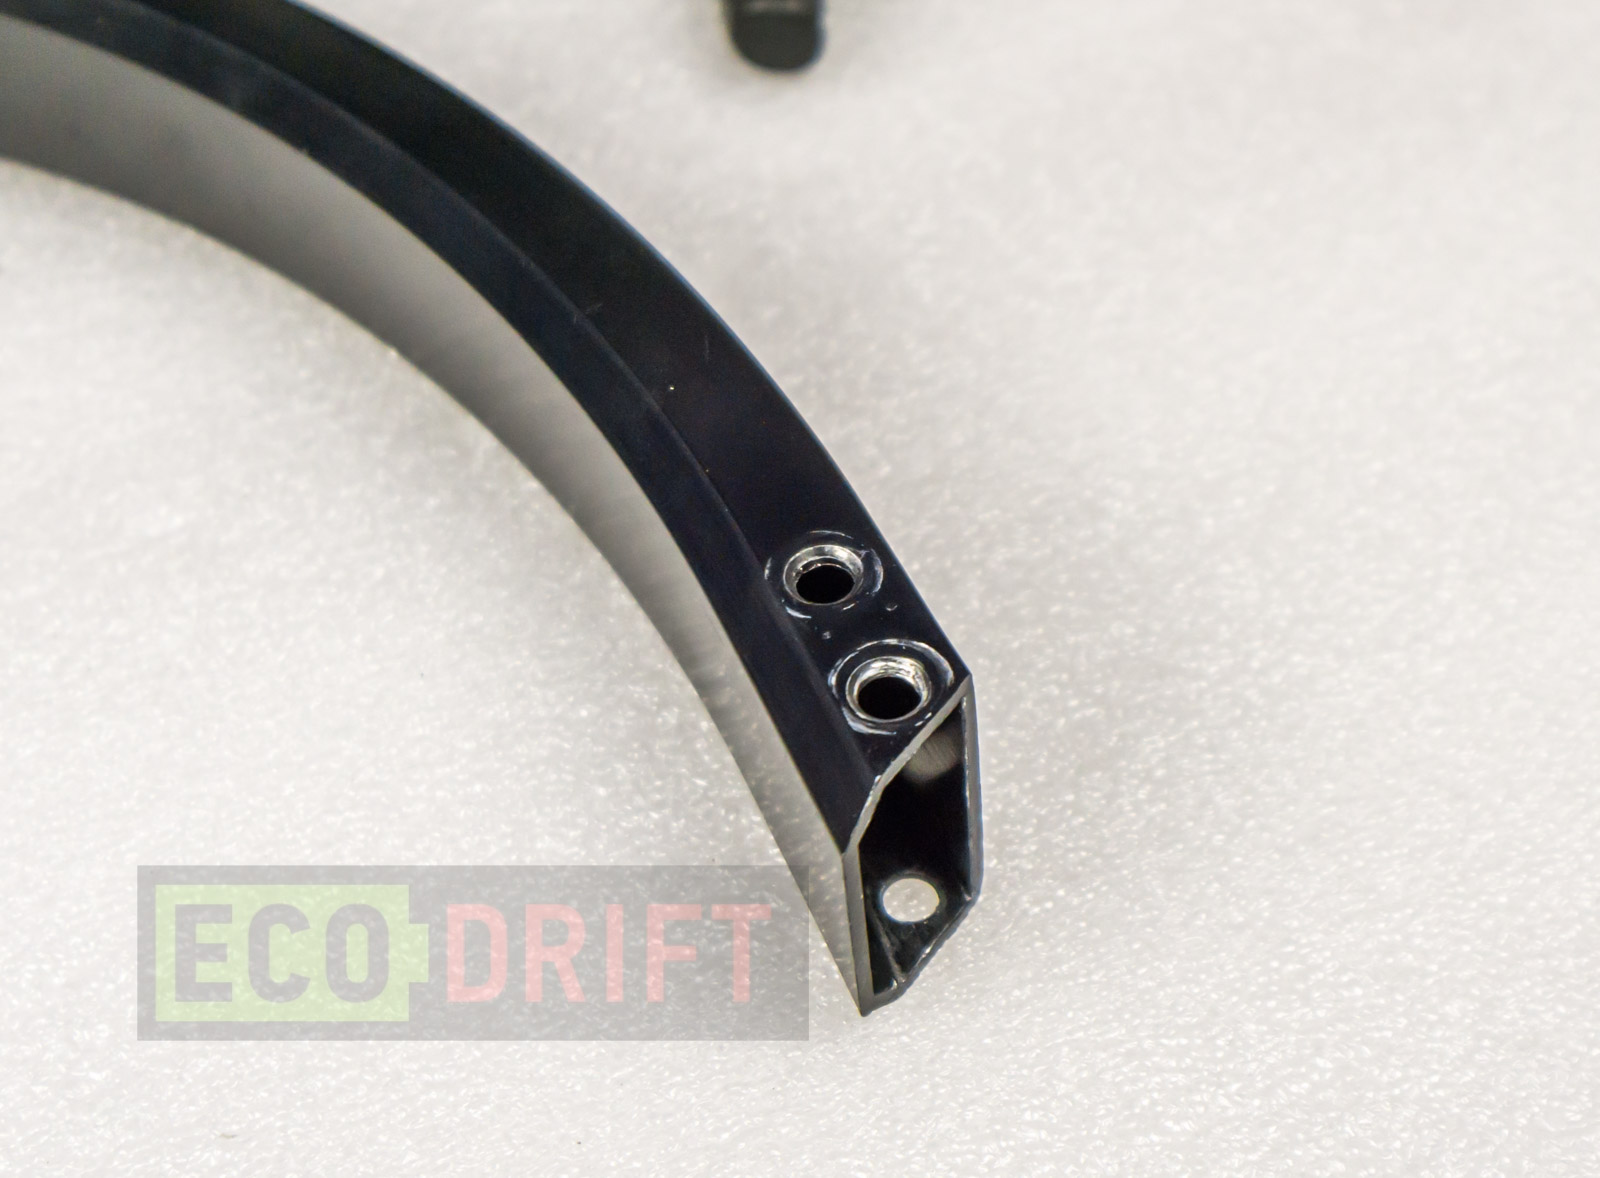
This is the handle profile:

To get all the parts out of the way I decided to take out the LED stripe and the battery. Now we are ready to remove one half of the body:
And here we are:
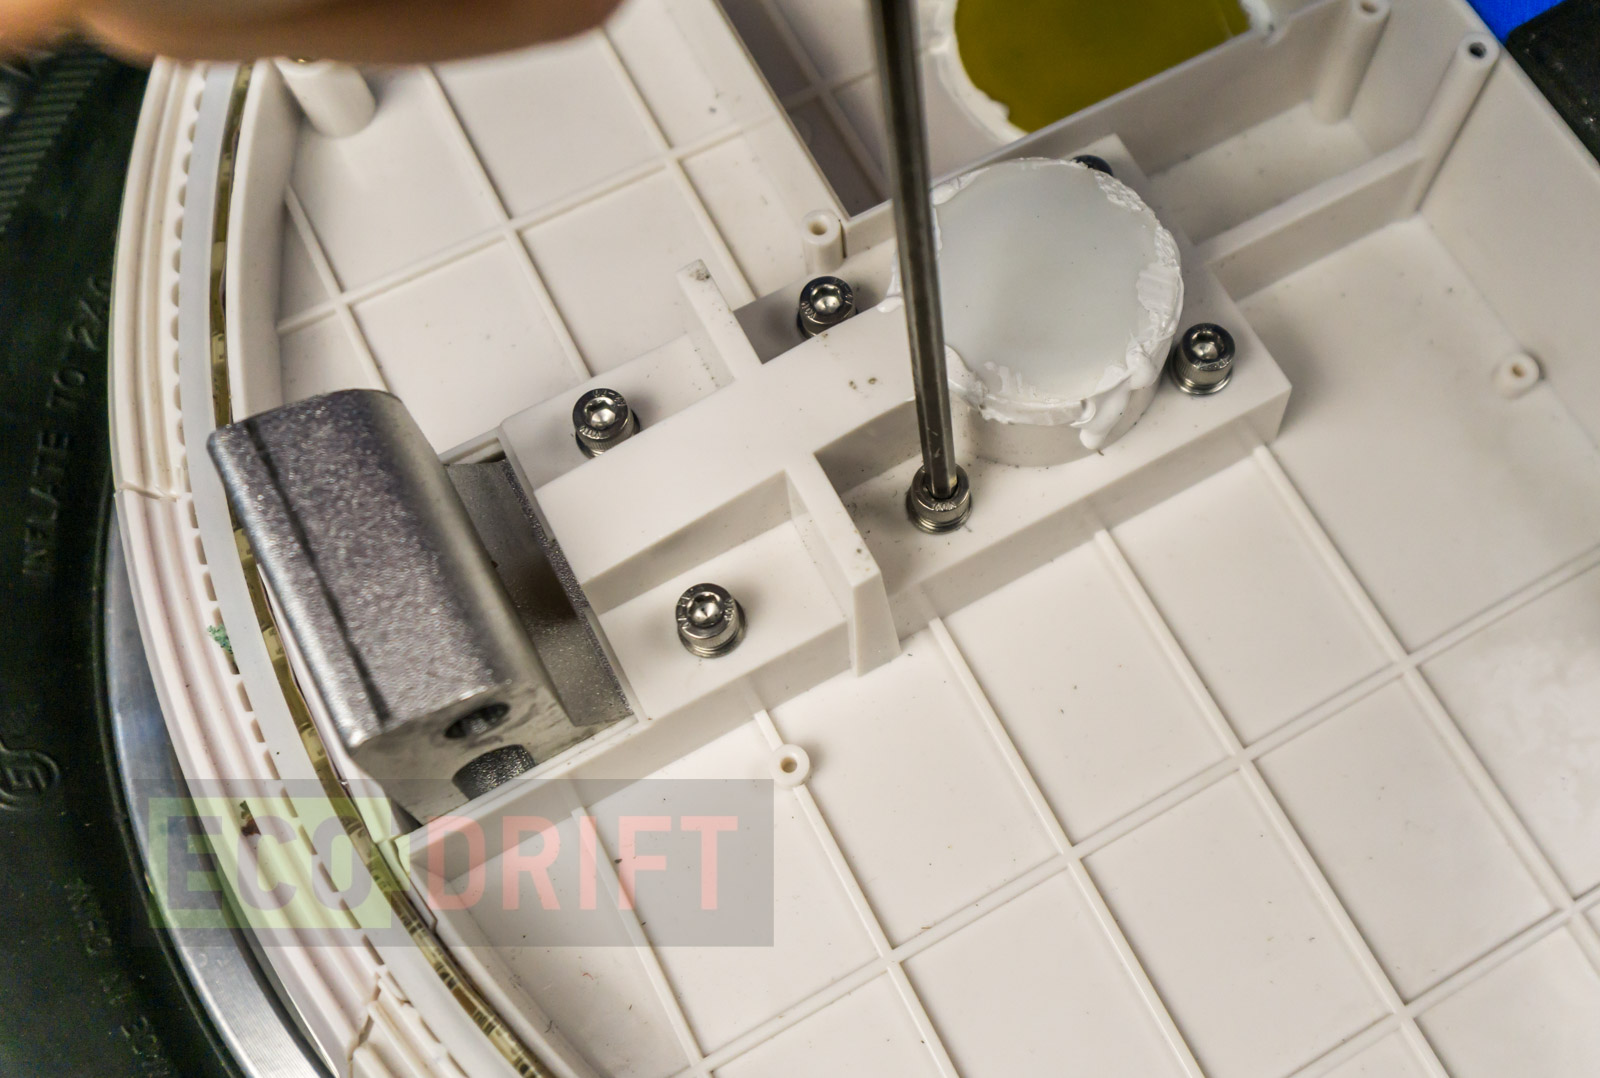
The folding handle mount:

The mount of the semi-transparent cover under the handle:
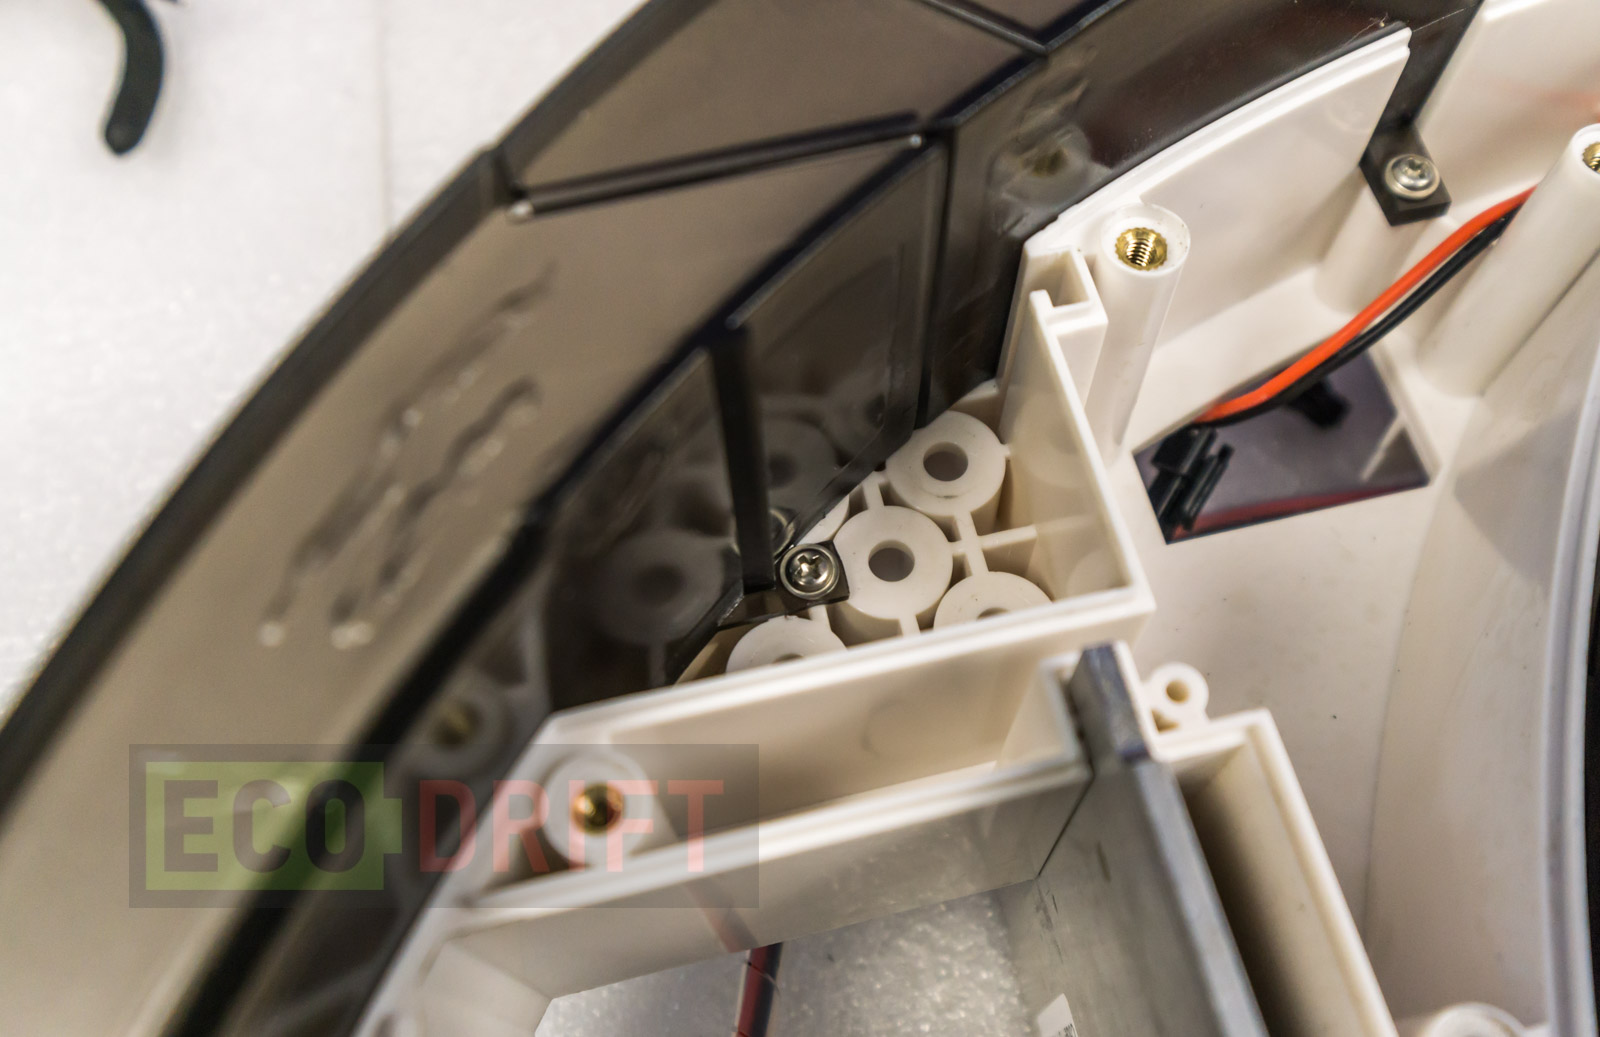
The mount consists of several parts and it’s quite shaky. Now it’s obvious where all those crackling sounds come from during the ride. A consistent lubricant might be a solution if we put it on the sides so that frictions will not cause these sounds. Again no comments on the quality of the unit construction.
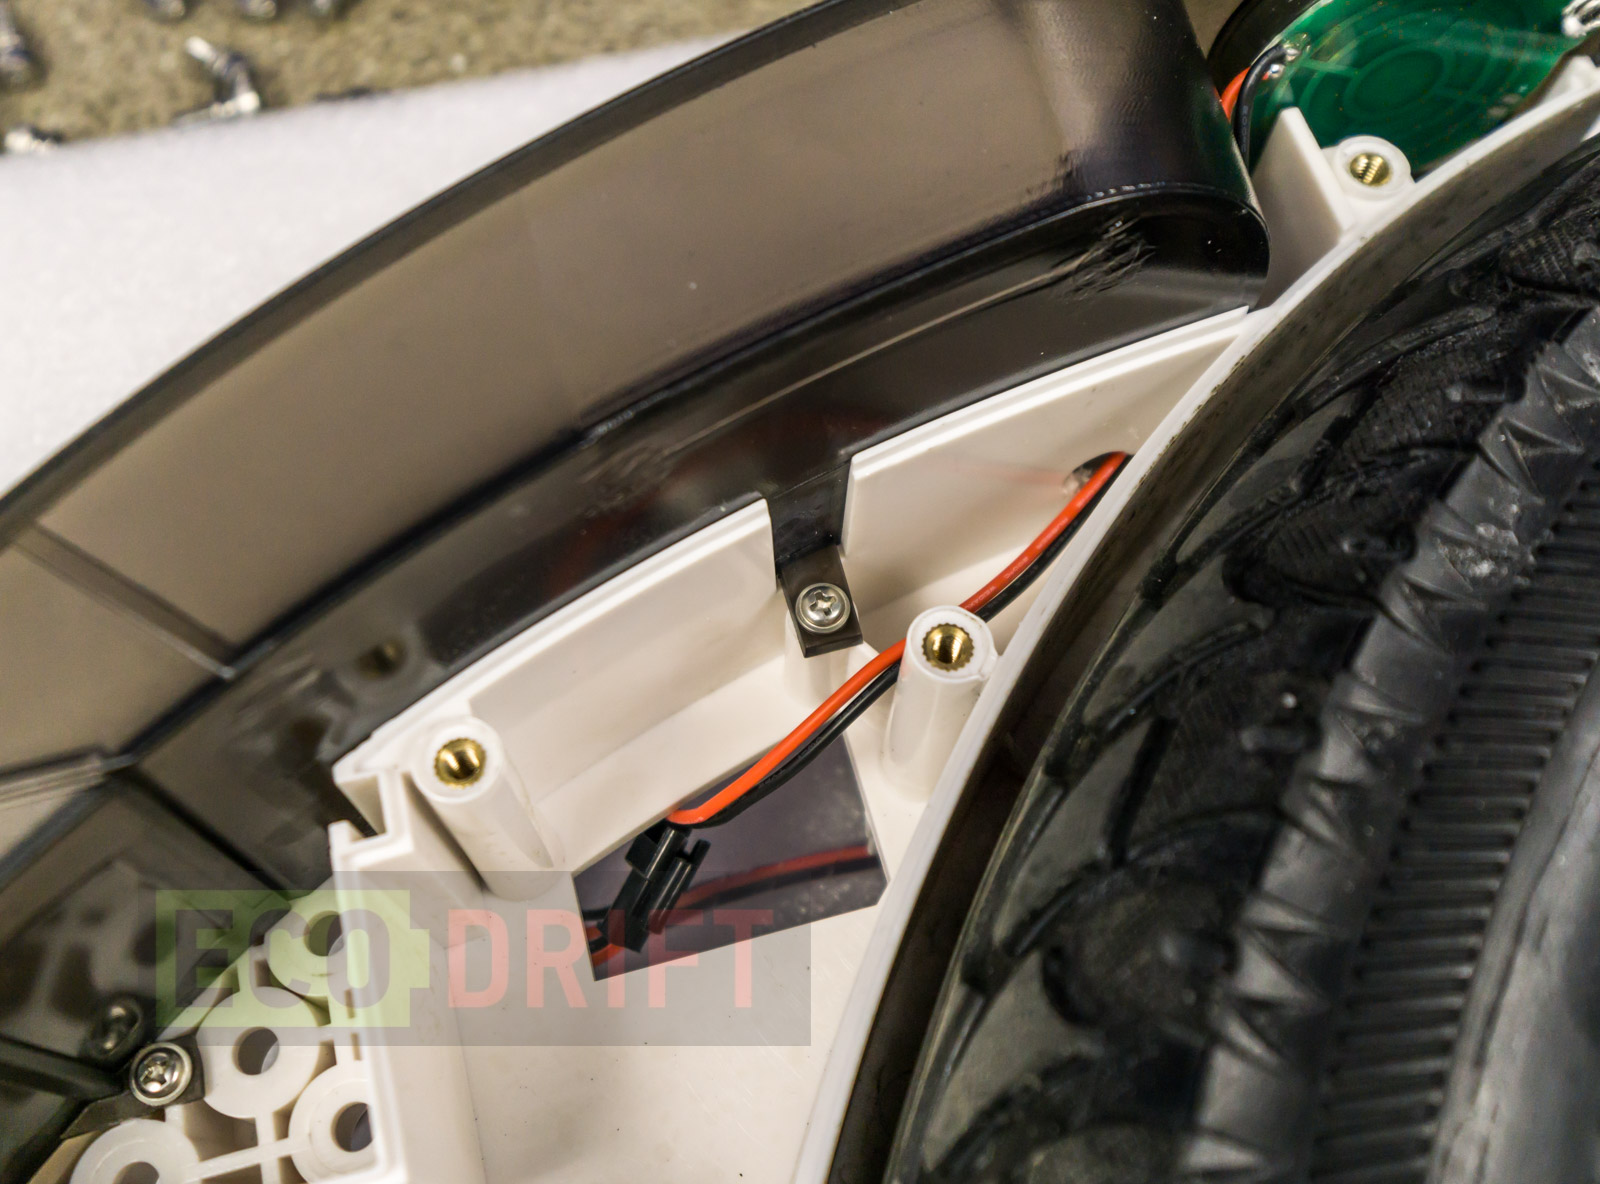
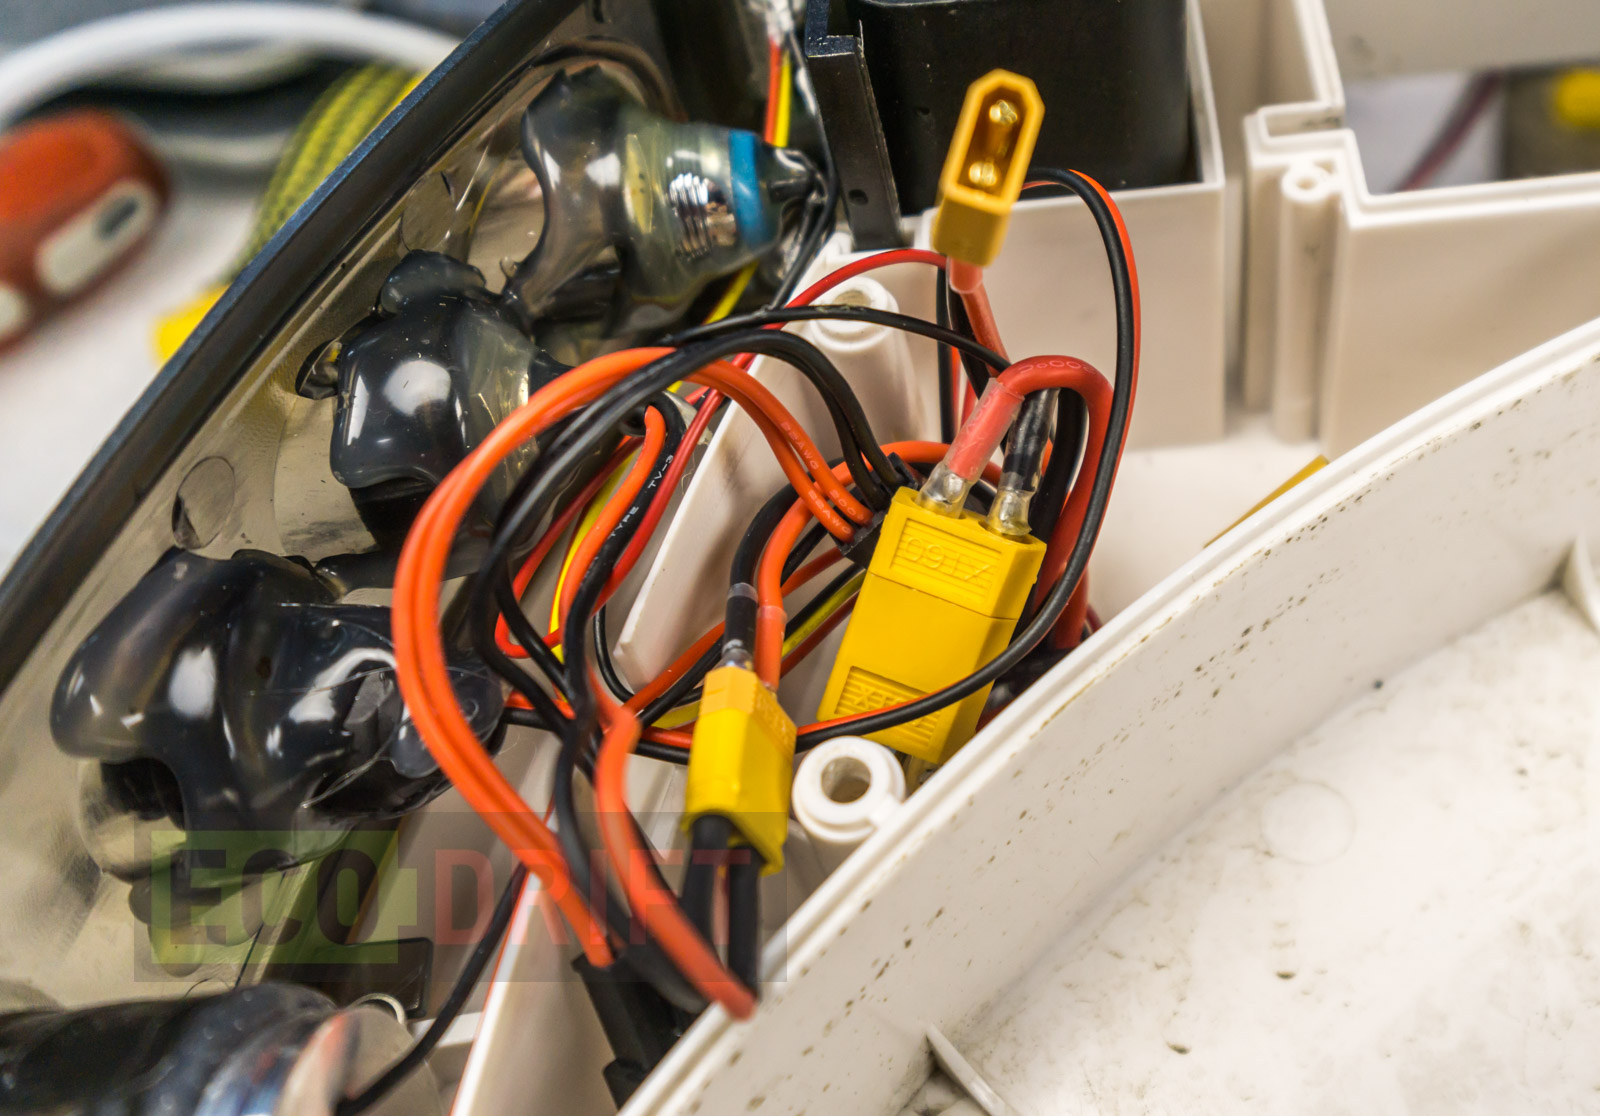
A bunch of wires that go to the battery, the charging port, the headlight unit, USB port and the button:
That’s how the button looks under the handle:

It’s a piece of textolite with two buttons on it. When you press it with your hand the textolite bends and the button is pressed with the body. You can see that there is no room to hide the buttons wiring. A decorative cover is close by at the top.
Rear light board:
A closer look at the wiring:
That’s what the speakers look like from the side of the motor compartment:
We have absolutely no idea why the speaker slots have a way into the motor compartment. Maybe it was a way to provide more bass?
This is how the two halves of the body junction looks like from the inside of the motor compartment:
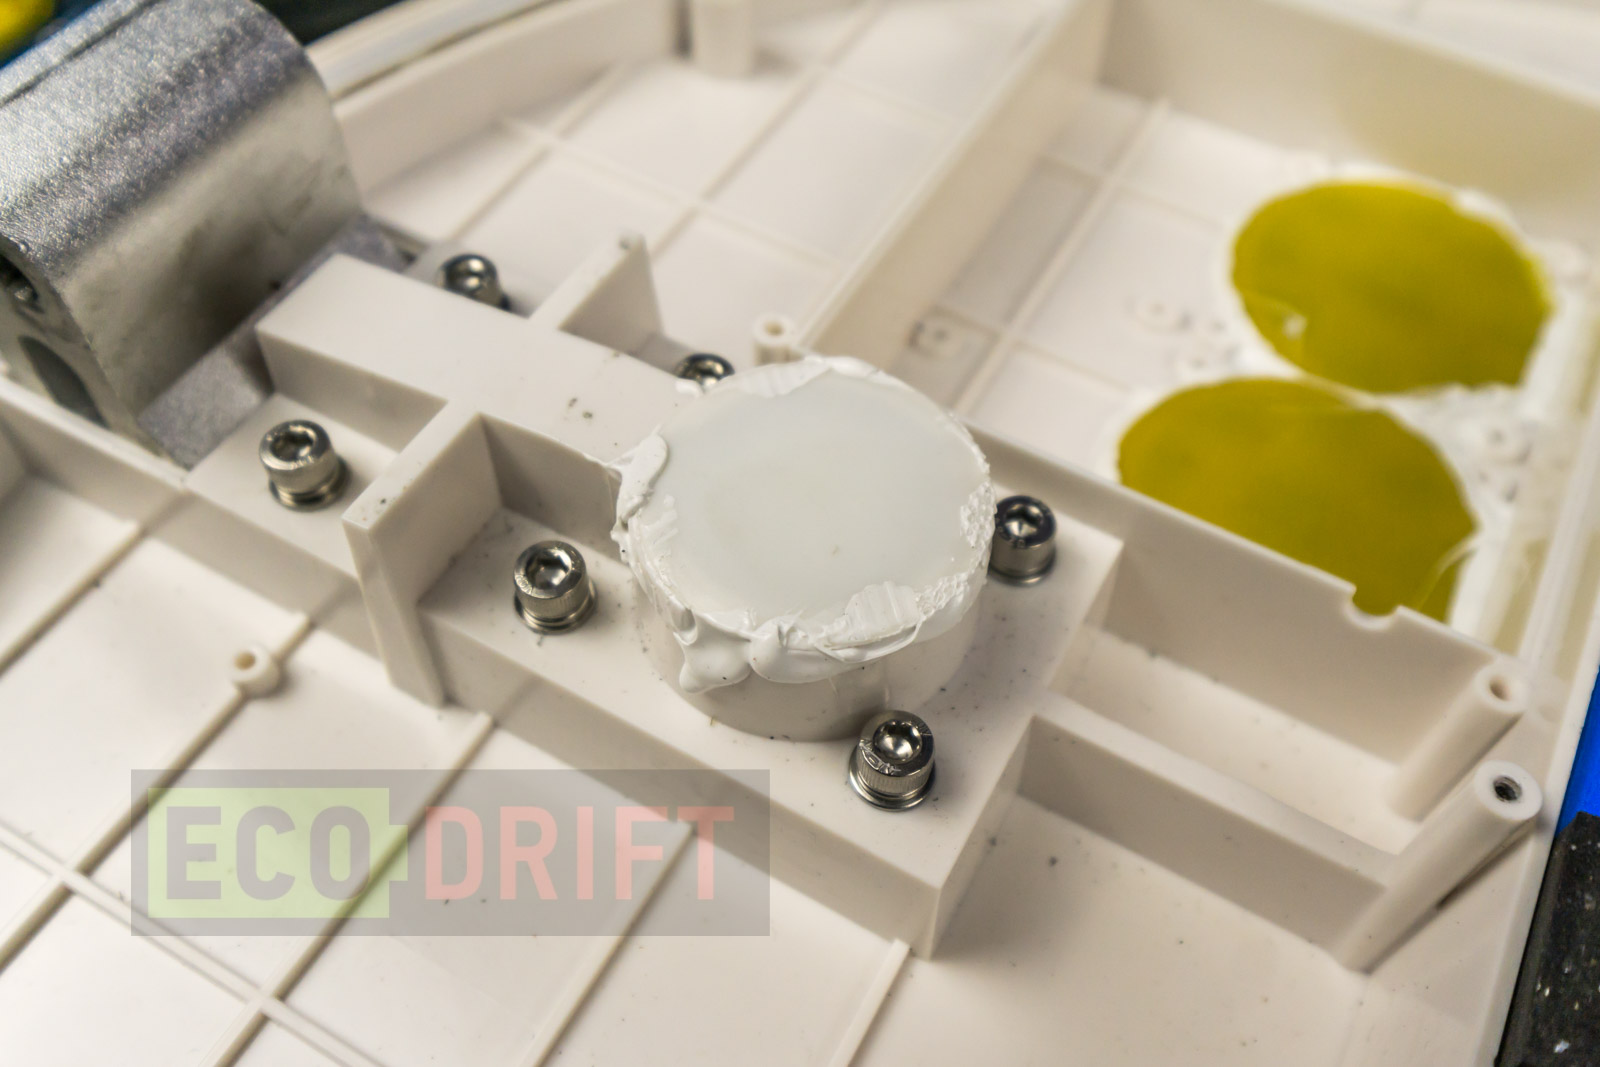
There is no heat sink plate slot inside the motor compartment.
Moving on to the motor. The pedal legs are mounted the same way as they are on the MSuperX:
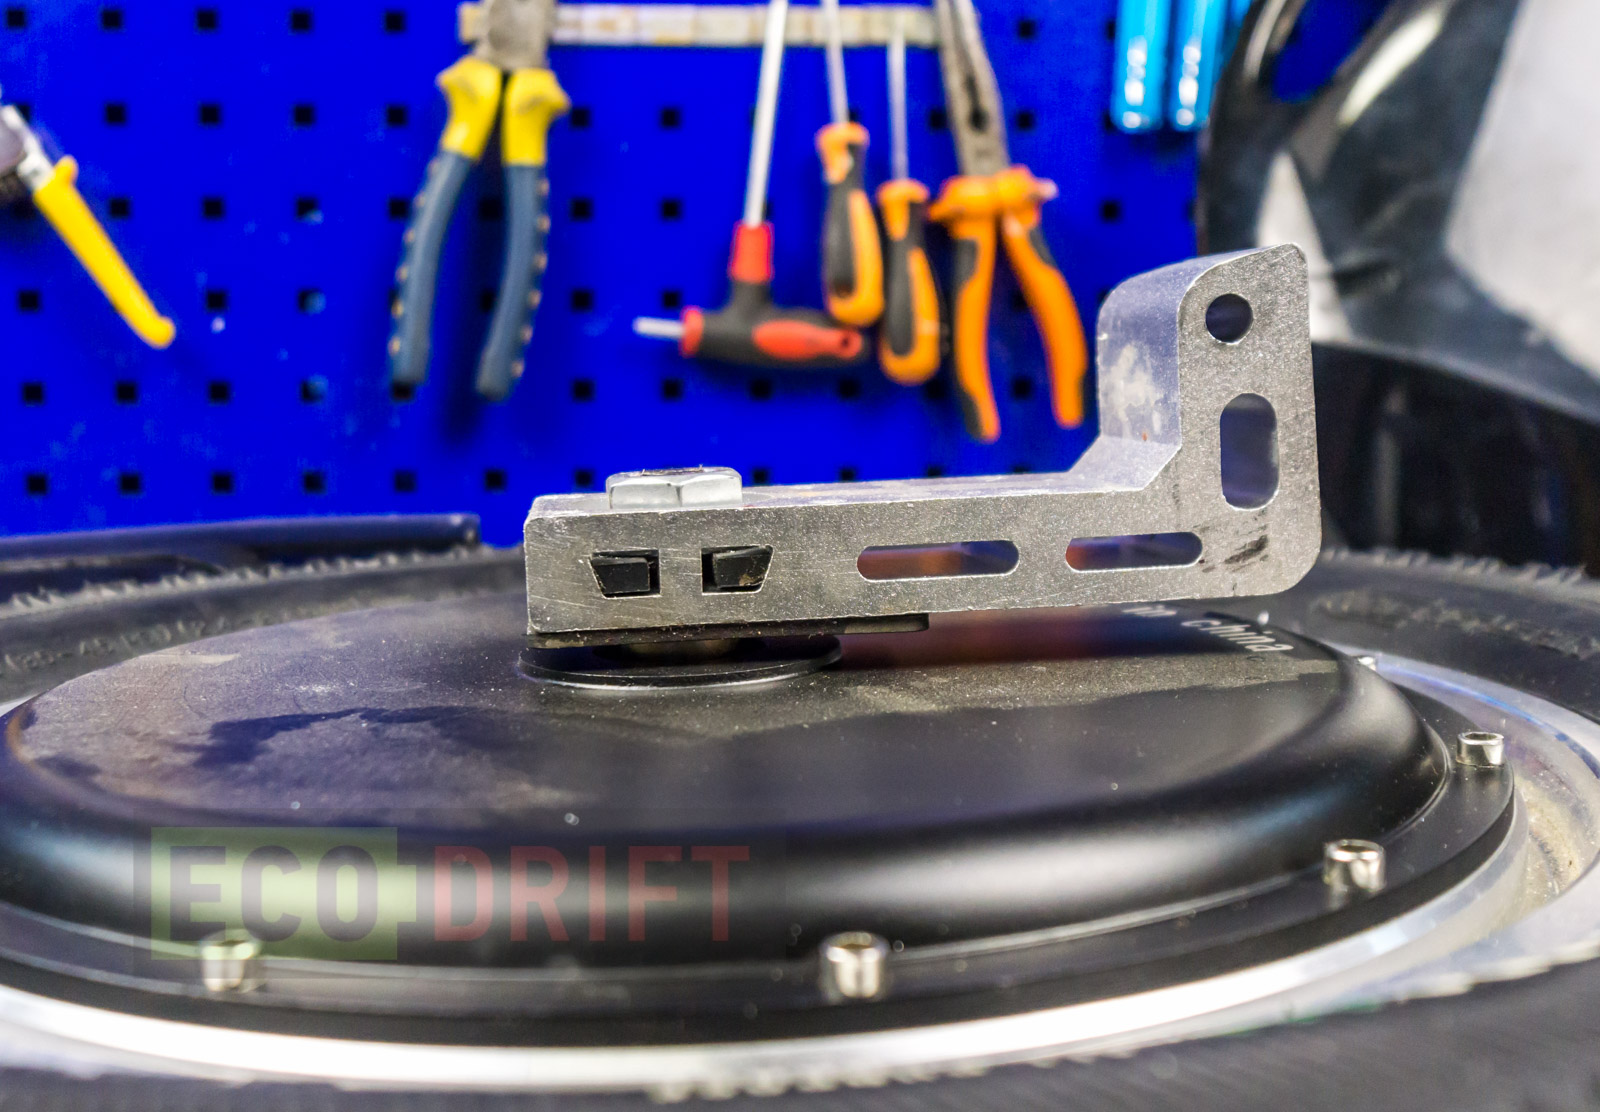
A view from the other side:
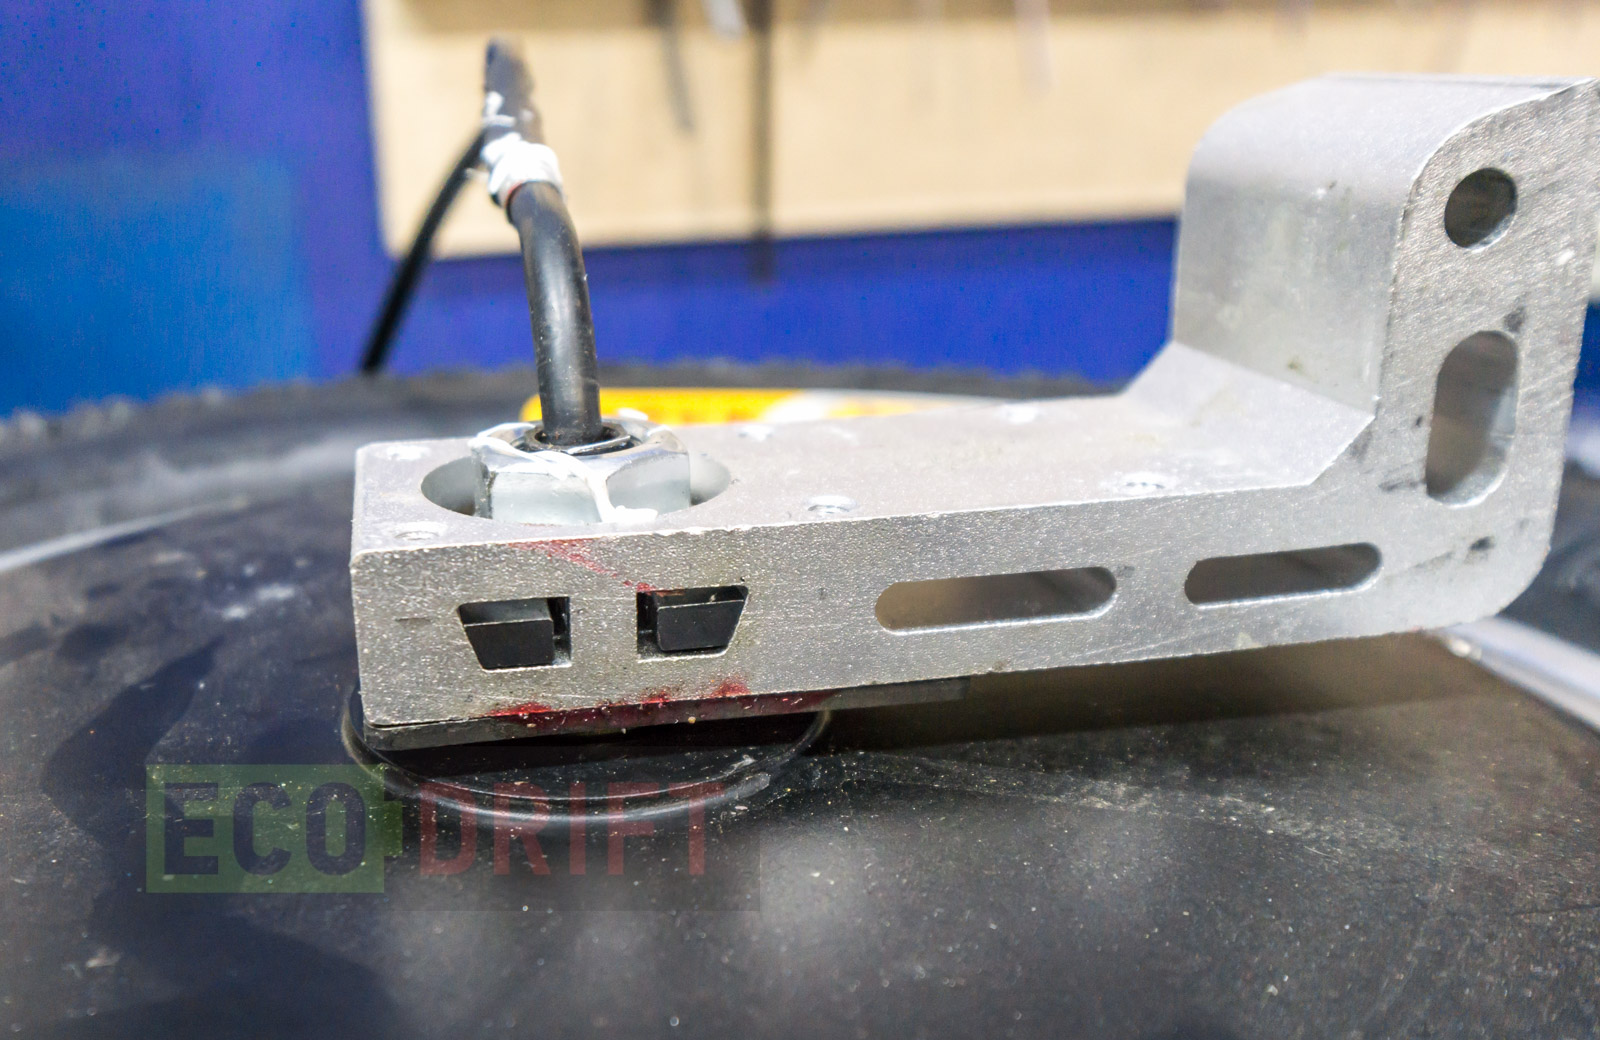
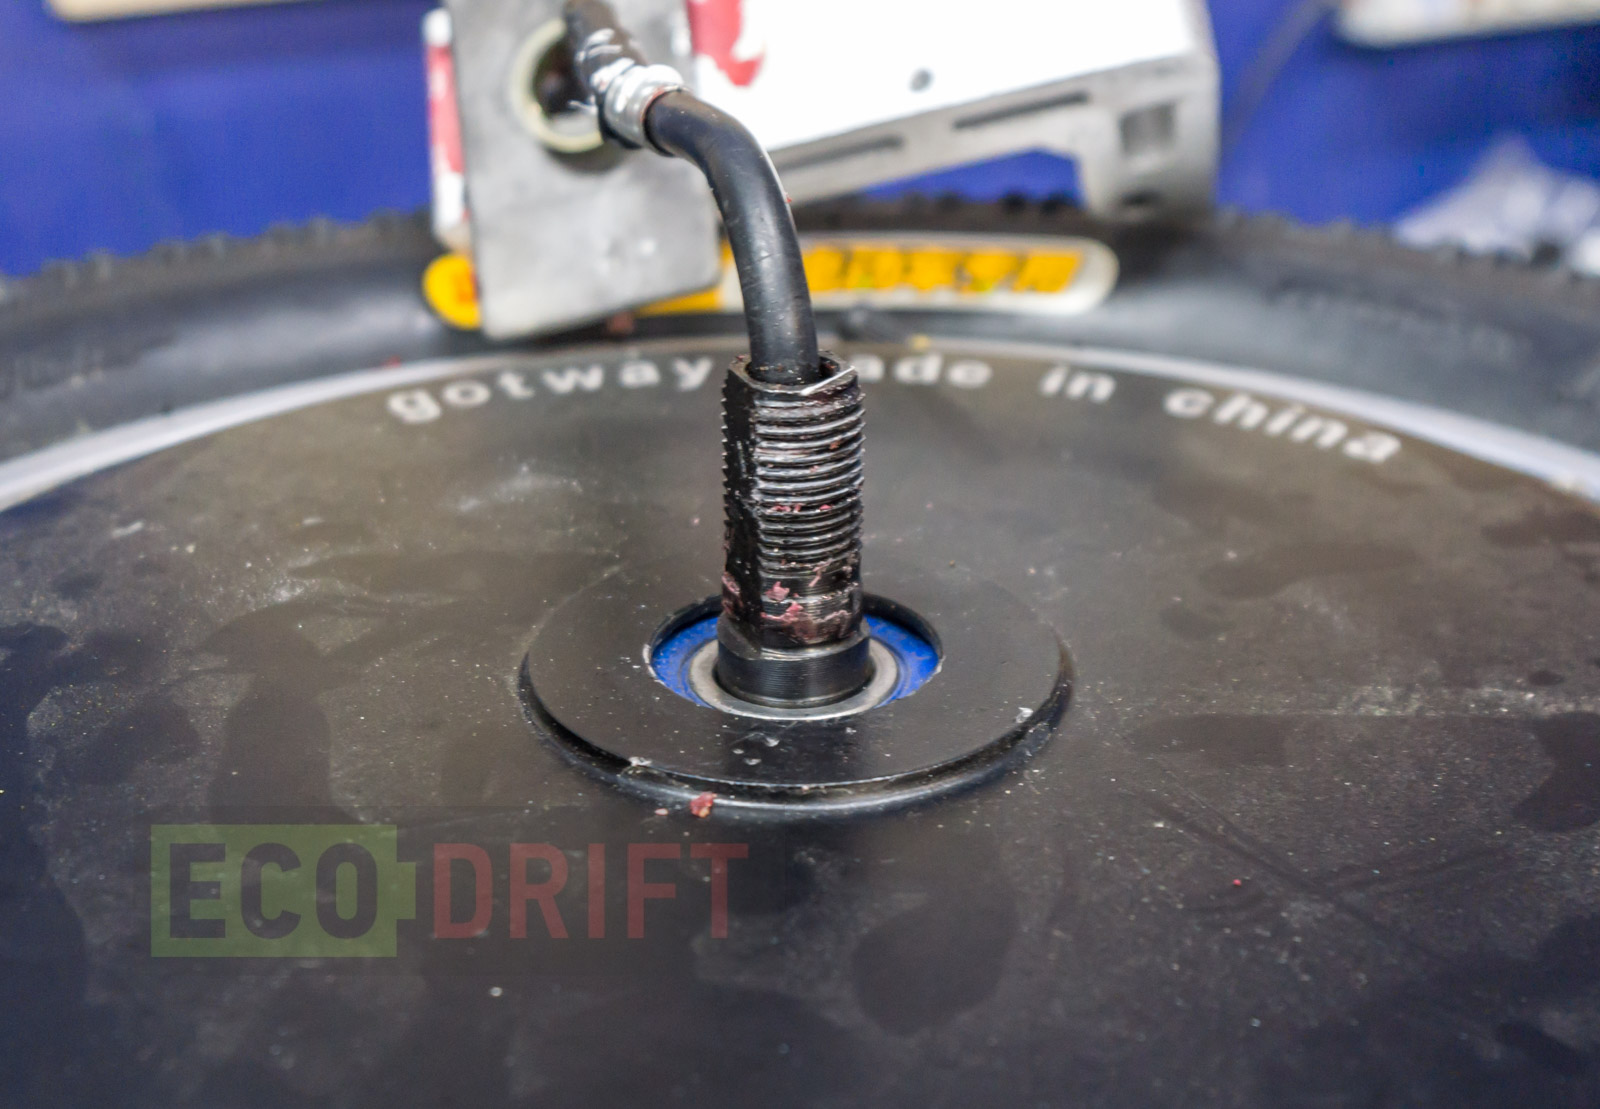
Removing the nut. It is very tight. After we remove the pedal legs we can clearly see that the the shaft is heavily covered with a red thread lock:
According to the information from the Gotway team all motors including the one on the MSuperX are now assembled this way.
Removing the motor cover:
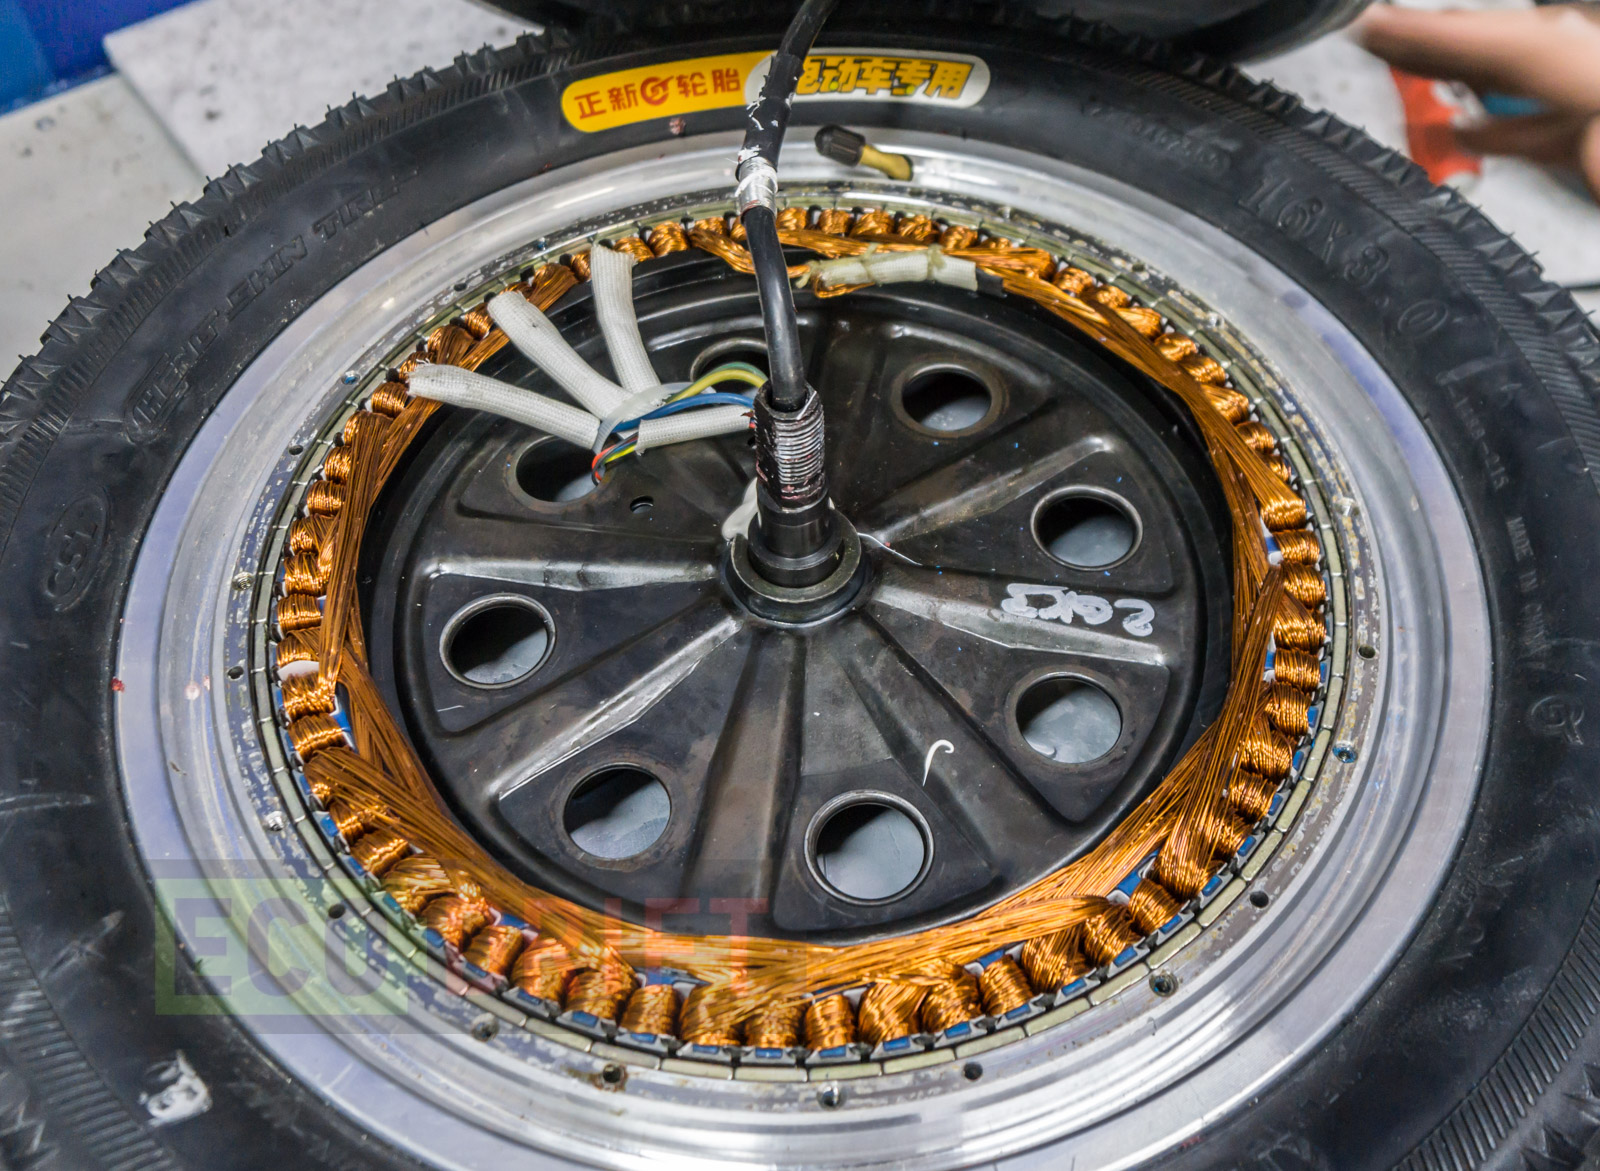
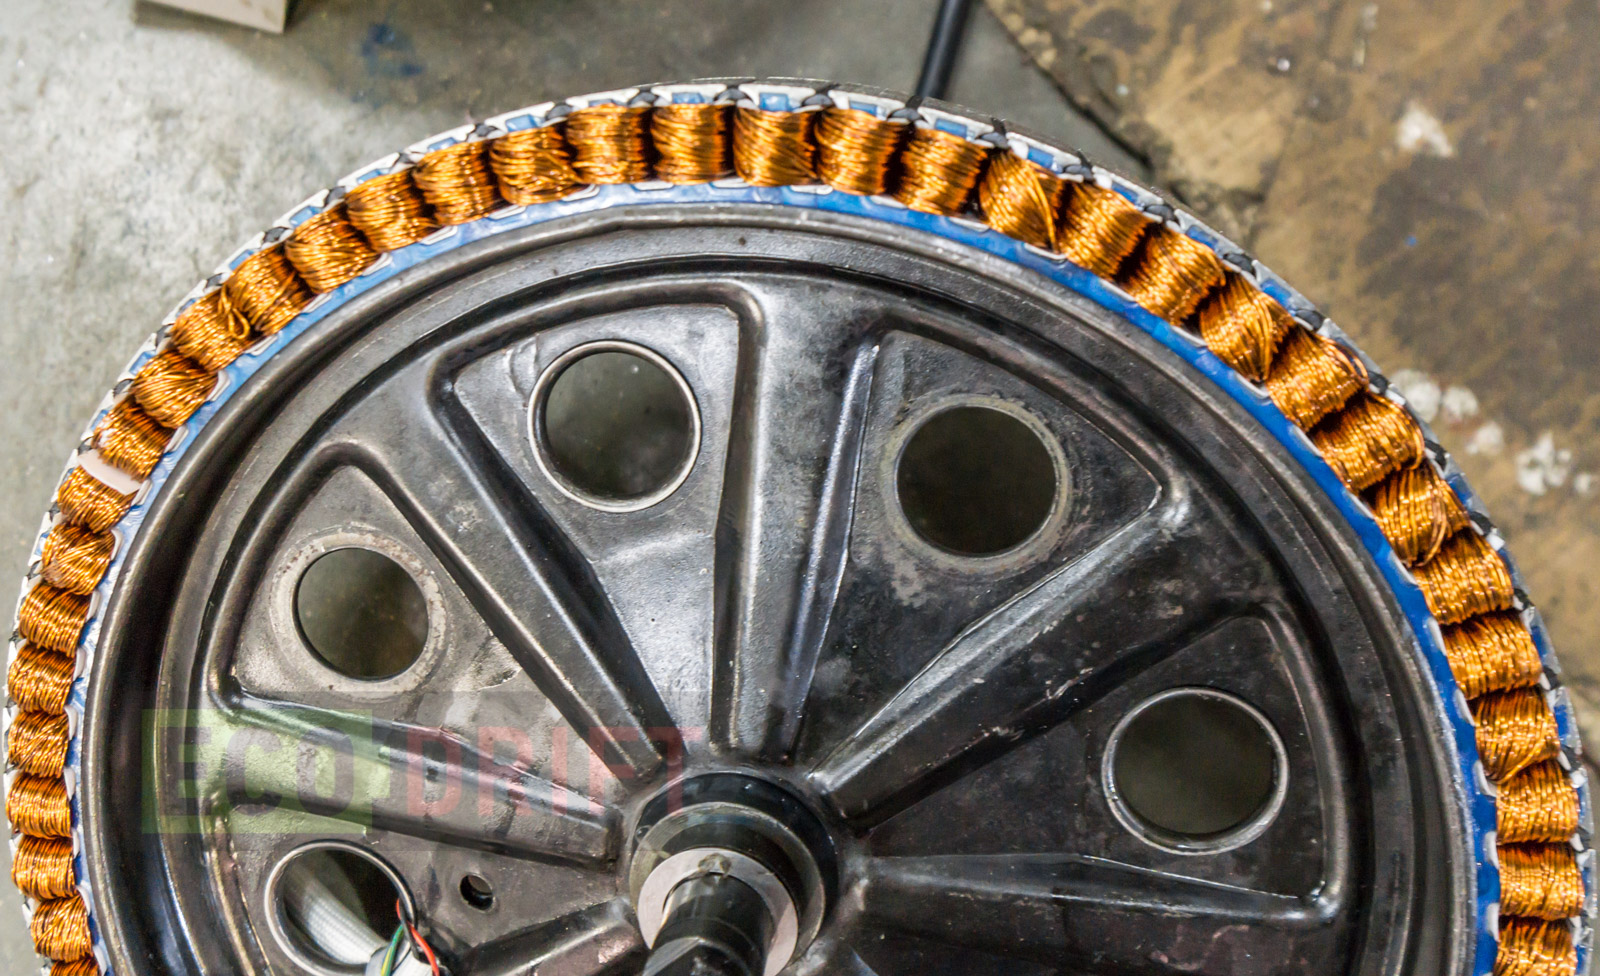
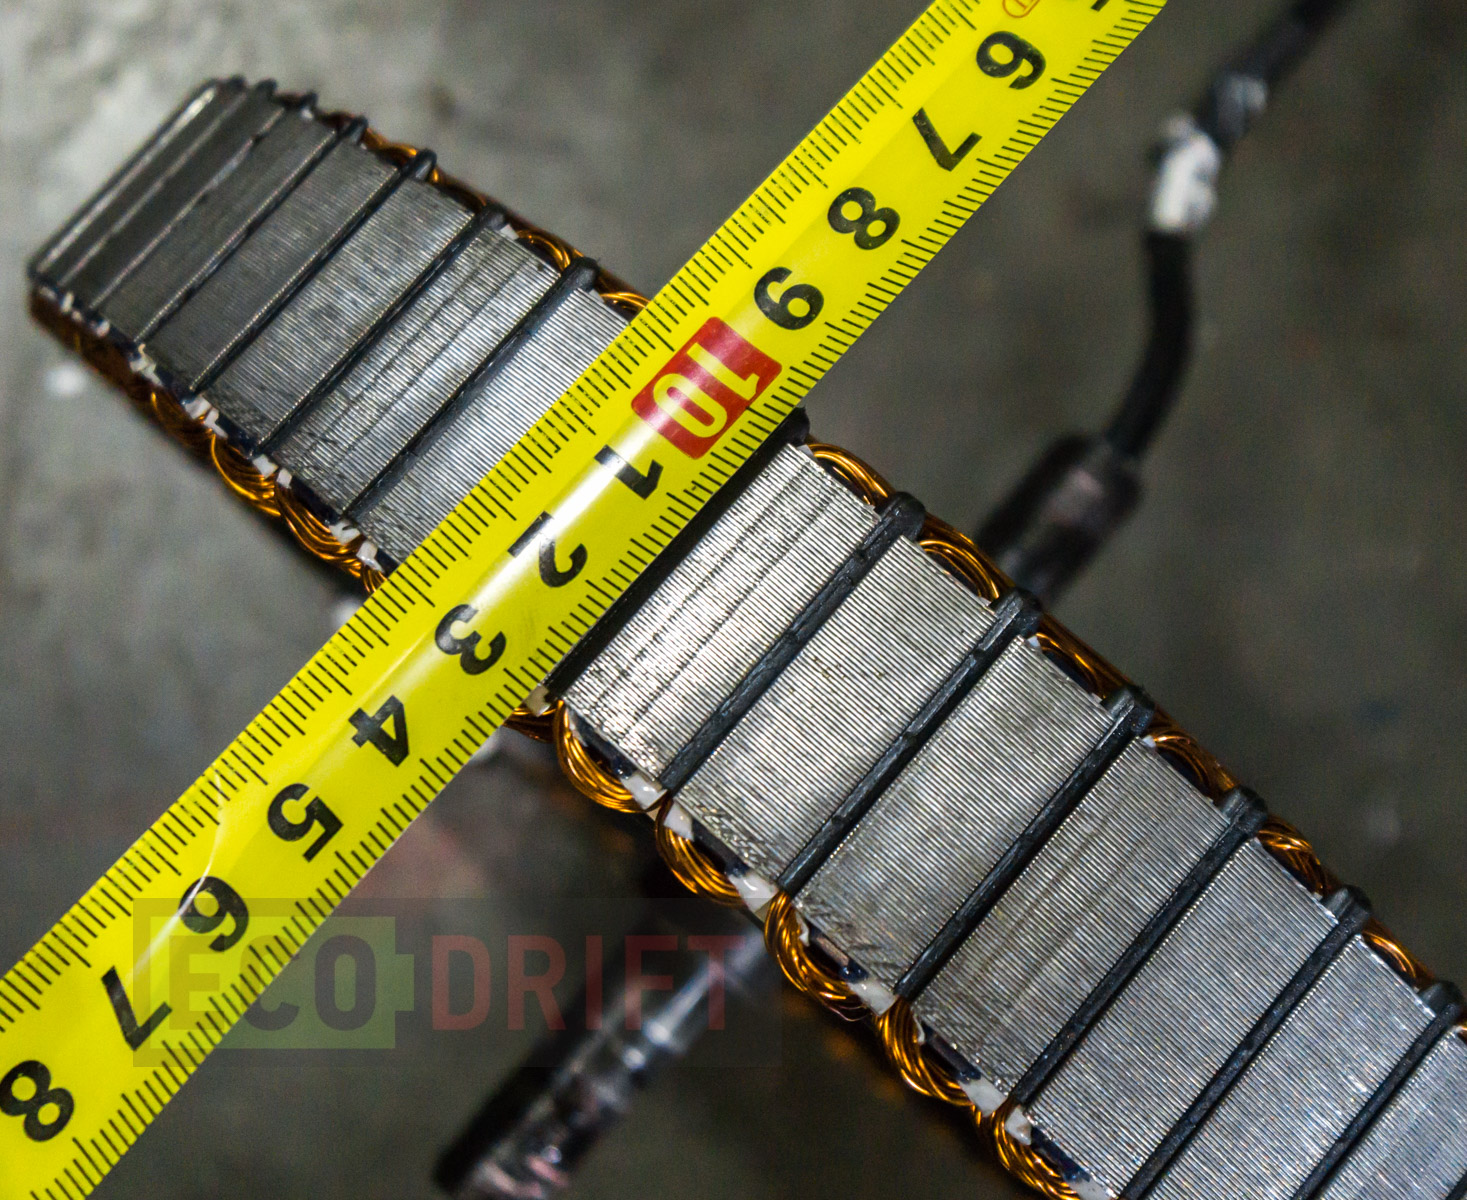
The motor winding is very tight, nothing is lose though it’s not tied up with a string:
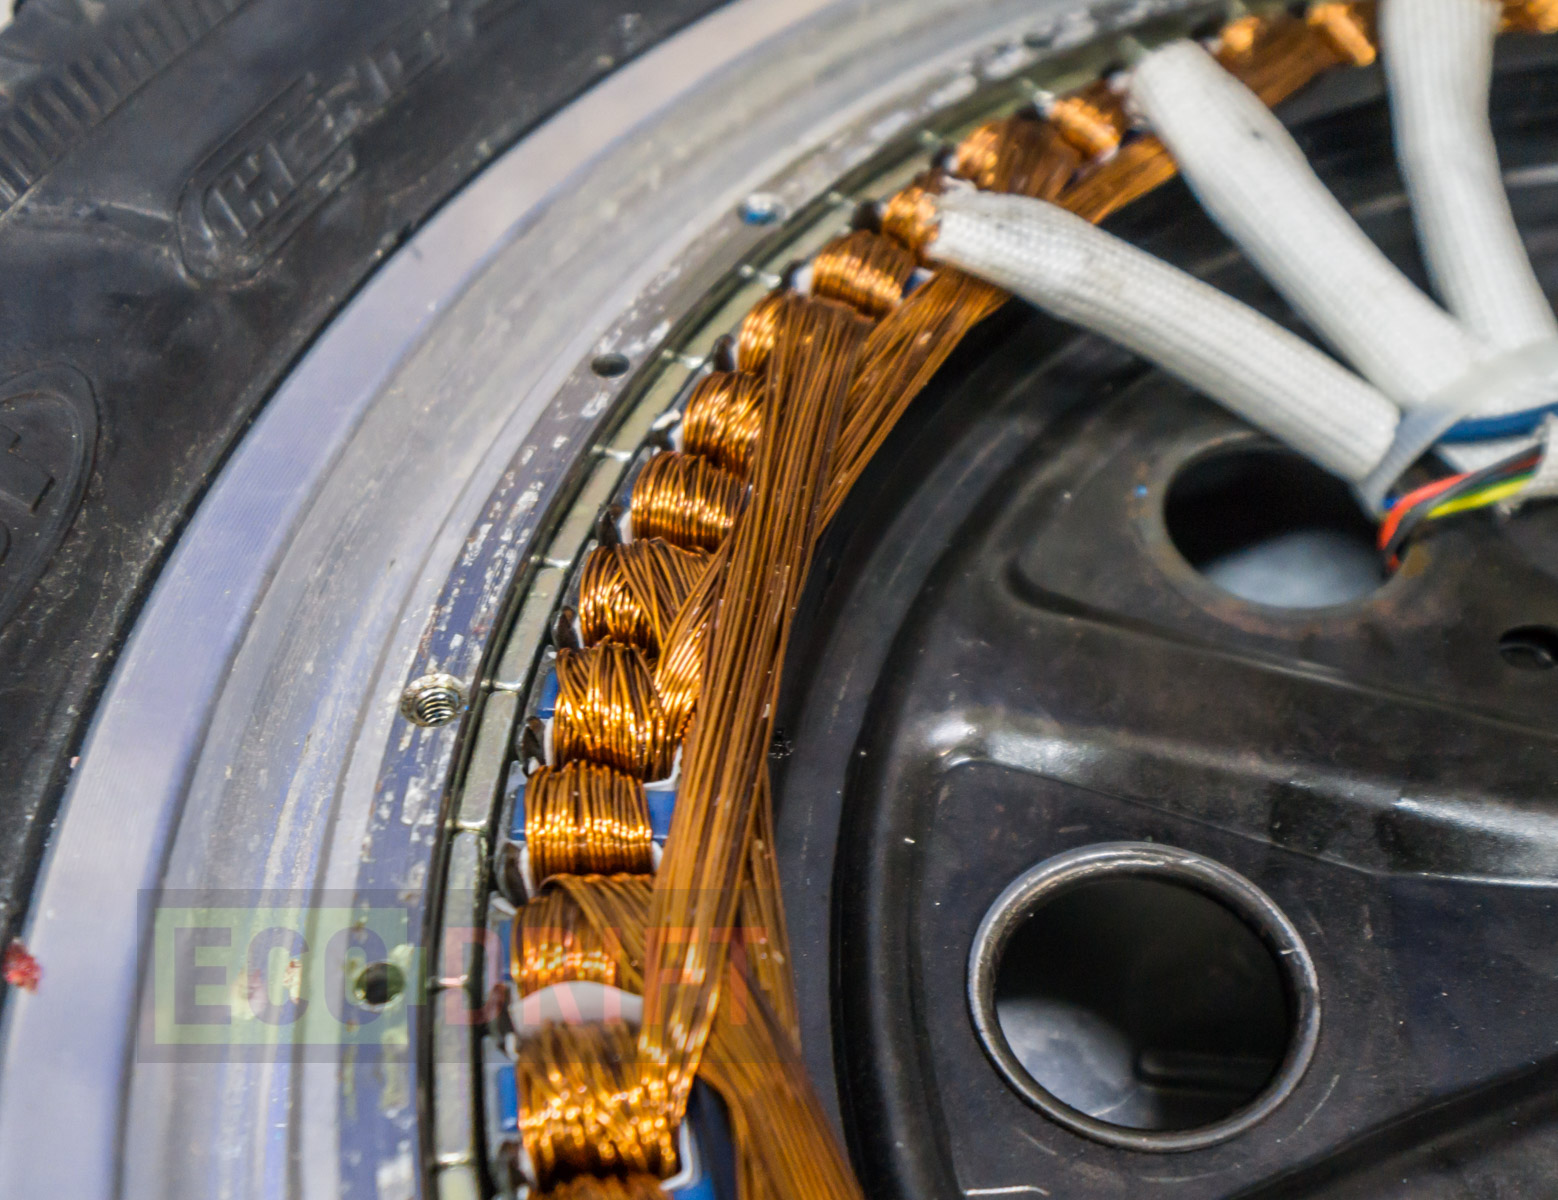
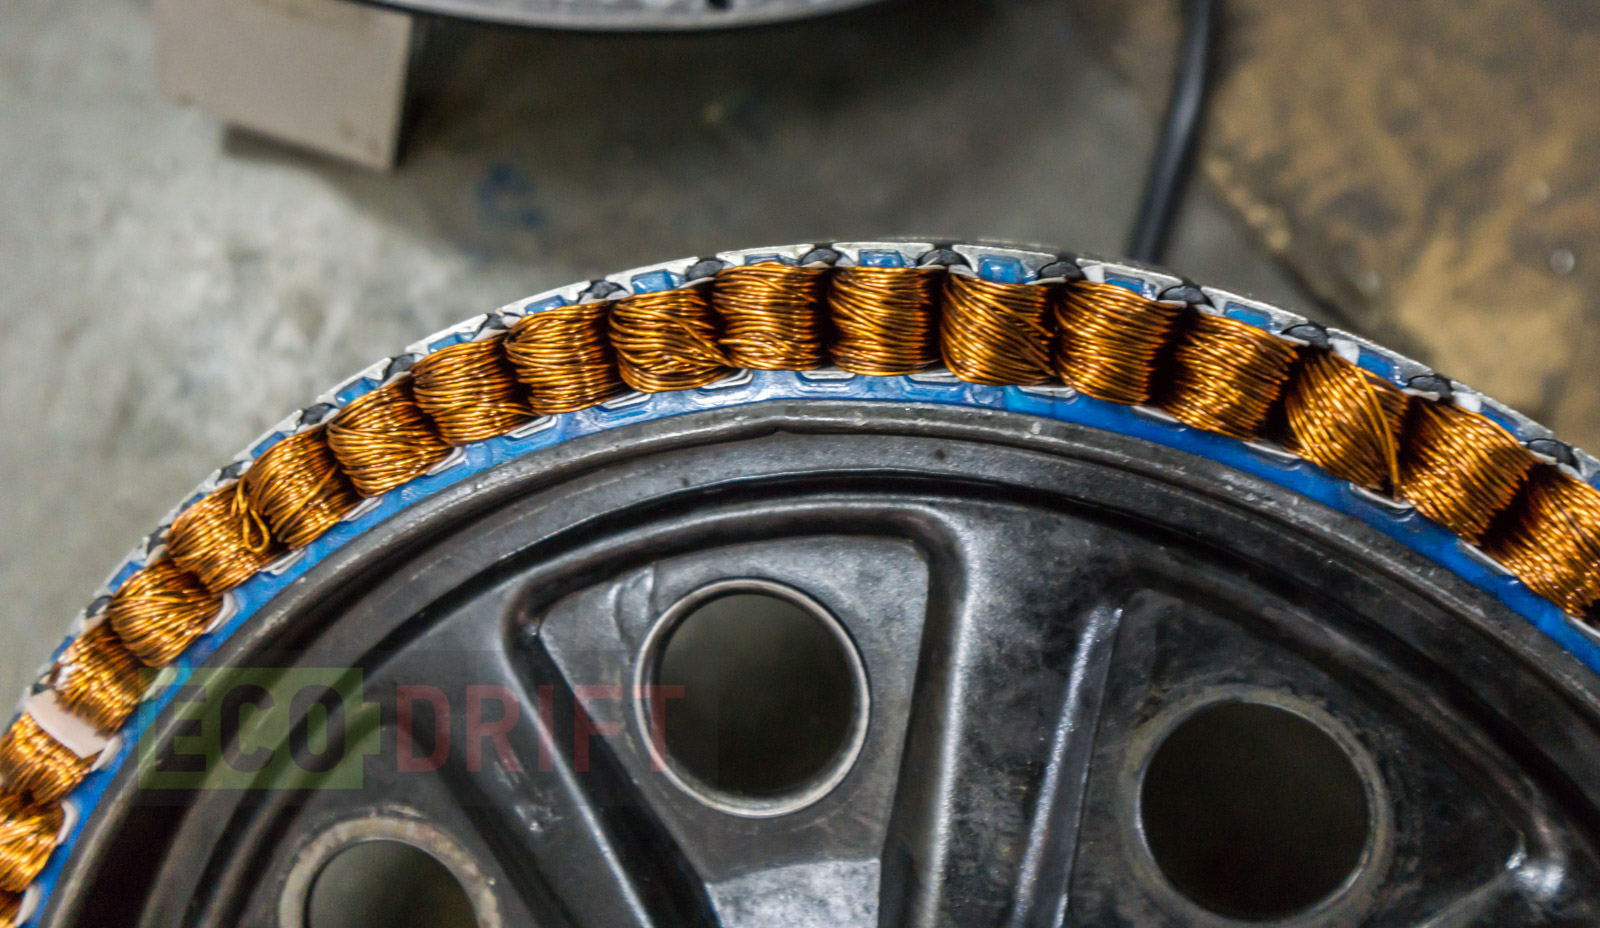
On the other side we can see slight winging quality problems:
A closer look:
Magnets size is 3 cm:
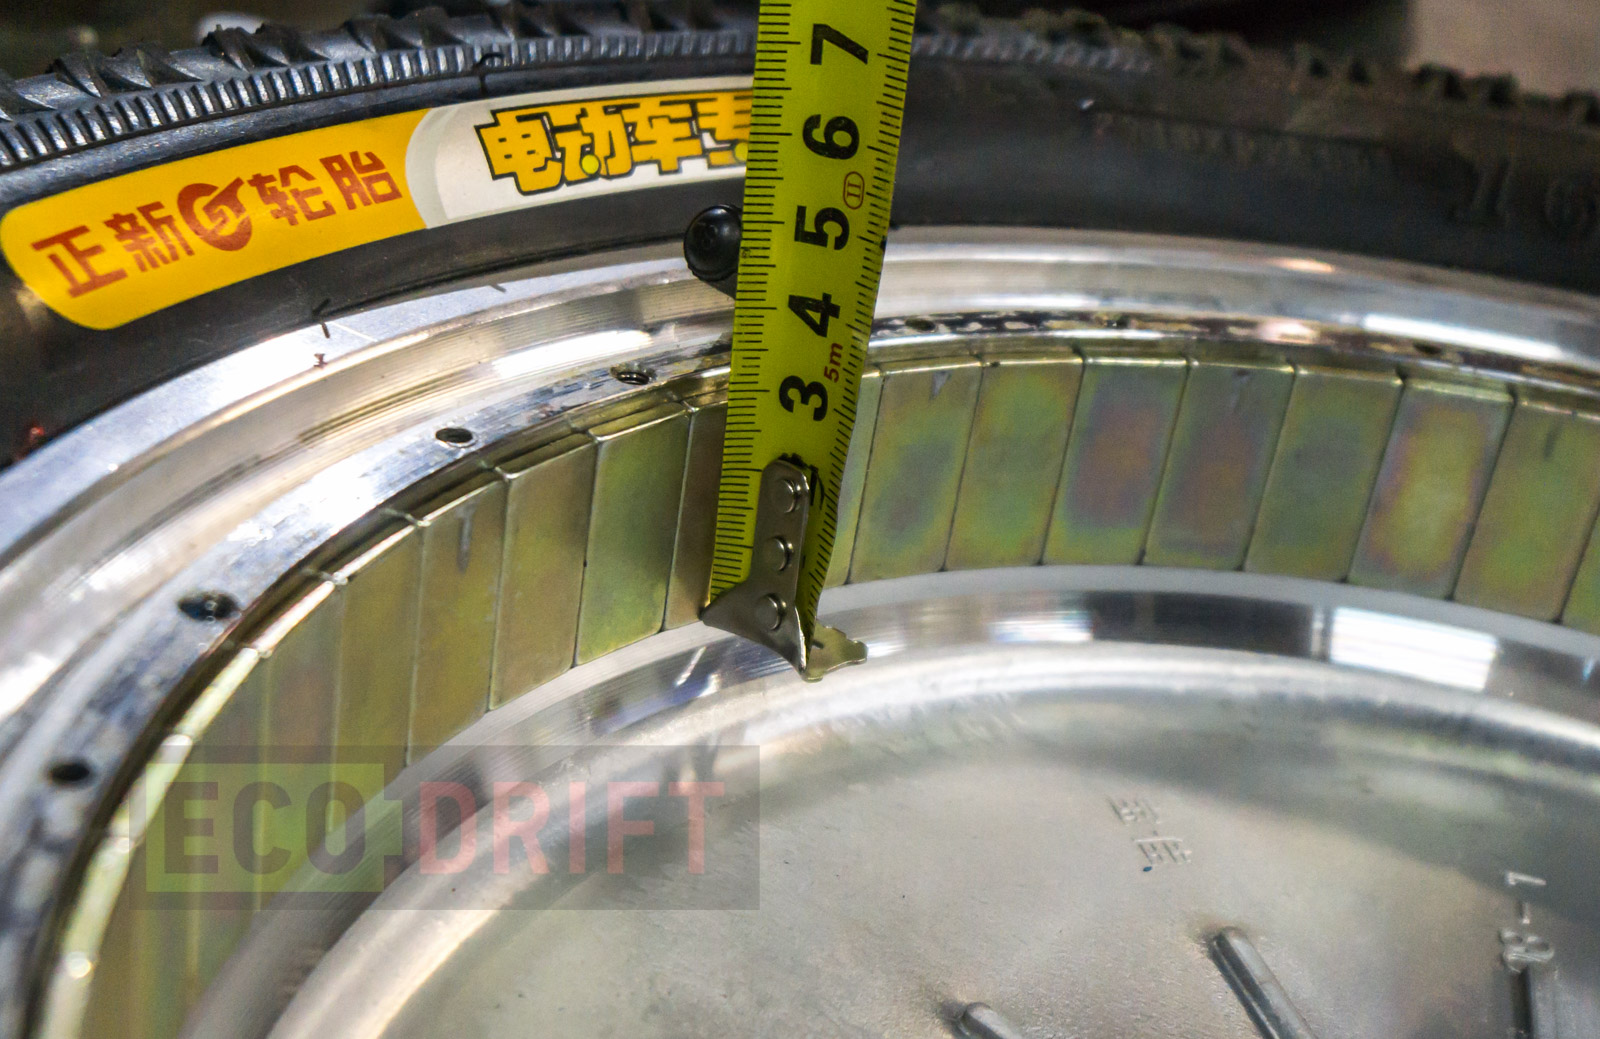
The magnet core is also 3 cm:
After all I have a positive impression of the motor. It’s clean, no sign of rust. We can see enhanced bearings with a blue seal. And only the time can tell the rest.